background image

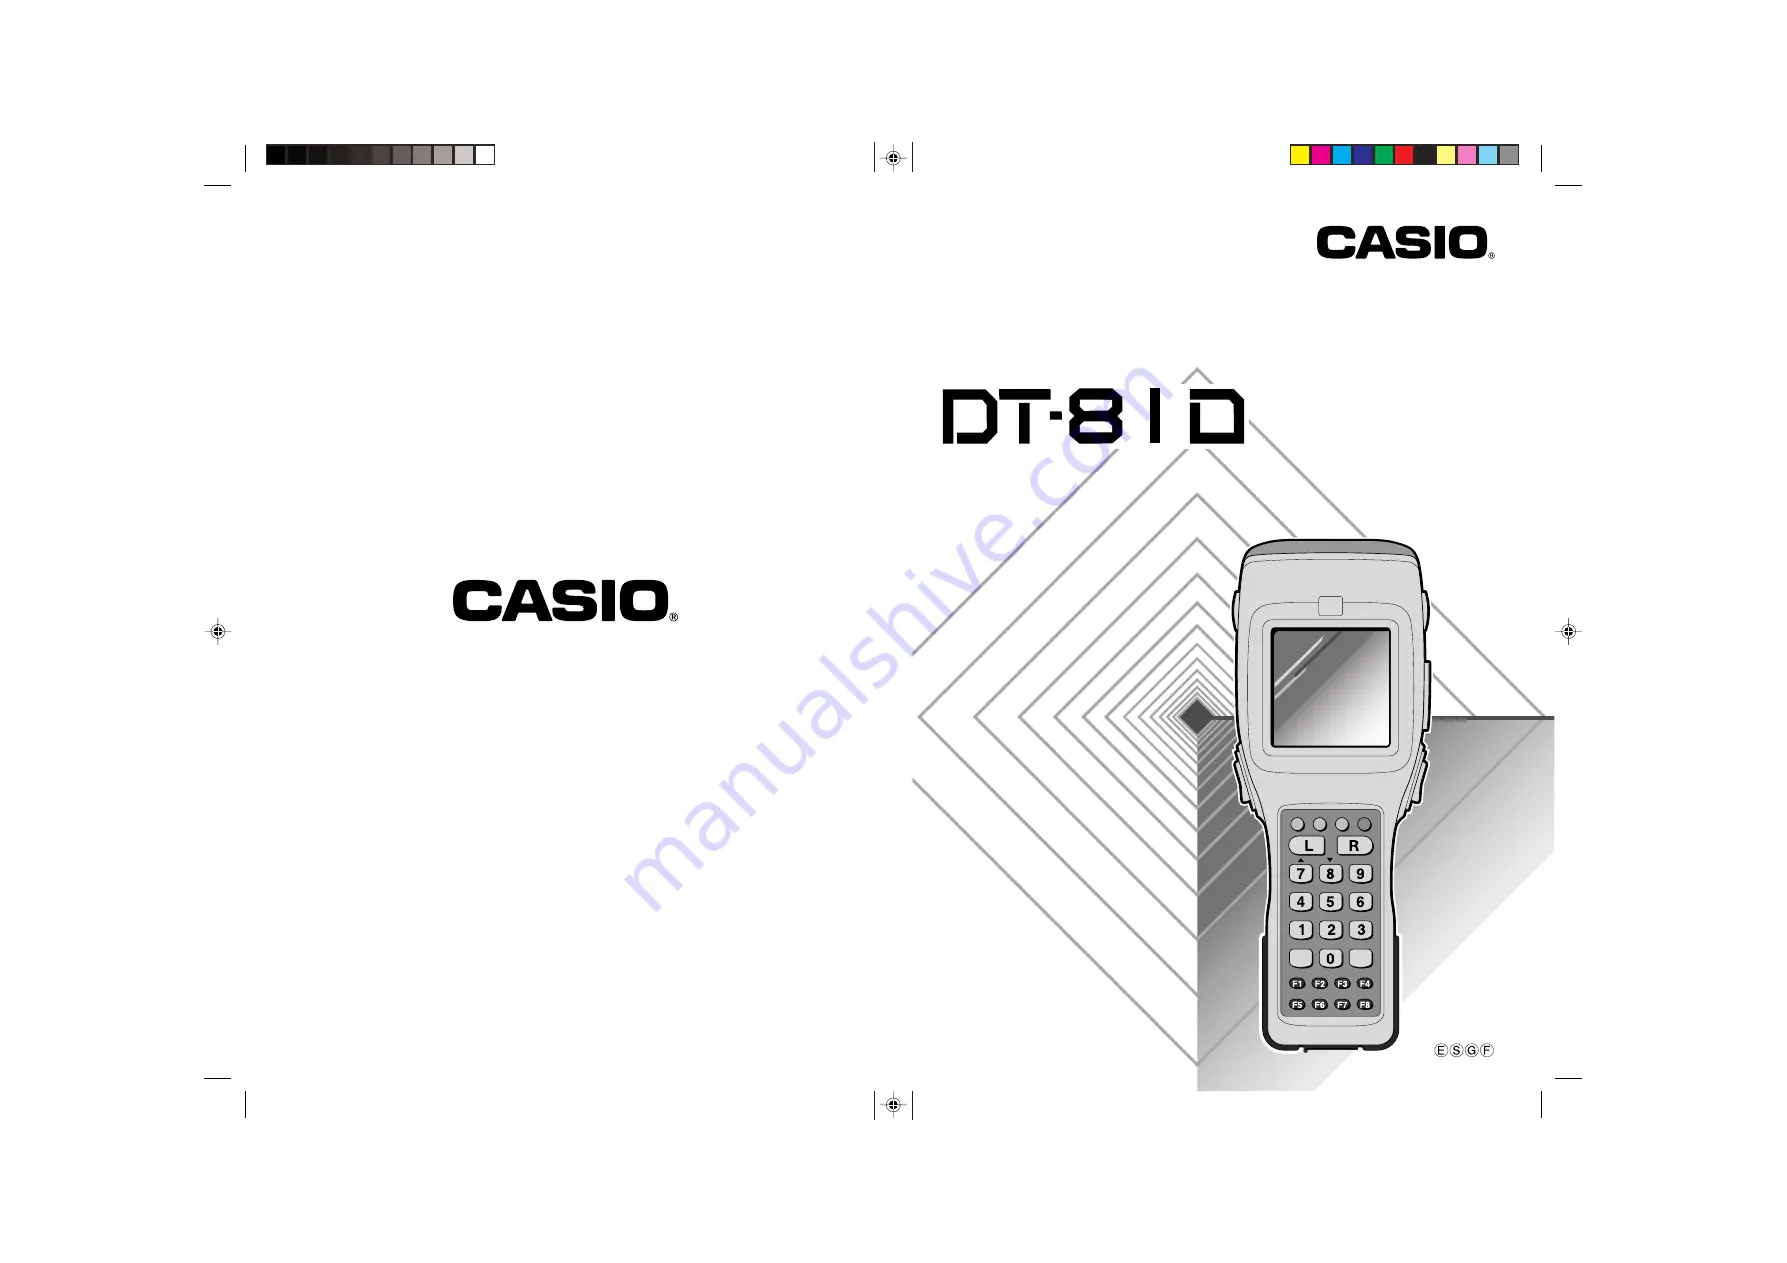
• Congratulations upon your selection of

the CASIO DT-810 Data Collector.

• Be sure to familiarize yourself with the

basic operations described in this
manual before actually trying to
operate the Data Collector.

• Enhorabuena por la selección del

colector de datos DT-810 CASIO.

•  Antes de intentar utilizar este colector

de datos, familiarícese con las
operaciones básicas descritas en este
manual.

• Mit dem Datenerfassungsgerät CASIO

DT-810 haben Sie eine gute Wahl
getroffen.

• Bitte machen Sie sich mit den in

diesem Handbuch beschriebenen
Grundfunktionen vertraut, bevor Sie
beginnen, mit dem
Datenerfassungsgerät zu arbeiten.

• Nous vous remercions d‘avoir choisi le

Collecteur de Données Casio DT-810.

• Veuillez vous familiariser avec les

démarches de base, décrites dans le
présent manuel, avant d’essayer
d’utiliser le Collecteur de Données.

User’s Guide
Guía del usuario
Benutzerhandbuch
Guide de l’utilisateur

Data Collector
Colector de Datos
Datenerfassungsgerät
Collecteur de Données

Imprimé au Japon

Printed in Japan

 PN430009-001        AB0006-004101A

Summary of Contents for DT-810

Page 1: ...t CASIO DT 810 haben Sie eine gute Wahl getroffen Bitte machen Sie sich mit den in diesem Handbuch beschriebenen Grundfunktionen vertraut bevor Sie beginnen mit dem Datenerfassungsger t zu arbeiten No...

Page 2: ...plied incorrectly creates the danger of death or serious personal injury This symbol indicates information that if ignored or applied incorrectly can create the possibility of death or serious persona...

Page 3: ...luid leakage heat emission explosion and fire Never dispose of the battery pack by incinerating it or otherwise expose it to heat Doing so creates the danger of battery pack heat emission explosion an...

Page 4: ...gn Objects Should any foreign matter ever get into the unit immediately turn off power and contact your original dealer or an authorized CASIO service provider Continued use creates the danger of fire...

Page 5: ...sion and rupture Do not drop or throw batteries or subject them to strong impact Doing so can create the danger of battery leakage heat emission and rupture Do not deform batteries Doing so can damage...

Page 6: ...cal Communication Unit and Charger Unit Power the Optical Communication Unit and charger unit only with a power outlet whose voltage matches that marked on the Optical Communication Unit and charger u...

Page 7: ...t locate the unit on a surface that is unstable or uneven Doing so creates the danger of the unit falling or tipping over which can cause personal injury Do not locate the unit in an area subjected to...

Page 8: ...battery leakage heat emission and rupture or damage the equipment When storing and disposing of alkaline batteries insulate the terminals with insulating tape Mixing batteries together with other bat...

Page 9: ...skin irritation Keep the battery pack out of the reach of small children Do not let small children remove the battery pack from the charger unit or the unit it is powering Optional Optical Communicat...

Page 10: ...these procedures Contents Safety Precautions E 2 Unpacking E 12 Introduction E 13 Handling Precautions E 13 Data Collector Handling Precautions E 13 DT 810 System Diagram E 14 General Guide E 15 Powe...

Page 11: ...ication Unit and connect the Data Collector E 34 Charging the Battery Pack E 35 Setting the Optical Communication Unit E 36 Connecting Two or More Optical Communication Units E 38 DIP Switch Settings...

Page 12: ...below are included If anything is missing or damaged contact your original dealer or your nearest CASIO Service Provider Data Collector Back up battery lithium Main batteries Wrist Strap Two AA LR6 si...

Page 13: ...uch panel Use of a sharp pointed object can damage stroke keys and the touch panel and cause shorting of internal circuitry Use a soft dry cloth when cleaning the Data Collector Do not wipe with a wet...

Page 14: ...DT 889AX DT 884RSC DT 885RSC DT 887AX Lithium Ion Battery Pack DT 823LI High speed Charger Unit DT 820CHGE Optical Communication Unit DT 860IOE Cables M60E M70E For High Speed Charger Unit DT 9020ADP...

Page 15: ...Wrist strap hook Hook for installing the wrist strap 8 Laser warning label Class 1 laser warning label 9 Speaker Outputs operation confirmation tones Take care to avoid blocking the speaker holes and...

Page 16: ...ies Use only AA LR6 size alkaline batteries or the specified lithium ion battery pack specified for the DT 810 The lithium ion battery pack discharges naturally during the time it takes for it to get...

Page 17: ...batteries onto the battery compartment cover making sure their positive and negative ends are facing correctly 3 Attach the battery compartment cover to the Data Collector and slide the main battery c...

Page 18: ...he cover 2 Taking care to correctly orient the terminals of the battery pack align the tab on the back of the supplied lithium ion battery pack battery compartment cover with the groove of the battery...

Page 19: ...cover 2 Slide the lithium ion battery pack from the battery compartment cover Installing the Back up Battery 1 Use a screwdriver to rotate the screw that secures the backup battery holder in place cou...

Page 20: ...ce the backup battery as soon as possible after the low voltage message appears on the display Always make sure that power is turned off when replacing the backup battery and use only a CR2032 lithium...

Page 21: ...t into the back of the backup battery holder and pull out it 3 Pull out the backup battery holder 4 Remove the old backup battery Wipe off a new CR2032 lithium battery with a dry cloth and load it int...

Page 22: ...g damaged by dropping during transport To attach the wrist strap 1 Pass the wrist strap through the metal wrist strap bar on the bottom of the data collector 2 Double the strap back through its own lo...

Page 23: ...ormal Mode or Function Mode Normal Mode Numeric input Function Mode 0 to 6 Executes function assigned to each key 7 Increases display contrast 8 Decreases display contrast 9 Turns display backlight on...

Page 24: ...and displays an alpha character touch panel screen Switching Between Alpha Mode Touch Panel Screens Pressing the Multi function L R keys while in the Alpha Mode changes the touch panel screen as show...

Page 25: ...ressed accidently you must complete the other steps of the above procedure to reset the Data Collector Perform a RAM drive check If the drive is not formatted display the check screen and format it Al...

Page 26: ...arrows 5 Press on the menu to end the touch panel alignment 6 Press to quit the SYSTEM MENU CALIBRATION Calibration Finished 1 Retry 2 End Before Using the Data Collector for the First Time CALIBRATI...

Page 27: ...the Data Collector s reader port try moving the Data Collector a bit farther away from the bar code The Data Collector should be able to read a bar code from the maximum distance of 38 centimeters und...

Page 28: ...Data Collector and the bar code For larger bar codes position the Data Collector so that the bar code fits into the laser beam Important Never look directly into the laser beam emitter or point the la...

Page 29: ...s communication Original Communication Enabled by contact only DT 810 Computer Communication Data can be transferred directly between the Data Collector and a personal computer by using a cable to con...

Page 30: ...ontact Distance Approximately 38cm Normal Mode Approximately 25cm High resolution Mode Input Touch Panel Keys Analog touch panel Stroke Keys 28 Infrared Communications Interface Infrared contact less...

Page 31: ...wo read operations every 10 seconds Backup One CR2032 lithium battery Battery life Approximately two weeks when only the backup battery is supplying backup power Size and Weight Dimensions Approximate...

Page 32: ...re to use the specified RS 232C cable DT 881RSC DT 882RSC DT 883RSC DT 887AX to connect the Optical Communication Unit to a personal computer The Optical Communication Unit can be located on a desk or...

Page 33: ...ommunication operations Off Not communicating Flashing Green Communication in progress Lit Red Optical Communication Unit connection problem 8 Charge indicator Indicates the charge status of the lithi...

Page 34: ...e DT 881RSC DT 882RSC DT 883RSC DT 887AX to the RS 232C connector at the top of the Optical Communication Unit Connect the other end of the cable to the computer s RS 232C connector When the RS 232C c...

Page 35: ...ature Important If the charge indicator starts to flash red during charging remove the battery pack and then reattach it If this does not solve the problem it means that the battery pack is defective...

Page 36: ...ou can even use the wood screws to anchor the base onto a horizontal surface If you do not anchor the base make sure you locate the Optical Communication Unit where there is no danger of it falling To...

Page 37: ...the tabs and remove the base from the unit 5 Position the base on the wall where you want to hang the Optical Communication Unit and use an awl or some other sharp object to mark the positions of the...

Page 38: ...ssary after hanging the Optical Communication Unit on a wall Connecting Two or More Optical Communication Units Up to 7 Optical Communication Units can be connected together using optional 6 6 pin mod...

Page 39: ...00bps ON OFF OFF 9 600bps OFF ON OFF 19 200bps ON ON OFF 38 400bps OFF OFF ON 57 600bps ON OFF ON 115 200bps OFF ON ON Communication speed can be set by Data Collector overrides this setting Connectio...

Page 40: ...d 9 600 38 400 115 200 230 400bps Charger Charger Type Fixed voltage with current limiter Charge Time Approximately 2 5 hours Power Supply Method Special AC adaptor Current Consumption Approximately 6...

Page 41: ...ging Red Charging Flashing Red Defective battery pack Green Charging complete Flashing Green Temperature outside of allowable charging range Charging will resume with a return to normal temperature 2...

Page 42: ...llow the AC adaptor cord to bend too sharply Doing so can result in a broken electrical connection If the CHARGE indicator flashes red during charging remove the battery pack and re insert it If the r...

Page 43: ...s Charger Charger Type Fixed voltage with current limiter Charge Time Approximately 2 5 hours Power Supply Method Special AC adaptor Current Consumption Approximately 600mA Dimensions and Weight Dimen...

Page 44: ...plied incorrectly creates the danger of death or serious personal injury This symbol indicates information that if ignored or applied incorrectly can create the possibility of death or serious persona...

Page 45: ...getroffen Bitte machen Sie sich mit den in diesem Handbuch beschriebenen Grundfunktionen vertraut bevor Sie beginnen mit dem Datenerfassungsger t zu arbeiten Nous vous remercions d avoir choisi le Col...

Reviews: