Carson DAZZLER RTR, Manual
The Carson DAZZLER RTR is a sleek and high-performance RC car that will leave you mesmerized by its agility and speed. Unlock the full potential of this impressive machine by downloading the user manual for free from our website. Discover how to maximize your driving experience and push your limits with the Carson DAZZLER RTR.
Share
Download


Reviews:
No comments
Related manuals for DAZZLER RTR
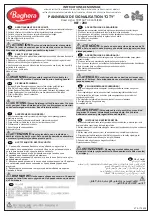
200
Brand: Baghera Pages: 3
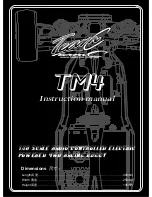
TM4
Brand: Team C Pages: 34

TM2
Brand: TEAMCRACING Pages: 33

Quad 12 V
Brand: Jamara Pages: 12

1993 Honda Civic Coupe 2 ‘n 1 TUNER Series
Brand: REVELL Pages: 8

M1070 & M1000 w/D9R
Brand: Eduard Pages: 4

331893
Brand: POLA G Pages: 11

TR 10
Brand: TeamC Racing Pages: 36

SC18 Short course 20120
Brand: AE Pages: 16

78061
Brand: K'Nex Education Pages: 2

FTK-MT12-NEO/GR
Brand: Funtek Pages: 22

RC10 B3 9003
Brand: AE Pages: 26

370-109V80
Brand: Aosom Pages: 9

Circuit ECX1000EU
Brand: Electrix RC Pages: 16

805-769
Brand: NORDIC PLAY Pages: 50

Dominus 10SC
Brand: Helion Pages: 28

DUCATI ENDURO
Brand: Peg-Perego Pages: 48

410011
Brand: Jamara Pages: 8


