EN - 1
Wireless USB Adapter
Article: CNP-WF518N3
Quick Guide v1.0
Package Contents
1.
CANYON CNP-WF518N3 Main Unit
2.
Driver CD
3.
Quick Guide
4.
Warranty Card
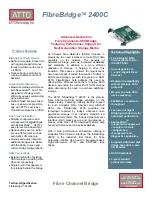
Hardware Overview
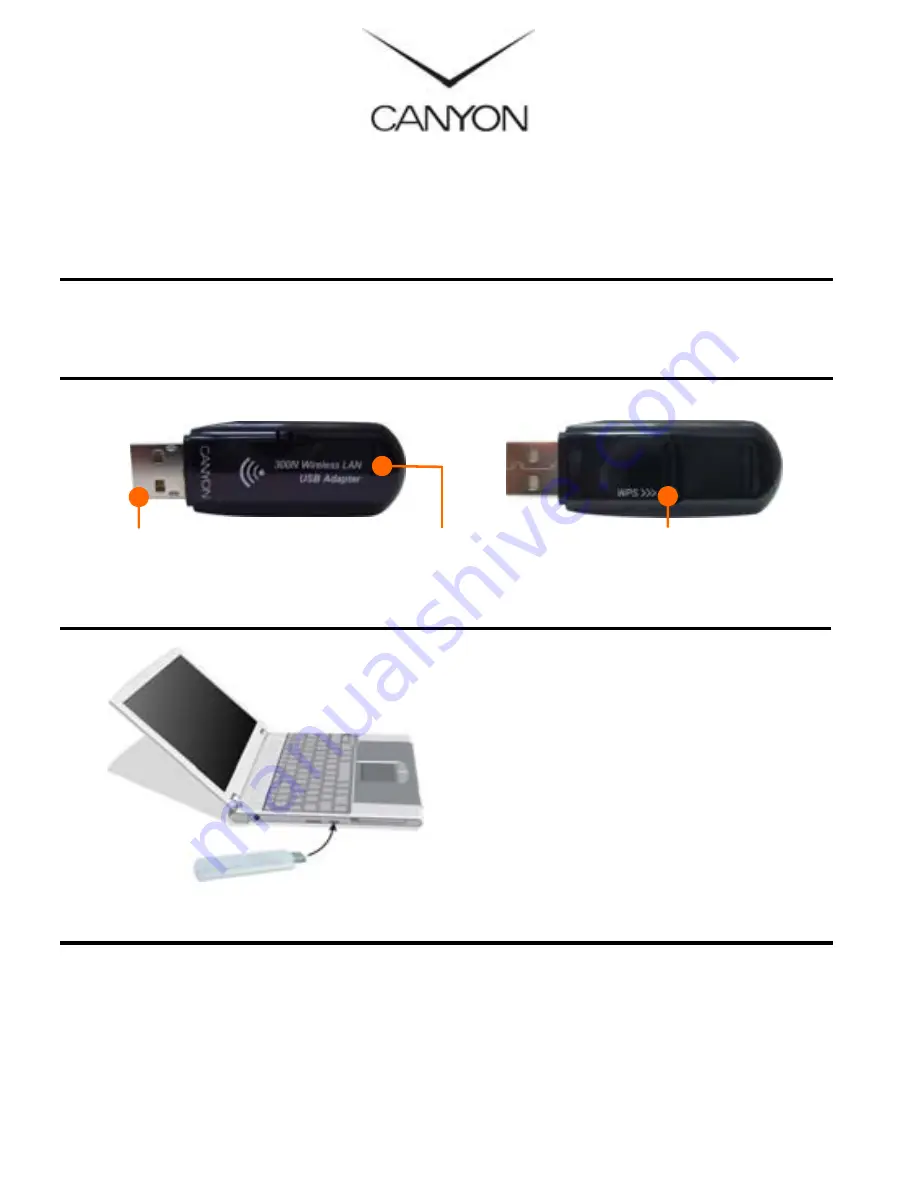
Connecting to Device
1.
Power on PC.
2.
Insert the device into an USB
2.0 slot.
3.
Insert Driver CD into
CD-ROM to start driver
installation.
NOTE:
It is recommended to install driver
from Driver CD for full functionali-
ties.
Installing Device Driver
NOTE:
Please click on Ok when prompted to install Unsigned Driver. This is a
Windows system warning that indicates the specific driver program is not
certified by Windows.
1.
After inserting Driver CD, click on Setup.exe to launch driver
installation process.
WPS Button
USB Connector
Status LED
Indicator