Canon ZR900, Instruction Manual
The Canon ZR900 Instruction Manual is an essential companion for users of this remarkable product. Access and download the comprehensive manual for free from our website, allowing you to maximize your understanding and utilization of the Canon ZR900's incredible features and functionalities.
Share
Download


Reviews:
No comments
Related manuals for ZR900

VP-M2100B
Brand: Samsung Pages: 134

VP-MX20C
Brand: Samsung Pages: 121

VQ DV8
Brand: VistaQuest Pages: 11
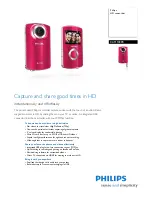
CAM100
Brand: Philips Pages: 3
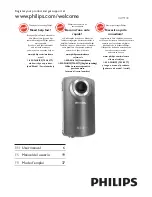
CAM100
Brand: Philips Pages: 19

128MB-DIGITAL CAMCORDER KEY019
Brand: Philips Pages: 26

68 VKR 43
Brand: Philips Pages: 34

DV1
Brand: MAGINON Pages: 24

Action Sports HD 1
Brand: MAGINON Pages: 30

VC-A61P
Brand: Lumens Pages: 48

VC-A71P
Brand: Lumens Pages: 54

QSD-721
Brand: Qcam Pages: 10

S10W
Brand: iShare Pages: 30

16-830
Brand: Radio Shack Pages: 44

MSV-2010
Brand: Mahe Pages: 35

CAMCOLMHA9
Brand: Velleman Pages: 38

CAMCOLVC13
Brand: Velleman Pages: 29

CAMCOLVC18
Brand: Velleman Pages: 53


