Maintenance, Storage and Transport
Battery Instructions (CP730 Only)
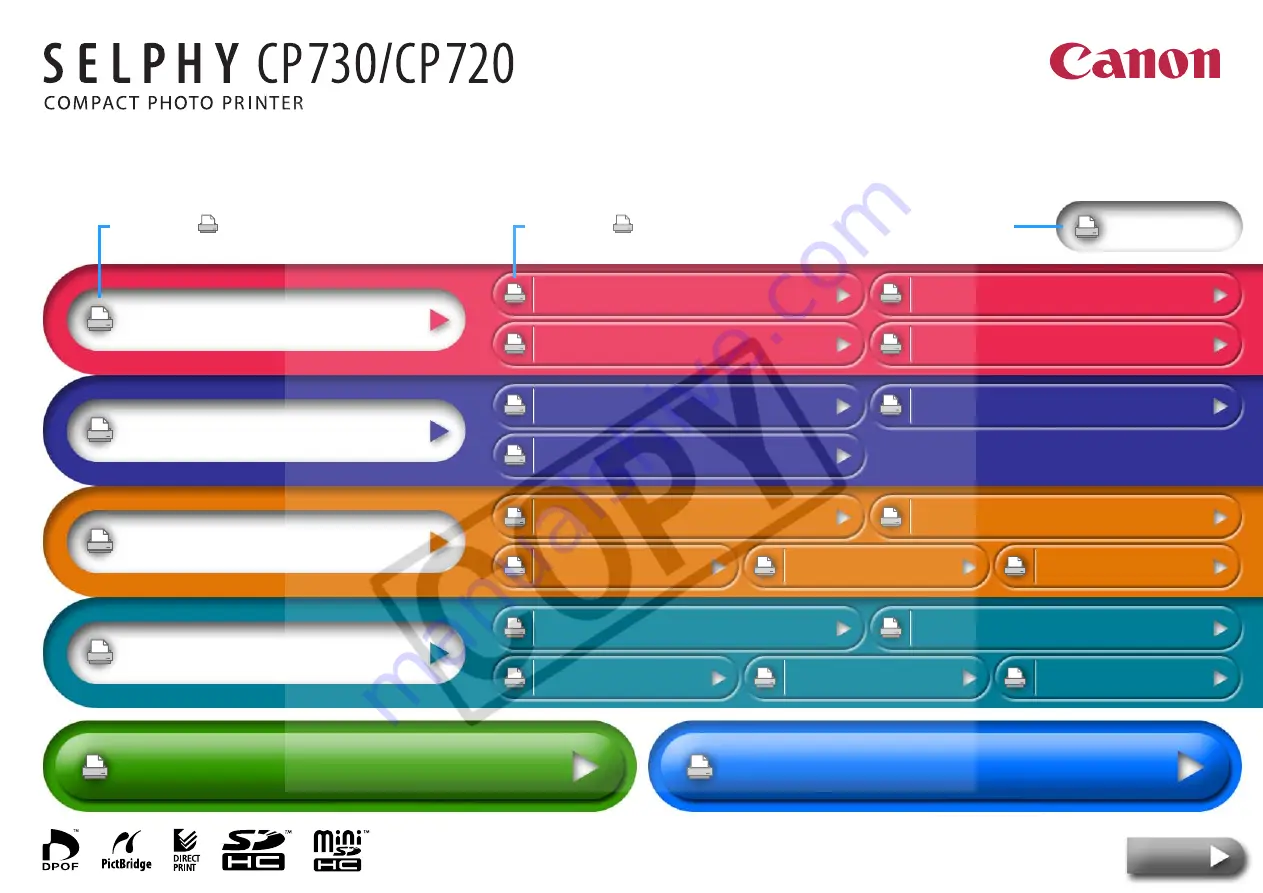
Clicking
the
icon
prints
the
entire
chapter.
Clicking
the
icon
at
the
start
of
each
topic
prints
out
that
topic.
Clicking
this
button
prints
the
entire
guide.
Printer User Guide
The Canon Selphy CP720 offers convenient printing with its compact design and user-friendly features. Enhance your experience by downloading the free Printing Manual from manualshive.com, where you can easily access step-by-step instructions and troubleshooting tips to make the most out of this exceptional product.
Maintenance, Storage and Transport
Battery Instructions (CP730 Only)
Clicking
the
icon
prints
the
entire
chapter.
Clicking
the
icon
at
the
start
of
each
topic
prints
out
that
topic.
Clicking
this
button
prints
the
entire
guide.
Printer User Guide