

1
2
3
Ever since high-definition video recording capability
was introduced in the groundbreaking Canon EOS 5D
Mark II, still and video photographers alike have been
exploring the exciting capabilities of EOS HD video.
This QuickGuide is written to help all photographers,
from beginners to advanced, to produce high-quality
videos with the least amount of unnecessary effort.
General Tips
1. Make sure you have ample battery power. Live
View and movie recording draw more power than
still photography. A fully-charged battery with a
back-up or two will avoid your camera running
out of power during a video shoot.
2. Make sure you are using a memory card that has
a continuous read/write speed of
8MB/second or
faster
. We recommend CompactFlash cards that
have an Ultra DMA (UDMA) specification or SD
Cards that have a Class 6 specification or higher.
3. Keep in mind EOS DSLRs allow a maximum
video file size of 4GB. Larger memory card
capacities will allow you to store more files, but
each video file will have a maximum size of 4GB.
4. You will need a powerful computer for smooth
playback of HD video files. Minimum Mac
or Windows requirements include a Core 2
Duo processor that is 2.6GHz or faster and a
minimum 2GB of RAM. Also make sure you have
ample hard drive space available. A 15-minute
HD video with sound could require at least 5GB
of storage space, not including out-takes.
5. Avoid shooting in direct sunlight and high
temperatures. Video recording generates more
heat than still photography. Prolonged recording
at high temperatures can degrade image quality
and may cause your camera to temporarily shut
down to prevent over-heating. If a thermometer
icon appears on the LCD display you should shut
off the camera for a few minutes to allow it to cool
down before you resume video recording.
How to Start and Stop Recording
EOS-1D Mark IV
1. In the second
Set-up Menu
select
Live View/
Movie Function Set Screen
. Set your choice to
Movie
.
2. Press the
Set Button
to activate Live View.
3. Press the
Flash Exposure Lock (FEL) Button
on the rear of the camera to start recording. A red
icon will appear on the rear LCD monitor. Press
FEL again to stop.
EOS 5D Mark II
1. In the second
Set-up Menu
select
Live View/
Movie Function Set Screen
, then select
Movie
.
2. Press the
Set Button
. The
Screen Setting
options will appear. Select
Movie Display
, then
press the
Set Button
again.
3. Press the
Live View Button
(to the left of the
viewfinder) to display the Live View image.
4. Press the
Set Button
to start shooting a movie.
To stop shooting the movie, press the
Set Button
again. A red icon will appear on the rear LCD
monitor. While shooting a movie, you can take
a still photo at any time by pressing the shutter
button.
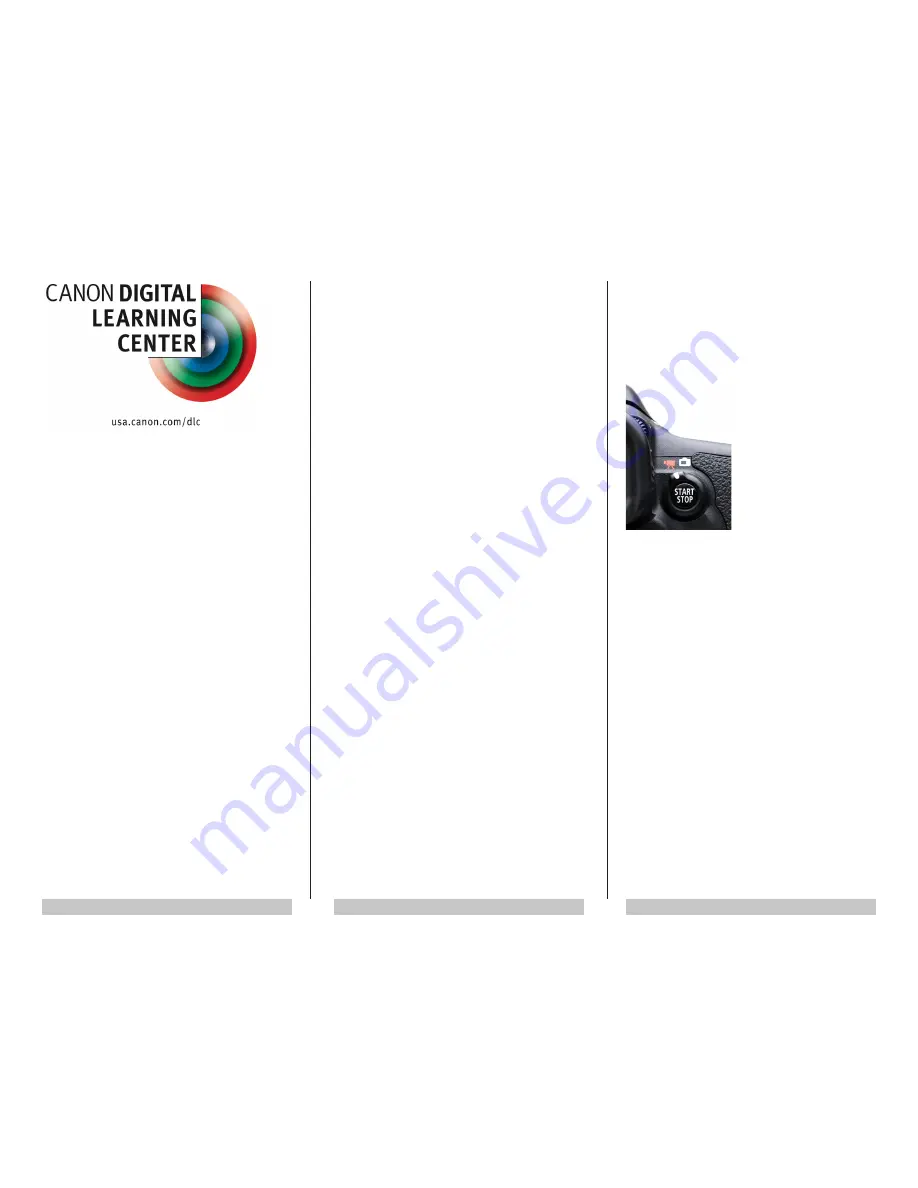
EOS 7D
1. Set the
Live View/Movie
Switch
on the back of the
camera to
Movie
(the red
video camera icon). The rear
LCD monitor will display Live
View.
2. Press the
Start/Stop
Button
to begin recording.
A red icon will appear on the
rear LCD monitor. Press the
Start/Stop Button
again
to stop.
EOS Rebel
T1i and T2i
1. Turn the
Exposure Mode Dial
to the
Movie
Camera
icon. The monitor will display Live View.
2. Press the
Live View/Movie Button
on the back
of the camera to begin recording. A red icon will
appear on the LCD monitor. Press the
Live View/
Movie Button
again to stop.
Movie Recording Size Options
EOS DSLRs offer a choice of recording sizes:
• 1920 x 1080 (Full HD—the default)
• 1280 x 720 (HD)
• 640 x 480 (SD)
• 640 x 480 Crop (Rebel T2i/EOS 550D only)
Recording size selections are available on your
camera's
Movie Shooting Menu
. In general, Full HD
is best for larger HD displays such as televisions and
SD is best for videos intended for the Internet. If in
doubt, choose Full HD. You will have a full-resolution
file and you can always downconvert to SD later.
QuickGuide to EOS
DSLR Video Recording


