Cannon ICON 1000, Use And Installation Instructions
Discover the Cannon ICON 1000 user manual, your essential guide for use and installation instructions. This comprehensive manual provides all you need to maximize your device's potential. Download it for free from manualshive.com and get detailed, step-by-step help to enhance your product experience.
Share
Download
Reviews:
No comments
Related manuals for ICON 1000

IKTS 35
Brand: Bartscher Pages: 96

LPG4920 Series
Brand: Bartscher Pages: 27

105829
Brand: Bartscher Pages: 22

Deluxe 4715
Brand: Oster Pages: 7

HD-26
Brand: Morrone Pages: 48

SRC-10C
Brand: Sipora Pages: 4

CEX200V
Brand: Roper Pages: 8

A565
Brand: ETNA Pages: 38

AMN805GEVSWE
Brand: La Germania Pages: 52

DSIE456
Brand: Tricity Bendix Pages: 32

SIE531
Brand: Tricity Bendix Pages: 36

C150
Brand: Creda Pages: 24

GN7A2IFXD
Brand: Samsung Pages: 14

GN642FFGD
Brand: Samsung Pages: 14
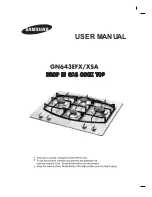
GN643EFX
Brand: Samsung Pages: 28

GN642FFXA
Brand: Samsung Pages: 31
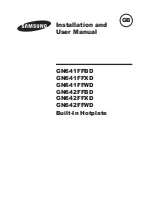
GN641FFBD
Brand: Samsung Pages: 28

NA30M9750T Series
Brand: Samsung Pages: 84


