


- 1 -
I
I
n
n
s
s
t
t
a
a
l
l
l
l
a
a
t
t
i
i
o
o
n
n
C
C
o
o
u
u
r
r
s
s
e
e
V
V
.
.
2
2
0
0
1
1
0
0
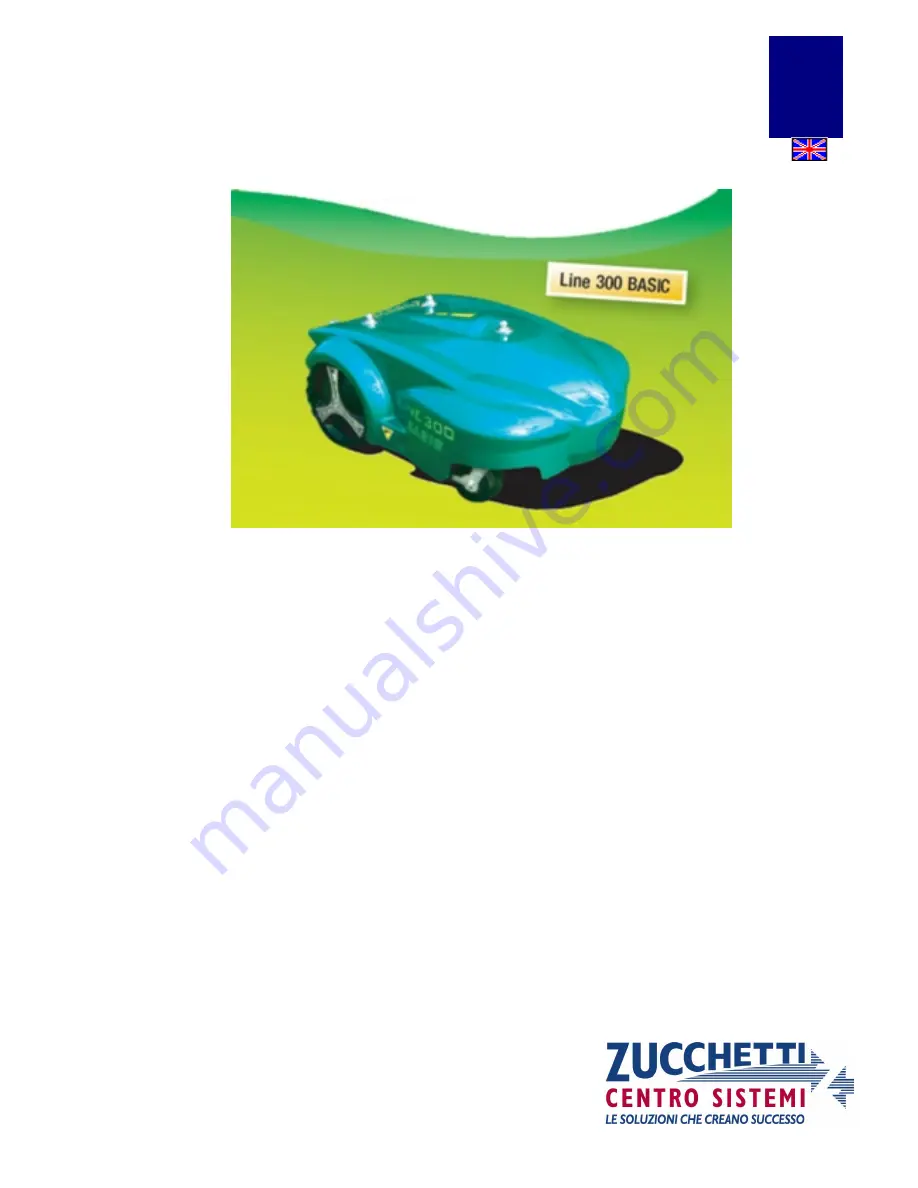
L
L
a
a
w
w
n
n
M
M
o
o
w
w
e
e
r
r
R
R
o
o
b
b
o
o
t
t
Installation ...................................................................................................................................................... 2
To remind before the installation ................................................................................................................... 7
Robot Programming ....................................................................................................................................... 8
Upgrade and Connection – Mother Board ................................................................................................... 12
Display Board Connection (200Z04600A) .................................................................................................. 12
Robot Software Update ................................................................................................................................ 13
Service Menu................................................................................................................................................ 16
Service Menu - (Release November 2009) .............................................................................................. 16
Service Menu: “Statistics”........................................................................................................................ 17
Service Menu: “Test Motors”................................................................................................................... 17
Service Menu “Battery Type” .................................................................................................................. 18
Service Menu “Test Tilt” ......................................................................................................................... 18
Service Menu “Test Bump” ..................................................................................................................... 18
Service Menu “Blackout”......................................................................................................................... 18
Service Menu “Border Blade”.................................................................................................................. 19
Errors displayed by the robot and related causes ......................................................................................... 20
Meaning of the leds during the starting up
..........................................
Error! Bookmark not defined.
Meaning of the leds while the robot is working
...................................
Error! Bookmark not defined.
Summary sheet .........................................................................................
Error! Bookmark not defined.
Advanced problems...................................................................................................................................... 26
01
-------
2010


