


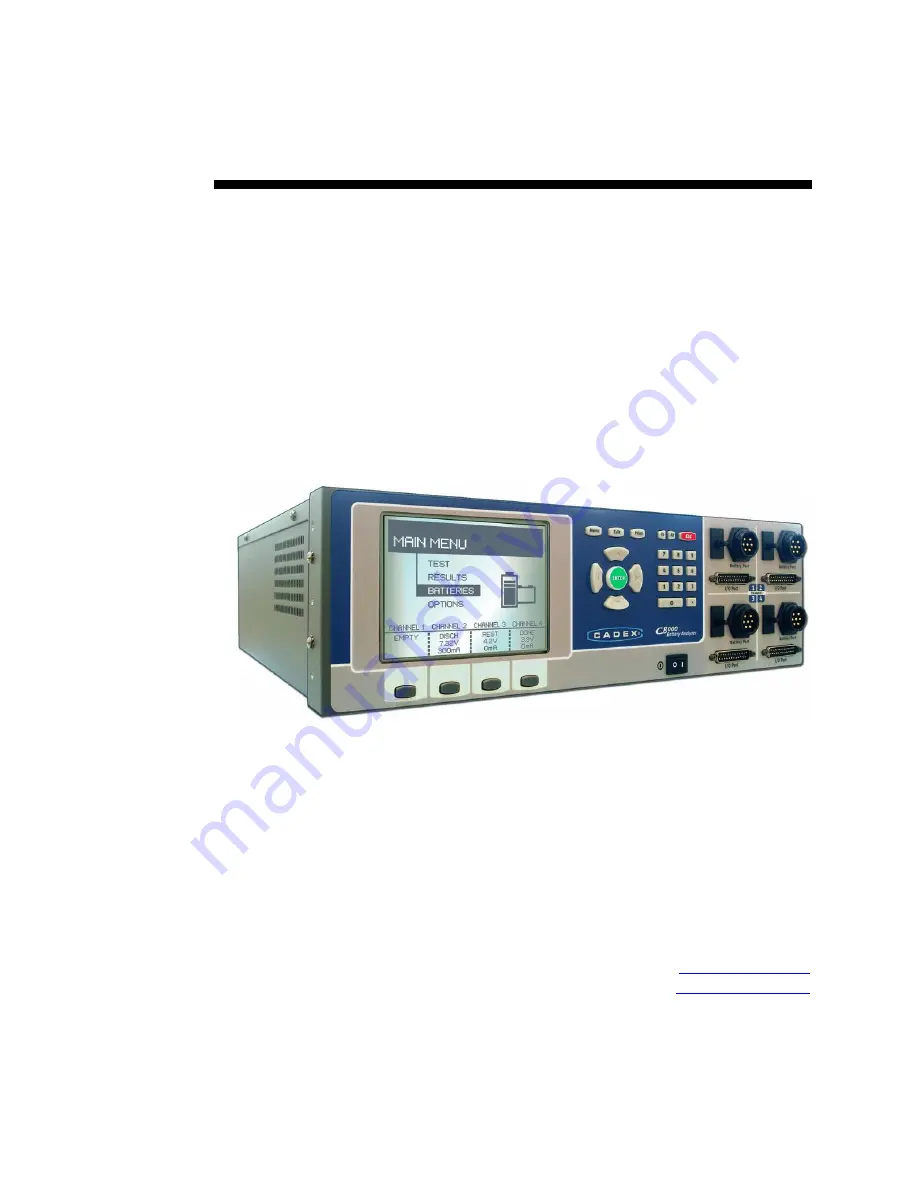
C8000 Battery Testing System
User Manual (V2.x)
Cadex
®
Electronics Inc.
22000 Fraserwood Way
Richmond, British Columbia
Canada V6W 1J6
Phone: 1-604-231-7777
FAX: 1-604-231-7755
E-mail:
Summary of Contents for C8000
Page 12: ......
The junger C8000 user manual is the essential resource for understanding and maximizing the potential of this remarkable product. With clear instructions, troubleshooting tips, and expert guidance, users can access and download this manual for free from manualshive.com, ensuring an optimal experience with their junger C8000.
C8000 Battery Testing System
User Manual (V2.x)
Cadex
®
Electronics Inc.
22000 Fraserwood Way
Richmond, British Columbia
Canada V6W 1J6
Phone: 1-604-231-7777
FAX: 1-604-231-7755
E-mail:
Page 12: ......


