BURL B16-BMB3 MOTHERSHIP, Quick Start Manual
Experience unparalleled recording quality with the BURL B16-BMB3 MOTHERSHIP. Ensure a smooth set-up with the included Quick Start Manual. Download the full user manual for detailed instructions on maximizing your recording capabilities. Get your free manual at manualshive.com and unleash the power of professional audio recording.
Share
Download


Reviews:
No comments
Related manuals for B16-BMB3 MOTHERSHIP

14GX37
Brand: Sanyo Pages: 39

831010
Brand: Televes Pages: 50

IW-RJ460-08
Brand: InWin Pages: 17

Echo Express SEL
Brand: Sonnet Pages: 16

Echo Express III-D
Brand: Sonnet Pages: 18
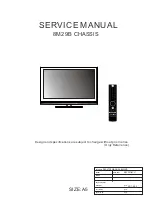
8M29B
Brand: Skyworth Pages: 45
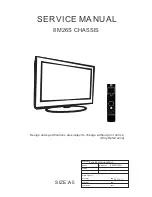
8M26S
Brand: Skyworth Pages: 57

6200plus Series
Brand: RadiSys Pages: 40

MITX-V1K0 Series
Brand: Quanmax Pages: 96

NJR-TW01UHD
Brand: IDK Pages: 44

RM16M VAC-R
Brand: Raymar Pages: 32

iMediaChassis/20
Brand: B+B SmartWorx Pages: 35

RSV-L4411
Brand: Rosewill Pages: 9

AFF A700
Brand: NetApp Pages: 1672


