


Quartet 3500 User Guide ~ 5th Edition ~ 17th January ’03 ~ 4393
1
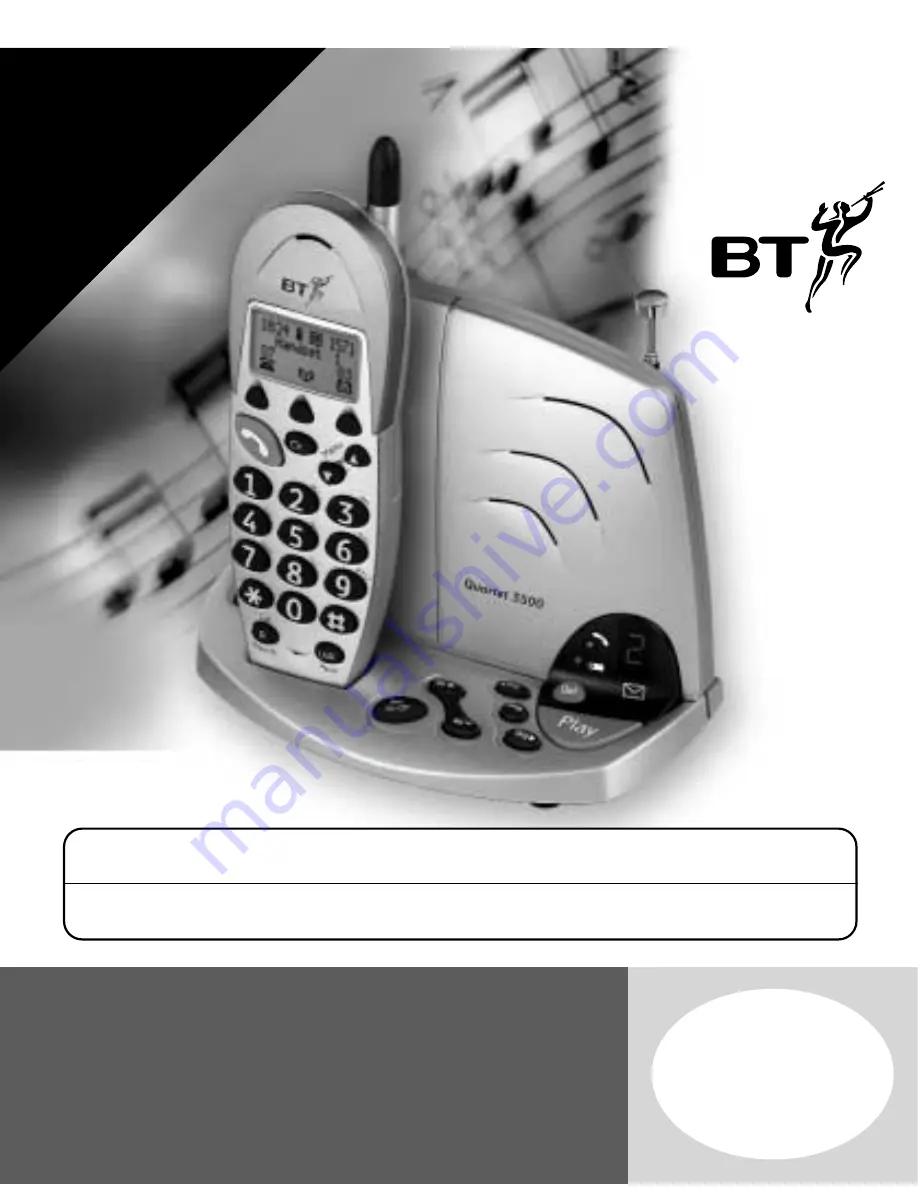
Quartet 3500
Combined Cordless Telephone
and Digital Answering Machine
User
Guide
This equipment is not designed for making emergency telephone calls when the power fails.
Alternative arrangements should be made for access to emergency services.
This product is intended for connection to analogue public switched telephone networks
and private switchboards in the United Kingdom.
YOU
MUS
T
SUBSCRIBE
TO
Y
OUR
NETW
ORK
PR
O
VIDER’S
*CALLER
DISPLA
Y,
*CALL
W
AITING,
*CALL
MINDER
OR
1571
SER
VICE
BEFORE
THESE
FEA
TURES
WILL
W
ORK.
*A
QUAR
TERL
Y
FEE
IS
PA
YABLE.


