background image

Setup is Complete!

Qu

ick

 Se

tu

p G

u

id

e

Setting Up the Machine

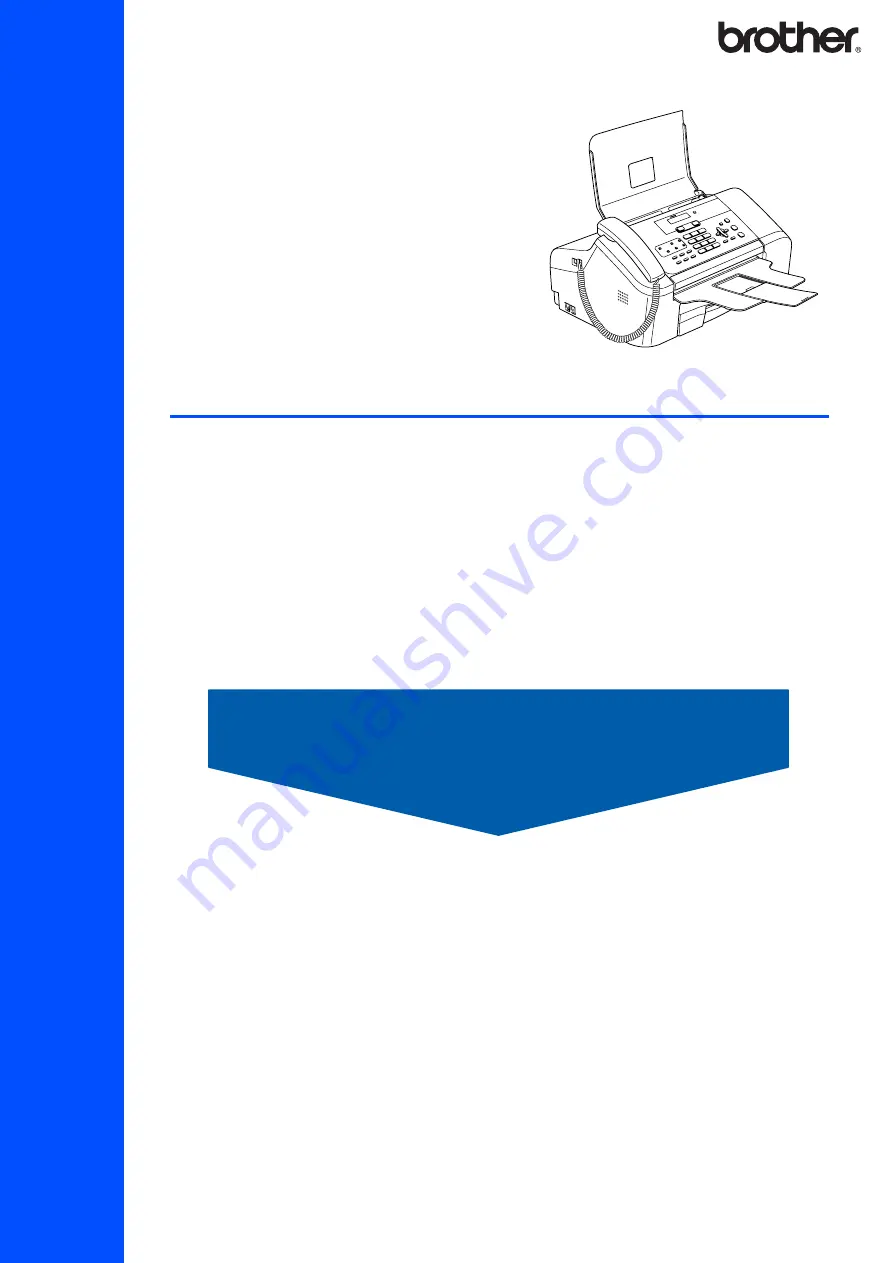
FAX-1860C


Before you can use the machine, you must set up the hardware. 
Please read this Quick Setup Guide for the correct setup procedure.

Keep this Quick Setup Guide and the User’s Guide in a convenient place for quick and easy reference 
at all times.

Summary of Contents for FAX-1860C

Page 1: ...chine FAX 1860C Before you can use the machine you must set up the hardware Please read this Quick Setup Guide for the correct setup procedure Keep this Quick Setup Guide and the User s Guide in a convenient place for quick and easy reference at all times ...

Page 2: ...void to prevent possible damage to the machine or other objects Improper Setup icons alert you to devices and operations that are not compatible with the machine Note User s Guide Notes tell you how you should respond to a situation that may arise or give tips about how the current operation works with other features Indicates reference to the User s Guide we have supplied ...

Page 3: ... Save all packing materials and the carton in case for any reason you must ship your machine Quick Setup Guide User s Guide Accesory Order Form Handset Curled Cord Telephone Handset Telephone Line Cord One Touch Labels Test Sheet Black LC51BK Yellow LC51Y Cyan LC51C Magenta LC51M Ink Cartridges ...

Page 4: ...ey 13 Mode keys 14 LCD Liquid Crystal Display For the details of the control panel see Control panel overview in Chapter 1 of the User s Guide Note When the machine is idle not being used it will return to the default display shown above The default display shows the date time and the current receive mode 14 1 2 3 4 5 6 7 8 9 13 12 11 10 01 01 13 00 Fax 1 Date 2 Time 3 Receive mode 01 01 13 00 Fax...

Page 5: ...apter 2 of the User s Guide 1 Pull the paper tray completely out of the machine If the paper support flap 1 is open close it Open the output paper tray cover 2 2 If you are using Letter A4 or Legal size paper press and hold universal guide release button 1 as you slide out the front of the paper tray to match the paper size you are using 3 Press and slide the paper side guides 1 and paper length g...

Page 6: ... the paper tray cover does not slide all the way to the end of the paper tray 8 Slowly push the paper tray comletely into the machine 9 While holding the paper tray in place pull out the paper support until it clicks and unfold the paper support flap Note Do not use the paper support flap for Legal paper 4 Connecting the phone line 1 Connect the telephone line cord Connect one end of the telephone...

Page 7: ... of the User s Guide 5 Connecting the power cord 1 Connect the power cord 6 Installing the ink cartridges Warning If ink gets in your eyes wash them out with water at once and if irritation occurs consult a doctor 1 Make sure that the power is turned on The LCD shows No Cartridge 2 Open the ink cartridge cover 1 3 Pull all the lock release levers down and remove the yellow protective part 1 Note D...

Page 8: ...dge color 2 as shown in the diagram below 7 Lift each lock release lever and gently push until it clicks and then close the ink cartridge cover Note If the LCD shows Install Black Install Yellow Install Cyan or Install Magenta after you install the ink cartridges check that the ink cartridges are installed properly The machine will clean the ink tube system for use for the first time This process ...

Page 9: ...ill the ink cartridges provided with your machine We also strongly recommend that you continue to use only Genuine Brother Brand replacement ink cartridges Using or attempting to use potentially incompatible inks and or cartridges in your machine may cause damage to the machine itself and or it may result in unsatisfactory print quality Our warranty coverage does not apply to any problem that was ...

Page 10: ...oth black and color the LCD shows Start Cleaning q 1 Yes 2 No 7 Press 1 Yes the machine will then start cleaning the colors 8 After cleaning is finished press Color Start The machine starts printing the Print Quality Check Sheet again and goes back to step 3 8 Setting the LCD contrast You can adjust the LCD conrast for a sharper and more vivid display If you are having difficulty seeing the LCD fr...

Page 11: ... Printing Reports in the User s Guide 10 Setting your station ID You should store your name and fax number to be printed on all fax pages that you send 1 Press Menu 0 2 2 Enter your fax number up to 20 digits on the dial pad and then press OK Fax _ 3 Enter your name up to 20 characters using the dial pad and then press OK Name _ Note See the following chart for entering your name If you need to en...

Page 12: ...a Receive Mode There are four possible receive modes Fax Only Fax Tel Manual and External TAD 1 Press Receive Mode 2 Press a or b to choose the mode 3 Press OK 4 Press Stop Exit For details see Using receive modes in Chapter 6 of the User s Guide Are you connecting an external telephone or external TAD telephone answering device to the machine Your machine automatically answers every call as a fax...

Page 13: ...er from the Brother Soloutions Center for use with FAX 1860C Vist us at http solutions brother com Follow install instructions on the Driver download page Note Please download the printer driver first before connecting the machine to your computer with a USB cable You must use an appropriate USB 2 0 interface cable If you do not have it please purchase a USB 2 0 interface cable that is no longer t...

Page 14: ...eplace ink cartridges an error message will be indicated on the LCD For more information about the ink cartridges for your machine visit http solutions brother com or contact your local Brother re seller Ink cartridge Black Yellow Cyan Magenta LC51BK LC51Y LC51C LC51M ...

Page 15: ...ion of Brother Industries Ltd this manual has been compiled and published covering the latest product descriptions and specifications The contents of this manual and the specifications of this product are subject to change without notice Brother reserves the right to make changes without notice in the specifications and materials contained herein and shall not be responsible for any damages includ...

Page 16: ...USA ...

Reviews: