Britax DECATHLON, User Manual
The Britax DECATHLON is a top-tier car seat designed to provide optimal safety and comfort for your child. Easily access the comprehensive User Manual for this product, allowing you to confidently install and use it effectively. Download your free DECATHLON manual from manualshive.com to ensure a worry-free journey.
Share
Download


Reviews:
No comments
Related manuals for DECATHLON
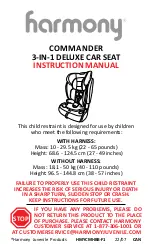
COMMANDER
Brand: Harmony Pages: 102

Foldables Baby Bouncer
Brand: Playskool Pages: 2

Nex+
Brand: Koopers Pages: 6

DUALLIE
Brand: BOB Pages: 4

5955
Brand: Titaniumbaby Pages: 36

HY5TT
Brand: Nachfolger Pages: 180

S64
Brand: Xomax Pages: 15

XM-KI360
Brand: Xomax Pages: 24

onSide air
Brand: Safety 1st Pages: 30

S2 Vito
Brand: Aguti Design Pages: 8

PD349119B
Brand: Baby Jogger Pages: 10

TEKIE i-SIZE
Brand: Baby auto Pages: 40

Zarauz Con Deluxe AB710A
Brand: Baby auto Pages: 60

ISOFIX connect
Brand: PETEX Pages: 12

Comfort 602
Brand: PETEX Pages: 16

SUPREME Plus
Brand: PETEX Pages: 16

Reversal II
Brand: Petite & Mars Pages: 51

Prime II ISOFIX
Brand: Petite & Mars Pages: 72


