


Installation Guide 5619A
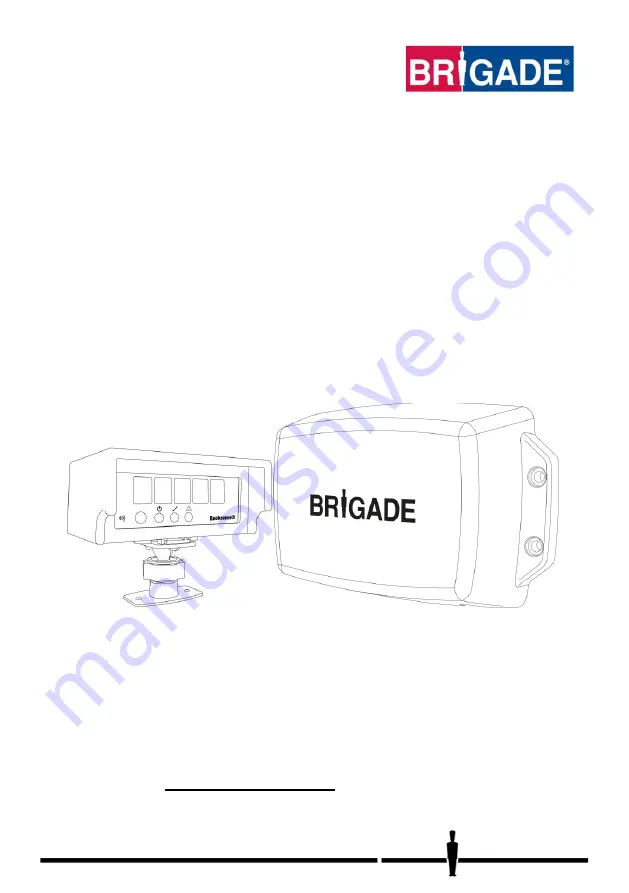
BS-9000-WD
IP69K Backsense® Radar Detection System
Installation and Operating Guide
Please refer to www.brigade-electronics.com for most up-to-date data on all products
Содержание Backsense BS-9000-WD
Страница 7: ...7 3 Hardware Installation 3 1 System Connectivity ...
Страница 31: ...31 ...
Страница 34: ...34 ...
Страница 39: ...39 7 Mounting Dimensions ...
Страница 41: ...41 ...
Страница 42: ...42 23 10 2019 09 15 00 4014 BS 9000 WD 5619 Installation Operation Guide ENG v2 0 docx ...


