


广州碧宏印刷设备有限公司
地址:广州市番禺区石碁镇南浦村市莲路
32
号众信企业园
B
栋
Guangzhou Bihong Printing Equipment Co., Ltd.
ADD: Building B, No. 32 Nanpu Village, Shilian Road, Shiqi Town, Panyu
District, Guangzhou City, China
0
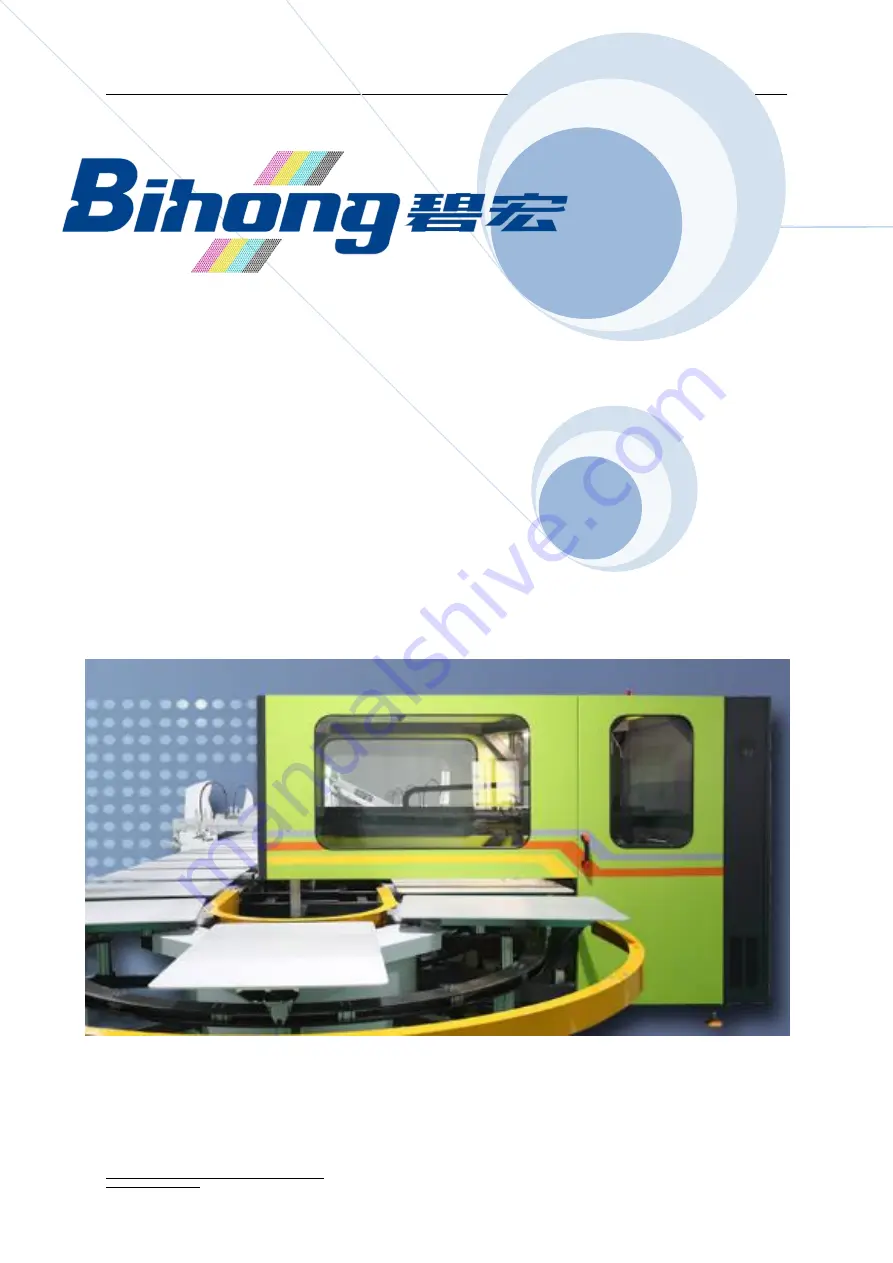
Q-JET
Operation Manual
This Manual is including introduction, operating, maintenance and information about
electrical parts and pressure of the printer


