BESTEAM Bestis 1000, User And Maintenance Manual
The BESTEAM Bestis 1000 is a top-of-the-line product designed to meet all your needs. For detailed instructions on how to operate and maintain your Bestis 1000, be sure to download the User and Maintenance Manual for free from manualshive.com. This manual will provide all the information you need to get the most out of your Bestis 1000.
Share
Download


Reviews:
No comments
Related manuals for Bestis 1000
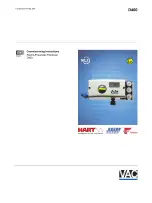
D400
Brand: VAC Pages: 48
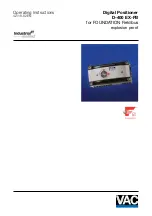
D400
Brand: VAC Pages: 71

Masoneilan SVI3
Brand: Baker Hughes Pages: 24

PS*3**PL series
Brand: halstrup-walcher Pages: 33

Masoneilan 51 Series
Brand: Baker Hughes Pages: 40

YT-400
Brand: Ytc Pages: 2

TECH-385Q
Brand: Westlock Controls Corporation Pages: 5

Logix 3200IQ
Brand: Flowserve Pages: 5

Logix 3200MD Plus
Brand: Flowserve Pages: 61

Logix 3400MD
Brand: Flowserve Pages: 52

Logix 520MD+
Brand: Flowserve Pages: 56


