


INSTALLATION AND OPERATING INSTRUCTIONS
Cyclone
SERIES
ELECTRIC CONVECTION OVENS
Models: CO11-E and COC-E
INTENDED FOR OTHER THAN HOUSEHOLD USE
RETAIN THIS MANUAL FOR FUTURE REFERENCE
OVEN MUST BE KEPT CLEAR OF COMBUSTIBLES AT ALL TIMES
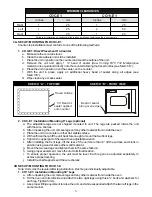
This equipment has been engineered to provide you with year round dependable service when used
according to the instructions in this manual and standard commercial kitchen practices.
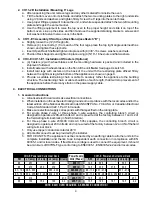
BAKERS
BAKERS
PRIDE
PRIDE
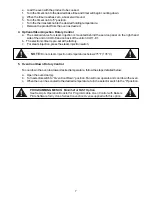
WARNING
Improper installation, adjustment, alteration, service or maintenance can cause
property damage, injury or death. Read the Installation, Operating and
Maintenance Instructions thoroughly before installing or servicing this equipment.
!
!
FOR YOUR SAFETY
Do not store or use gasoline or other flammable vapors and liquids in the vicinity
of this or any other appliance.
!
!
Initial heating of oven may generate smoke or fumes and must be done in a well-
ventilated area. Overexposure to smoke or fumes may cause nausea or dizziness.
!
!
Form #U4158A 9/07
BAKERS PRIDE OVEN CO., INC
.
30 Pine Street
New Rochelle, NY 10801
+1 (800) 431-2745 US & Canada
+1 (914) 576-0200 Phone
[email protected] E-Mail
+1 (914) 576-0605 Fax www.bakerspride.com Web Address
1


