


234Z
KPD616 Quick _V0.81
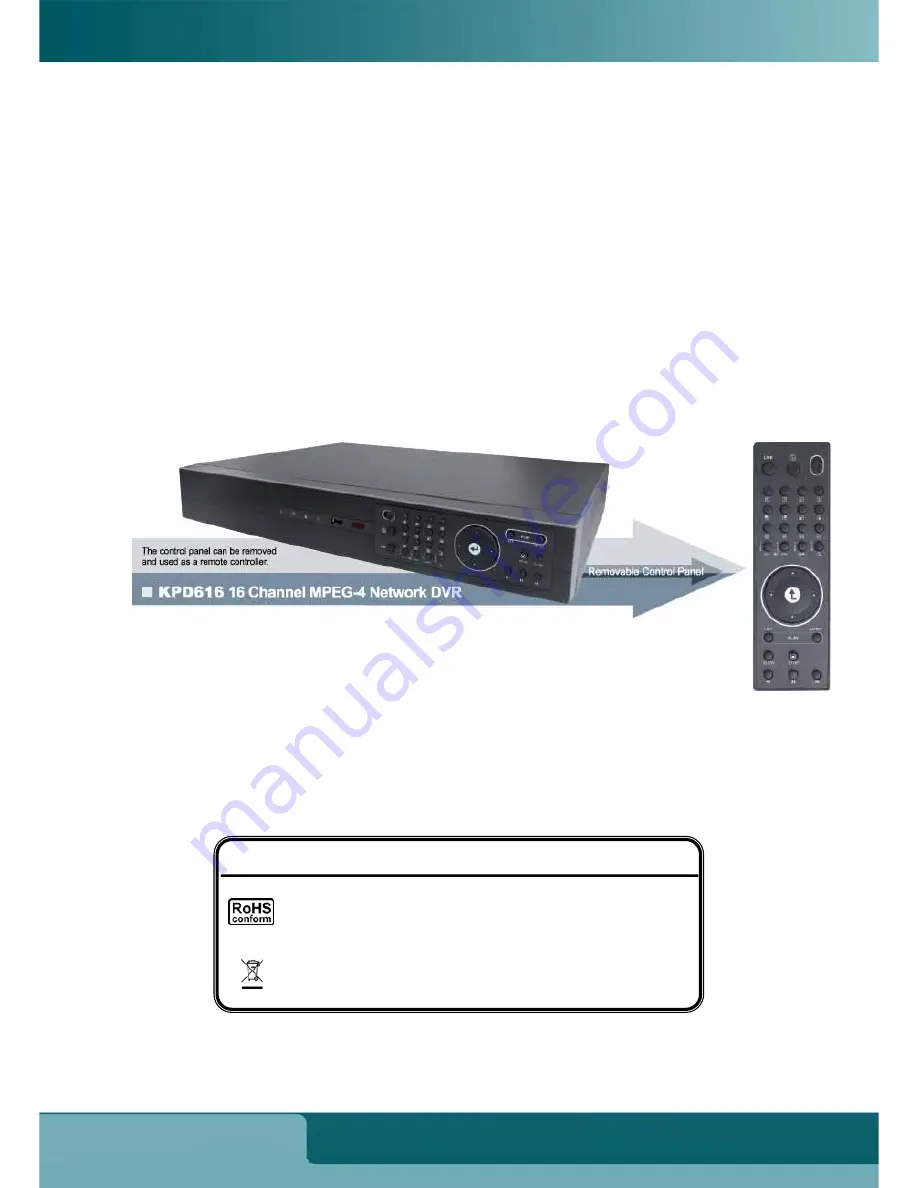
KPD616
MPEG-4 DVR QUICK
Please read this instruction thoroughly before operation and retain it for future reference.
The image shown above may differ from the actual product appearance.
All lead-free products offered by the company comply with the requirements of the European law on
the Restriction of Hazardous Substances (RoHS) directive, which means our manufacture processes
and products are strictly “lead-free” and without the hazardous substances cited in the directive.
The crossed-out wheeled bin mark symbolizes that within the European Union the product must be
collected separately at the product end-of-life. This applies to your product and any peripherals
marked with this symbol. Do not dispose of these products as unsorted municipal waste.
ROHS AND WEEE


