


AVerMedia
®
AVerDiGi EB1304 NET
Quick Installation Guide
1
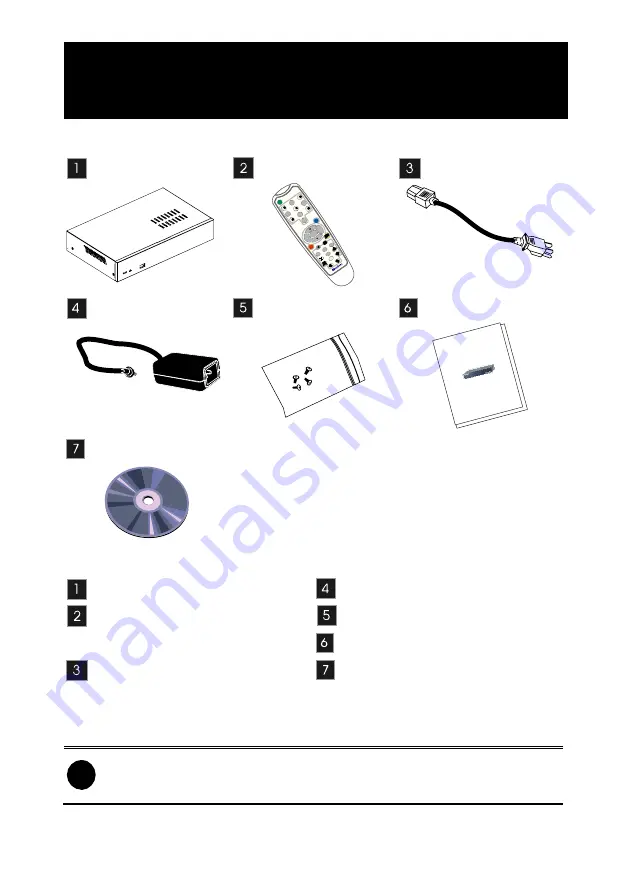
Package Contents
0
FN
RIG
HT
UP
LEF
T
EB
D
VR
2
3
5
6
8
9
7
1
4
▼▼
▼
▼
▲
REC
A-B
ME
NU
SEL
EC
T
ZO
O
M
-
SPE
ED
+
SPE
E
D
-
FO
CU
S
-
ZO
OM
+
DO
WN
FO
CU
S
+
▲
▼
RM
-H6
▼
▼
PTZ
AVer
Medi
a
AVer
DiGi
EB13
04 N
ET
Quick
Insta
llation
Guid
e
AVerDiGi EB1304 NET unit
Remote Control (Batteries are
included)
Power Cord (*The power cord
may vary according to the local
electricity system.)
Power Adaptor
DVR accessories (4 screws)
Quick Installation Guide
Software CD (Manual is
included)
i
If there is any damage, shortage or inappropriate item in the package
contents, please contact with local dealer


