Audio Technica ATDM-1012, User Manual
The Audio Technica ATDM-1012 user manual is available for free download on our website. This comprehensive manual provides detailed instructions on setting up and using the ATDM-1012 microphone. Get your hands on this essential manual and unleash the full potential of your audio equipment at manualshive.com.
Share
Download


Reviews:
No comments
Related manuals for ATDM-1012

UT1305
Brand: Makita Pages: 7

UT 1200
Brand: Makita Pages: 9

UT2204
Brand: Makita Pages: 7

FPSTHMTJ-S
Brand: Oster Pages: 8

MGSTSL7500-449
Brand: Oster Pages: 20

WHE214
Brand: Way Huge Pages: 3

1005004
Brand: Birko Pages: 12

Clifton Range CM-1
Brand: Nickel-Electro Pages: 8

REMIX-32
Brand: MadBoy Pages: 36

SM-1505
Brand: Sanlida Pages: 6

CWAES
Brand: MORLEY Pages: 1
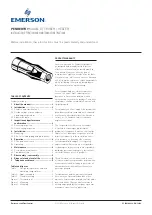
PENBERTHY CTE
Brand: Emerson Pages: 5
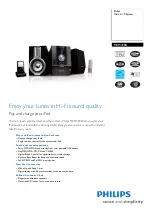
MCM398D Series
Brand: Philips Pages: 2

KA1KSTMXSLA
Brand: Kogan Pages: 6

MDR624
Brand: Samson Pages: 24

17835
Brand: Omcan Pages: 28

Tone-Lok TC7
Brand: Ibanez Pages: 2

DJM-400 - CDJ-400 Package
Brand: Pioneer Pages: 16


