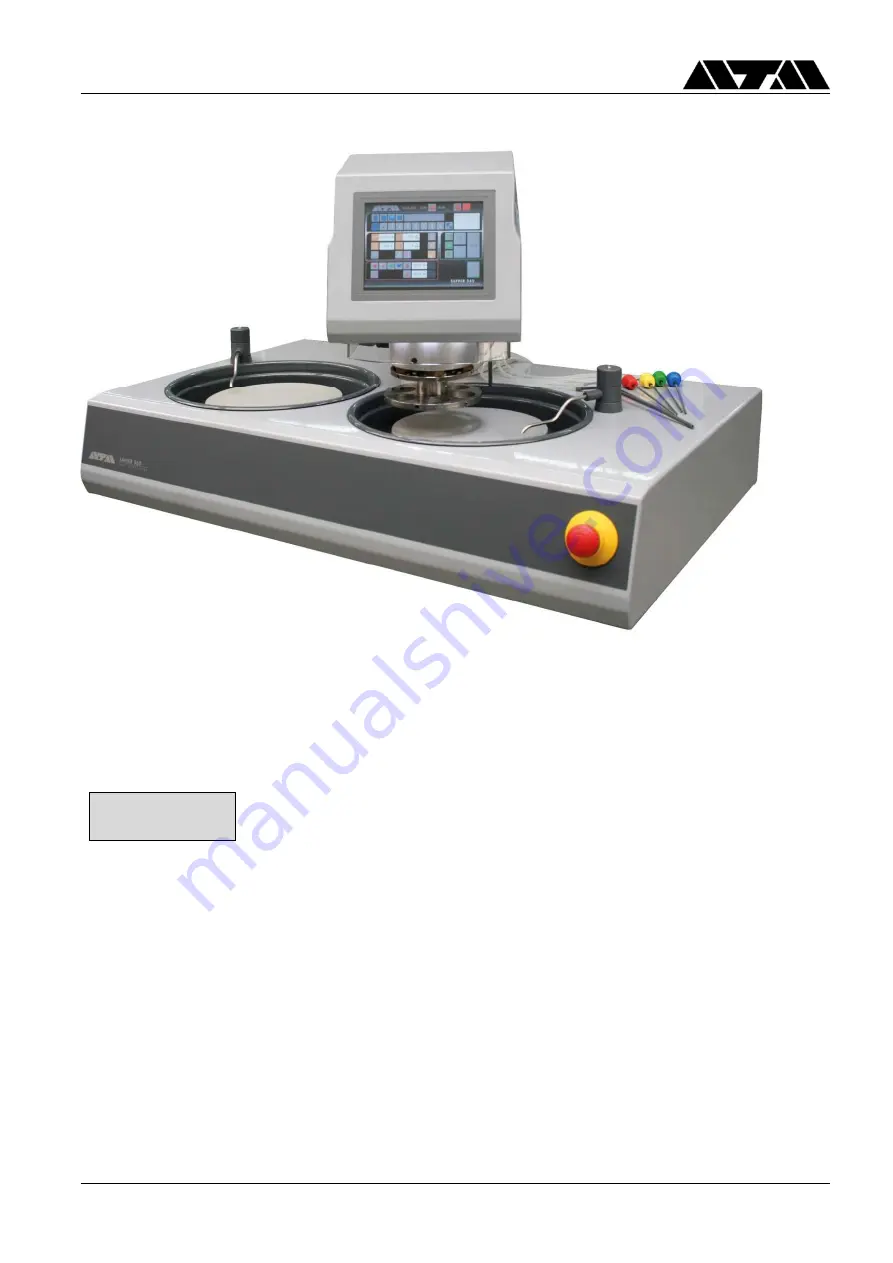
background image

»SAPHIR 550/560 

Operating Manual 
 

GmbH 


- 1 - 

Stand: 03.02.2020 


Introduction  

 
This operating manual contains important instructions, descriptions and tips for operation and safety. It is the basis for 
safe, economic and problem-free work.  
 
Personnel must be instructed by an authorized person before the machine is commissioned.  
 

Safety First  

comes first! 

 
Whoever works with or on the machine, transports or sets up the machine, commissions or decommissions the 
machine, maintains or cleans the machine, is obligated to read and observe these safety instructions, guidelines 
and precautions.  
This will prevent injuries to persons and damage to the machine, material and environment. Furthermore, any 
claim in accordance with EU machine guideline 2006/42/EU is nullified if the machine is used improperly.  
 
This operating manual is a component part of the delivered device.  
 
 
Made in Germany  

Summary of Contents for SAPHIR 550

Page 1: ...omes first Whoever works with or on the machine transports or sets up the machine commissions or decommissions the machine maintains or cleans the machine is obligated to read and observe these safety instructions guidelines and precautions This will prevent injuries to persons and damage to the machine material and environment Furthermore any claim in accordance with EU machine guideline 2006 42 ...

Page 2: ...tral pressure 15 2 2 6 2 Grinding with time abrasion 15 2 2 6 3 Water 16 2 2 6 4 Direction of rotation for sample holder 16 2 2 6 5 Manually bringing out the pistons 16 2 2 6 6 Manual rotating of the sampleholder 16 2 2 6 7 Working wheel cooling 16 2 2 6 8 Progress indicator 17 2 2 7 Movement control 17 2 2 7 1 Head movement 17 2 2 7 2 Memorizing a position 18 2 2 7 3 Inserting loosening the sampl...

Page 3: ... 33 5 4 Repeated inspection 34 5 5 Environmental protection 35 5 6 Noise emissions 36 5 7 Changes to the machine 36 5 8 Operating personnel requirements 36 5 9 Safety when transporting setting up commissioning and decommissioning 36 6 Transport and Setup 37 6 1 Transport 37 6 2 Delivery condition 37 6 3 Technical prerequisites 37 6 4 Setting up and connecting the device 38 7 Commissioning and Func...

Page 4: ...on embedded samples automatically or manually This applies as well for all options available for the machine If the Saphir 550 560 is not used for the purpose listed here then no safe operation of the machine can be ensured This applies as improper use The owner operator of the machine not the manufacturer is liable for all personal injuries and property damage that occur from improper use The gri...

Page 5: ...ymbol This symbol indicates that hazards to life and health exist This symbol indicates that it is forbidden to interfere in the machine when it is running This symbol indicates that hazards exist for machine material or environment This symbol identifies explanations that contribute to better understanding of the machine processes and is notice sign for important information This symbol identifie...

Page 6: ...st drive motor which drives the main shaft via ribbed v belt The Saphir 550 3 560 3 is equipped with a grinding polishing head Rubin 520 3 The Saphir 550 and 560 differ from each other in the number of working wheels The Saphir 550 has 1 working wheel the Saphir 560 has 2 1 2 Changing the working wheel Pull the mounted working wheel upwards and then away Set the new working wheel onto the carrier ...

Page 7: ...ant please note here the all round product pallet of diamond suspensions from ATM 1 3 2 Sedimentation container The movable Aluminium sedimentation container for the settling of grinding abrasion consists of a two chamber system with overflow An inlet sieve is hooked into the first chamber to collect larger grinding residues 1 3 3 Abrasion measurement Abrasion measurement enables you to grind away...

Page 8: ... SAPHIR 550 560 Operating Manual GmbH 8 Stand 03 02 2020 2 Operation 2 1 Main menu 1 Grinding Parameters see 2 2 2 Program Administration see 2 3 3 System Settings see 2 4 1 2 3 ...

Page 9: ... field Dosing see 2 2 8 6 Station display selection see 2 2 4 7 Start key see 2 2 3 Manipulation is performed by explicit pressure on the monitor with a finger or a suitable object At the bottom of the monitor there is the status display This gives useful information and tips Deactivated keys are to be recognized by their grey background When a key is activated then the background illuminates in t...

Page 10: ... aborted old values remain 5 Correction key 6 Enter key new value is overwritten On the left hand side are the rapid select keys A new selection is directly accepted and implemented e g the new rpm is directly overwritten in the course of a process without the Enter key having to be pressed Entries outside the permitted range are not accepted and are intercepted Values for time can be entered in d...

Page 11: ...rammed when a program duration not equal to 00 00 min is entered A programmed step can be recognized by the black digit in the key For every step short memos relating to the process can be entered into the memo field After canceling a program step the head does not travel upwards automatically The upwards movement can be aborted by pressing one Y movement key see 2 2 7 1 2 2 2 1 Copying a program ...

Page 12: ...e 2 2 4 Station select Both stations stopped both stations stopped right is selected and can be started left is selected and can be started The Stop button is always displayed so that the currently running station can always be stopped directly Right station is selected and can be started left station is started and can be stopped 2 2 4 Station selection Possibilities for selection vary according ...

Page 13: ...and also work with the other station 2 2 5 Manual mode and automatic mode 2 2 5 1 Automatic mode In order to work in automatic mode the head is to be positioned above the working wheel All settable parameters in automatic mode are shown To start the automatic process the head must be taken downwards enough direction working wheel It is possible to initiate a pause inside the course of the process ...

Page 14: ... positioned next to the wheel All settable parameters in manual mode are shown Fig may vary Press the Start key once to start the working wheel with the preset speed Press the button again and the wheel stops As long as the dosing tubes are still to be found above the working wheel dosing can also be used in manual mode ...

Page 15: ...ingle Central pressure Single pressure Central pressure If this mode is switched over then the sample holder head must also be correctly set because the force for downward pressure has to be re calculated accordingly 2 2 6 2 Grinding with time abrasion If grinding with abrasion is deactivated then the process is grinding polishing with time The sequence runs so long until the preset time has ended...

Page 16: ...ey for more than 1 second pistons are brought out Press hold the key for longer than 2 seconds and the pistons stay out until the key is pressed again momentarily 2 2 6 6 Manual rotating of the sampleholder The insertion of samples into the sampleholder in the single pressure can be facilitated with this function which rotates the sampleholder So the already loaded samples can be rotated back and ...

Page 17: ...ectly above the working wheel otherwise the head would press down onto and damage the housing Press the large key on the right hand side to loosen a brake so that the head can be swung to the left or to the right by hand Release pressure on the key and the brake comes back into effect If a position is memorized in the X direction then the brake stays loosened even after removing pressure from the ...

Page 18: ...ference position move the head in the respective direction It will stop automatically at the memorized position Black arrows indicate the direction towards the reference position Reference position reached Reference position futher right To delete a position press hold the key for 1 second 2 2 7 3 Inserting loosening the sample holder To insert loosen the sample holder press key take the weight of...

Page 19: ...elected pump is activated after completion of the interval time A dosing sequence consists of a forward pumping phase and a reverse pumping phase protection against dripping Lengths of pumping phases are adjustable in the dosing settings see 2 2 8 2 There can only be 1 suspension pump activated at any one time Selection of a diamond suspension or lubricant rejects the selection of water see 2 2 6 ...

Page 20: ...ram step 4 Pumping duration of the end polishing suspension during an interval 5 Rinsing duration of the end polishing suspension system at the end of a pumping phase with water 6 Rinsing duration of the end polishing suspension system at the end of a program step with water 7 Manual activation of the suspension pump for filling cleaning 8 Manual activation for rinsing of the end polishing suspens...

Page 21: ...e see 10 Save all programs onto USB flash drive see 2 3 1 Load program To load select desired program in the list and then press the key Load 2 3 2 Program functions save delete protect against overwriting If a save password is stored in a program then this can be overwritten or deleted only with the input of this password Procedure create new program 1 enter new program name 2 enter chosen passwo...

Page 22: ... the password into the program 3 press key Delete 4 acknowledge query 2 3 3 Saving onto a USB flash drive This function enables you to create a security copy of all saved programs onto a USB flash drive in CSV format This file can be re written if needed re written from the USB flash drive When saving the program content on the flash drive is completely overwritten with the content in the machine ...

Page 23: ...nal settings see 2 4 2 10 Setting date and time 11 Setting network parameter 12 Software version to be named when calling the service team 2 4 1 Pre Post pressure To begin the automatic grinding polishing sequence it is sometimes useful to press the sample holder not directly with the full preset force down onto the working wheel With this in mind it is possible to arrange that the samples are pre...

Page 24: ...itional settings To get access to this area a password must be entered 1 calibration single pressure move down the piston 2 calibration single pressure force per piston 3 calibration single pressure correction of the force 4 menu setting of the limits work area 1 2 3 4 ...

Page 25: ...er on a piston Drive head as far down until the sample holder is so close to the balance as it is during normal work on the working disk Insert a sample in the sampleholder 2 Set the to be checked force in force per piston 3 Press button move down the piston if the button is held down for more than 2 seconds the pistons stay extended 4 Read the force on the balance and adjust the set force differe...

Page 26: ... 2020 2 4 4 Setting Limits Work area In this menu the lateral stops work area can be set 1 move head 2 set left limit 3 set right limit 4 exit settings Move head to the desired position and press the corresponding button to set the desired limit 2 3 4 1 ...

Page 27: ... regularly oiled To start bring out the pistons manually see 2 2 6 5 and clean away the remaining oil remnants from the pistons with a fuzzle free cloth Spray the pistons from a distance of ca 5 cm to 10 cm with universal oil 95003345 and then de activate the function again pistons return 3 2 Care The service life of the device increases with proper care Under no circumstances should you clean the...

Page 28: ...functions causes and their eradication Malfunction Cause Measure No device function at all Main switch is off Turn on the main switch Power plug not connected Check the connection Machine damage Working wheel does not start drive motor defective Drive belt defective Replace drive belt No water supply Main tap not opened Main tap not opened Electric valve defective Working wheel does not run flat D...

Page 29: ...eakdown E50001 Error frequency rectifier for wheel right Different causes possible Acknowledge message If repeated then E50002 Error frequency rectifier for head Different causes possible Acknowledge message If repeated then E50003 Cover cannot be brought upwards Blockage Remove blockage No not enough comp air Check compressed air E50004 Error frequency rectifier for wheel left Different causes po...

Page 30: ...e plastic bowl and the drain tube do not lose the O ring under the bowl pull out tap and remove the tube remove 2x M4 screws at the back pull housing forwards and away 4 4 Replacing the housing insert housing from front insert the two pegs into the rubber sleeve screw in 2x M4 into rear side of housing plug in earth cable Earth connect tap with tube put in tap insert plastic bowl control seat of o...

Page 31: ...erating manual should always be kept complete and in legible condition at the device It must be ensured that all persons who must be active on the machine can consult the operating manual at any time Supplemental corporate instructions in the sense of the German Occupational Safety Law and the German Work Material Use Ordinance should be provided along with this operating manual All safety warning...

Page 32: ...aterials used When operating the machine and handling operating materials dust or vapors can escape Ensure adequate ventilation Exercise particular caution when using lightly flammable liquids such as ethanol Keep ignition sources away from the machine Do not smoke Sufficient ventilation 5 2 Safety service maintenance and care First switch off the central power supply with the main switch and pull...

Page 33: ...l service 5 3 Safety when working on electrical equipment Work on current carrying machine parts or leads is forbidden Pullout the mains plug before opening the housing cover If the machine is not turned off at the main power switch there may be a dangerous residual voltage for up to 15 minutes There may be a dangerous residual voltage on the frequency converter up to 15 minutes after switching of...

Page 34: ...n the market are complying with regulation 2006 42 EG All machines have passed tests according to DIN EN 60204 1 VDE 0113 1 before delivery The repeated inspection should be done according to DIN VDE 0105 part 1 stationary equipment 18 kg When using Variable Speed Drives higher leakage current can occur ...

Page 35: ...tes When disposal is due then please get in direct contact with ATM or your local dealer in order to find out the latest disposal methods The WEEE Symbol with the cross in front of the rubbish bin with thick underlining on the machine device gives a clear indication that it is WEEE relevant device and has to be disposed of separately and within the law This symbol is not absolutely necessary for 1...

Page 36: ...personnel requirements Only personnel that have been trained to operate the machine and who are authorized to do so should operate the machine These individuals must be familiar with the operating manual and act accordingly 5 9 Safety when transporting setting up commissioning and decommissioning The general Accident Prevention Guidelines VBG 1 or the respective national guidelines must be complie...

Page 37: ... in a dry location at an ambient temperature between 10 40 C 6 2 Delivery condition Inspect packaging material for external damage before opening the transport packaging The freight forwarder making the delivery or our service hotline must be informed immediately of any damage Use the delivery note to verify that all accessories are present 6 3 Technical prerequisites Before the Saphir 550 560 can...

Page 38: ...see technical data Make the water feed connection G 1 2 to the water stop cock Connect the drain ducts of the machine Ø 40 to the drainpipe or to a hose with consistent slope The wastewater must be captured in a suitable container and disposed of in accordance with the specifications on the safety data sheets of the liquids used Small amounts of wastewater from the grinding and polishing station c...

Page 39: ...est see Chapter 5 2 1 8 Additional Information 8 1 Accessories and Consumables Ask for our consumables catalog or find out on the Internet For chemical and biological materials take care to read the safety datasheets 8 2 Acceptance protocol An acceptance protocol is available upon demand from ATM GmbH 8 3 Spare parts list Parts lists of single subassemblies and electrical circuitry are available u...

Page 40: ...560 Operating Manual GmbH 40 Stand 03 02 2020 9 Appendix 9 1 Declaration of conformity Since 15 07 2019 as a separate document with serial number 9 2 Technical data 9 3 Arrangement plan 9 4 ATM service and contact ...

Page 41: ...command Siemens Superresistent K RCD Typ A VDE 0664 working wheel Ø 200 300 mm working wheel speed 50 600 U min sample holder clockwise counter clockwise rotational speed 30 150 U min single pressure 1 6 samples Ø 50 mm central pressure according to the sample holder sample pressure single 5 80 N sample pressure central 20 400 N dimensions W x H x D Saphir 550 560 x 550 650 x 660 mm Saphir 560 102...

Page 42: ...0 1 ...

Reviews: