


ADM-1800 Series
uSER
mANU
AL
Talk to us. We listen.
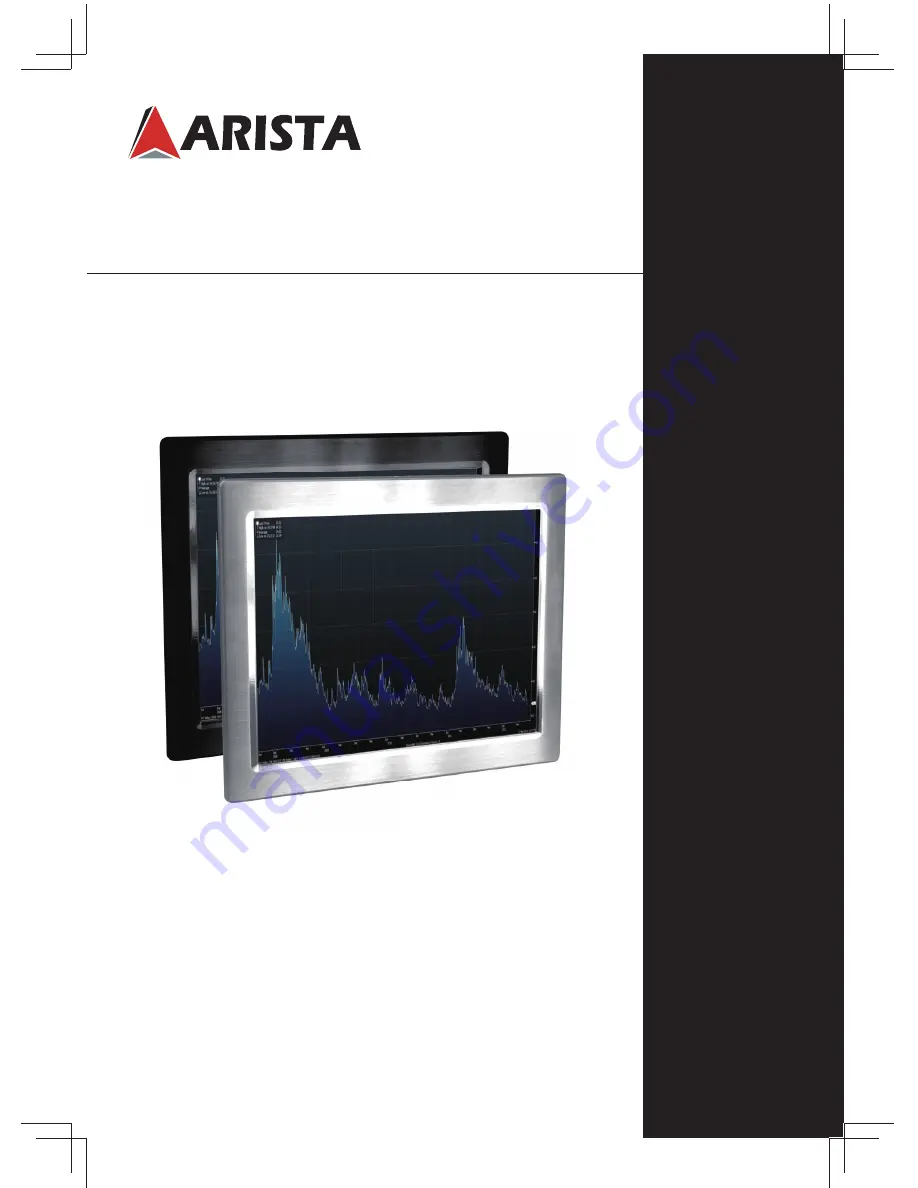
Industrial Panel Mount LCD Display
Thank you for purchasing the ADM 1800 series Industrial Panel Mount
LCD Display. We are confident that you will be pleased with the
performance and reliability of your new display. The display was designed
to meet the screen performance requirements of today's demanding
industrial applications. While complying with a wide variety of industrial
video formats, it delivers a larger screen area, higher resolutions, and
greater color accuracy than many displays in its price range.
Version 1.3
Summary of Contents for ADM-1800 Series
Page 2: ......


