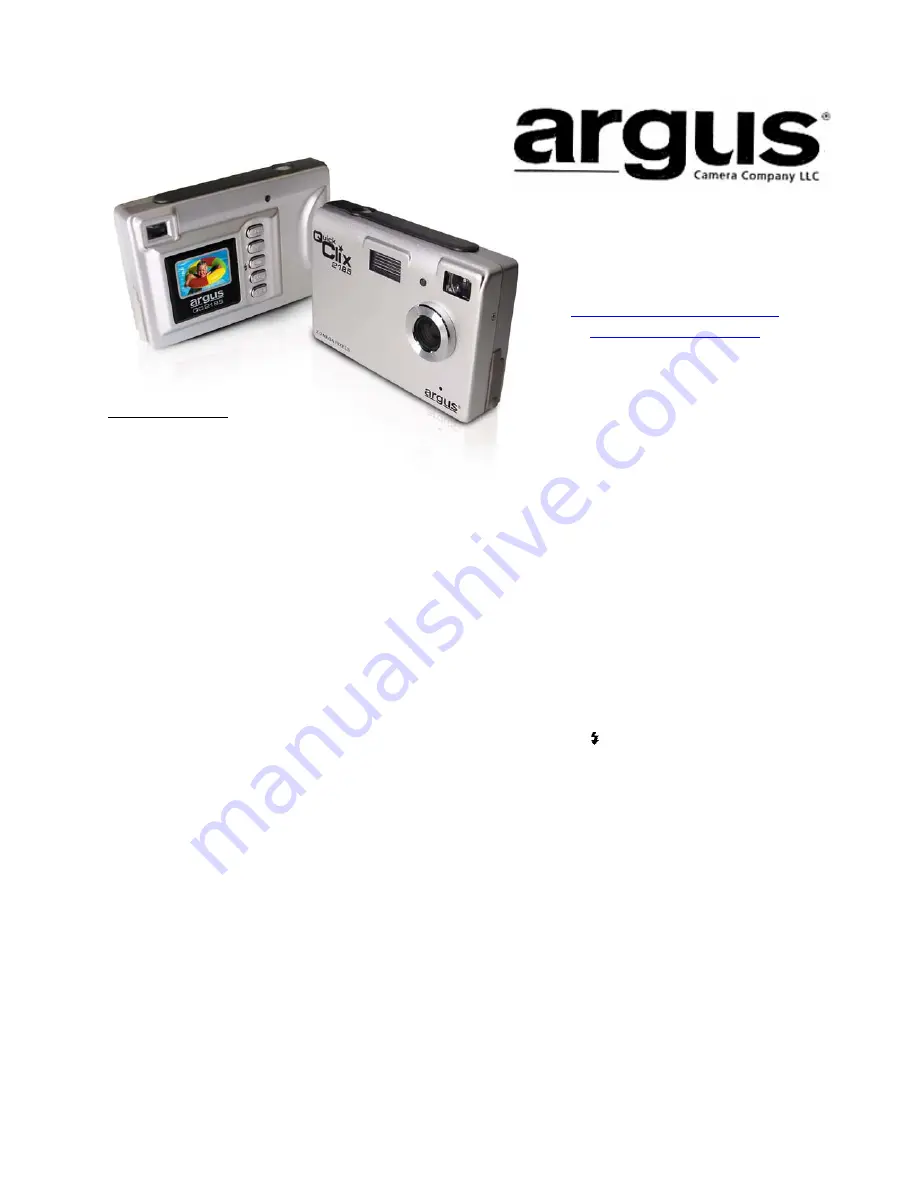
Argus QuickClix 2185
Digital Camera Quick Start Guide
Getting Started
1.
Remove the plastic protective covering from the LCD on the back of the camera.
2.
Open the battery door on the bottom of the camera and insert three AAA alkaline batteries.
a.
Please use high grade Alkaline, Photo Grade Alkaline or rechargeable alkaline batteries
for the best performance with your camera.
b.
Do not leave batteries in your camera for an extended period of time without use as they
may cause damage to the camera.
(Please transfer your pictures to your computer before
you remove the batteries.)
3.
Turn the camera on by pressing the “M/ON/OFF” button for approximately, three seconds –
without use your camera will automatically shut off after 60 seconds, however you can also
shut it off by pressing and holding the “M/ON/OFF” button for approximately three seconds
when the camera is on.
4.
Frame your subject using either the optical or LCD viewfinder – always try to get as close as
you can and be sure there is enough light – if more light is needed, please turn on the flash
feature.
a.
Turn on the flash by holding the “Flash/Down” key on the
- you will see the Flash
icon on the LCD blink for a few seconds and then a Flash symbol with an A will appear
on the LCD – the Auto Flash is now on. The camera will then be in Auto Flash menu
and the camera will adjust the light for the exposure automatically.
1.
The flash icon should NOT have a line through it as that would indicate the flash is in
the off mode.
2.
If the flash icon will not set to auto flash, that typically indicates that your batteries
are low and need to be replaced.
3.
The default for the flash is OFF. Each time you turn your camera on, you will need to
reset the flash to Auto Flash if needed.
b.
Once the subject is framed and the lighting condition is set, press the shutter button on
the top of the camera. Please hold the camera steady for approximately three seconds to
ensure the best exposure.
c.
To review the image, press the “Preview” button.
d.
To return to the capture mode, press the “Preview” button again.
Argus Camera Company
1610 Colonial Parkway
Inverness, IL 60067
www.arguscamera.com


