background image

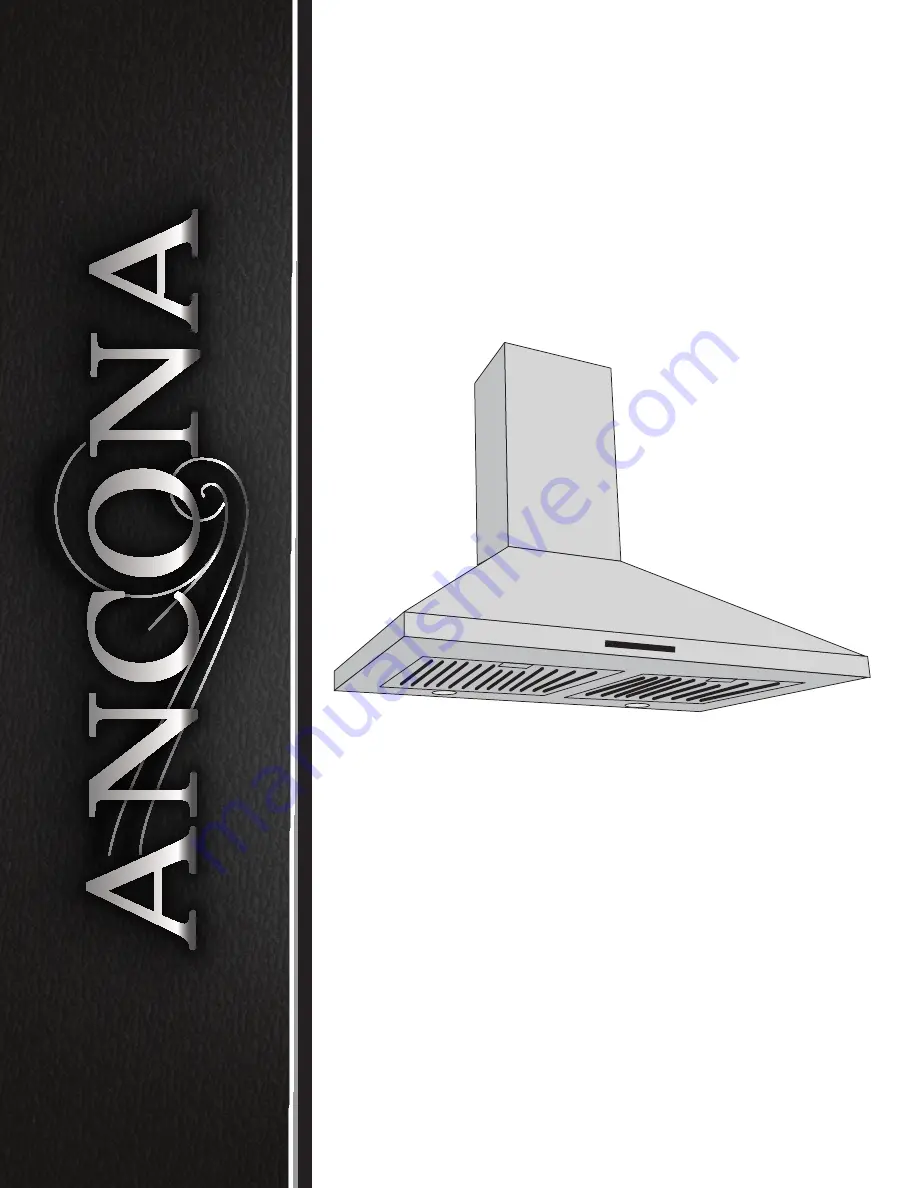
Range Hood

WPNL630 and WPNL636

User Manual

and

Installation Instructions

IMPORTANT SAFETY INSTRUCTIONS

Carefully read the important information 

regarding installation, safety and maintenance. 

Keep these instructions for future reference. 

MAAN1505-01

2018-08-02

®

Summary of Contents for WPNL630

Page 1: ...36 User Manual and Installation Instructions IMPORTANT SAFETY INSTRUCTIONS Carefully read the important information regarding installation safety and maintenance Keep these instructions for future reference MAAN1505 01 2018 08 02 ...

Page 2: ...MERS Start Here Safety Instructions are on pages 4 and 5 and Operating Instructions are on pages 16 17 and 20 Please perform these steps 1 Read the safety instructions 2 Read all instructions in the manual BEFORE operating the range hood 3 Remove all packing materials 4 Installation is to be done by a qualified technician only However the ultimate responsibility for proper installation falls to th...

Page 3: ...Installing the Hood Mounting Bracket 12 Step 8 Installing the Upper Chimney Bracket 12 Step 9 Venting 13 Step 10 Mount Range Hood onto Wall 13 Step 11 Connect Ductwork 13 Step 12 Connect to AC 13 Step 13 Install Chimney 14 Step 14 Install Filters 15 Troubleshooting 15 Operation 16 Lights with three luminance setting auto mode 16 Power 16 Fan with 5 speed setting 16 Timer 16 Maintenance 17 Replacin...

Page 4: ...he service disconnecting means to prevent power from being switched on accidentally When the service disconnecting means cannot be locked securely fasten a prominent warning device such as a tag to the service panel Clean grease laden surfaces frequently To optimize performance and to disperse air properly make sure to vent air outside DO NOT vent exhaust into spaces between walls crawl spaces cei...

Page 5: ...UATE AND CALL THE FIRE DEPARTMENT b NEVER PICK UP A FLAMING PAN You may be burned c DO NOT USE WATER including wet dishcloths or towels a violent steam explosion will result d Use an extinguisher ONLY if 1 You know you have a Class A B C extinguisher and you already know how to operate it 2 The fire is small and contained in the area where it is started 3 The fire department is being called 4 You ...

Page 6: ...y reasons range hood mounting screws and anchors will not be included due to the variation of cabinetry constructions and wall material Please consult your installation specialist regarding the optimal type of mounting screws and wall anchors to suit your home s construction 6 1 Screws Lower Chimney Bracket Hood Mounting Bracket Damper flap ...

Page 7: ...Speeds Interference Protection Radio Frequency Interference Protected Motors Single Motor Control Touch control panel with LED Filtration Baffle filter Illumination 2 x 2 5 W LED Fan Type Single squirrel cage Venting Size Top 6 inches 15 3 cm round 24 5 cm 9 6 in 75 cm 29 5 in 90 cm 35 4 in 50 cm 19 6 in 3 5 cm 1 3 in 43 cm 16 9 in 43 84 cm 16 9 33 in Ø15 cm 5 9 in 2 9 cm 1 1 in 17 2 cm 6 7 in 22 ...

Page 8: ...kets 4 96 126 mm 1 3 35 mm 8 58 218 mm 7 99 203 mm 4 72 120 mm 1 5 38 mm 8 58 218 mm 7 8 200 mm 3 9 100 mm 3 9 100 mm 66 mm 8 6 220 mm 66 mm 0 78 20 mm Upper Chimney Bracket Lower Chimney Bracket Mounting Bracket Hook ...

Page 9: ...0 feet 1 5 m to 3 m of straight run Proper size duct work should be 6 in 15 3 cm in diameter To reach a 9 ft 2 7 m ceiling make sure hood is installed 30 inches 76 2 cm from cooking surface If you have a ceiling greater than 9 ft 2 7 m please visit anconahome com to order a chimney extension If ductwork is already installed ensure ductwork is free from debris and measures 6 in 15 3 cm 1 in 2 5 cm ...

Page 10: ...ecommended between stove top and the bottom of range hood 30 in 76 2 cm minimum is required for gas stove tops 4 Height of hood and duct cover For the most efficient and quiet operation It is recommended that the range hood be vented vertically through the roof through 6 in 15 3 cm or bigger round metal aluminum vent work The size of the vent should be uniform Use no more than three 90 elbows Make...

Page 11: ...l available duct run when using elbows transitions and caps ALWAYS when possible reduce the number or transitions and turns If long duct run is required increase duct size from 6 in 15 3 cm to 7 in 17 7 cm or 8 in 20 3 cm If a reducer is used install a long reducer instead of a pancake reducer Reducing duct size will restrict airflow and decrease airflow thus reduce duct size as far away from open...

Page 12: ...e cooking range is necessary to install the hood turn OFF the power on an electric range at the main electrical box SHUT OFF THE GAS BEFORE MOVING A GAS RANGE STEP 7 Installing the Hood Mounting Bracket Use a pencil to mark on the wall the desired placement of the range hood mounting screws The range hood will be installed on top of this bracket See Figure 1 Using references in Height Clearance on...

Page 13: ...work Attach ductwork to duct Secure the ductwork with duct tape to make sure joints are secure and air tight Do not install the duct tape too tightly as this may prevent the damper flaps from opening which will overwork the motor and cause improper functioning of the unit Fasten all connections with sheet metal screws and tape all joints with certified aluminum or foil tape Use caulking to seal ex...

Page 14: ...ape wire for the electric current This appliance is equipped with a cord having a grounding wire with a grounding plug The plug must be plugged into an outlet that is properly installed and grounded WARNING Improper grounding can result in a risk of electric shock Consult a qualified electrician if the grounding instructions are not completely understood or if doubt exists as to whether the applia...

Page 15: ...er or fan seems weak Check that the duct sized used is at least 6 in 15 2 cm or 3 1 4 x 10 in 25 4 x 8 3 cm Range hood WILL NOT function efficiently with insufficient duct size For example 7 in 17 7 cm duct over 6 in 15 2 cm hole and loosely secured Check if duct is clogged or if damper unit half circular flange is not installed correctly or opening properly A tight mesh on a side wall cap unit mi...

Page 16: ...it 5 shows on screen Indicators are ON xPress once Fan will work at 4th speed Digit 4 shows on screen Indicators are ON yPress second third fourth time Fan will work at 3rd 2nd 1st speed subsequently Digit 3 2 1 shows on screen Indicators are ON UPress fifth time Fan will turn OFF Indicators are OFF Indicator is OFF if lamps are OFF Timer You can only activate the TIMER function when Fan is workin...

Page 17: ...lation in reverse Filters should be cleaned after every 30 hours of use Should filters wear out due to age and prolonged use replace with a new filter u Make sure the range hood is unplugged or turn OFF breaker v Remove filters push the spring pull out the LED puck and unplug it CAUTION PUCK MAY BE HOT PLEASE TAKE OUT THE PUCK WHEN THE PUCK IS COMPLETELY COOL w Replace with a 10 2 Volt 2 5 Watt ma...

Page 18: ...mounting bracket 6 Round duct or Valve Exhaust 7 Power cord 8 Housing assembly 9 Cover of control box 10 Control board 11 Front board 12 Rear bracket 13 Base of electronic box 14 PCB 15 Capacitor 16 Cover of electronic box 17 Blower assembly includes motor 18 19 20 21 LED puck lights 22 Baffle filter 2 or 3 pcs 23 Screw bag ...

Page 19: ...r CN6 CN5 Optional CN1 CN2 CN4 Motor CN3 CH B CN8 _ LED Pucks _ _ _ Assembly Circuit Diagram Blower Assembly Electrical Assembly u v w x u v w x Number Part 1 Left blower housing 2 Impeller 3 Motor 4 Right blower housing Number Part 1 Junction box cover 2 Capacitor 3 Main PCB board 4 Junction box bottom ...

Page 20: ...operating For optimal operation clean range hood and all baffle spacer filter grease tray oil container regularly Regular care will help preserve the appearance of the range hood Cleaning Exterior Surfaces Clean periodically with hot soapy water and clean cotton cloth DO NOT use corrosive or abrasive detergent e g Comet Power Scrub EZ Off oven cleaner or steel wool scoring pads which will scratch ...

Page 21: ...er your product warranty by visiting the Ancona Home website Canada USA Phone 1 800 350 4562 Fax 800 350 8563 Email service anconahome com Website www anconahome com Ancona is in association with Mr Appliance for all after sales service calls Please contact their service provider or visit their website Phone 888 998 2011 Website www mrappliance com ...

Page 22: ... 22 Notes ...

Reviews: