background image

AMD320 manual 


Index 


1. Intended use 


2. Safety 

o


2.1. Labels in this manual 

o


2.2. General safety instructions 


3. Preparations for use 

o


3.1. Unpacking 

o


3.2. Package contents 


4. Installation 

o


4.1. Install batteries 

o


4.2. Connecting the system 

o


4.3. Connecting random equipment 

o


4.4. Connecting to the mains 


5. Functions 

o


5.1. Remote control 

o


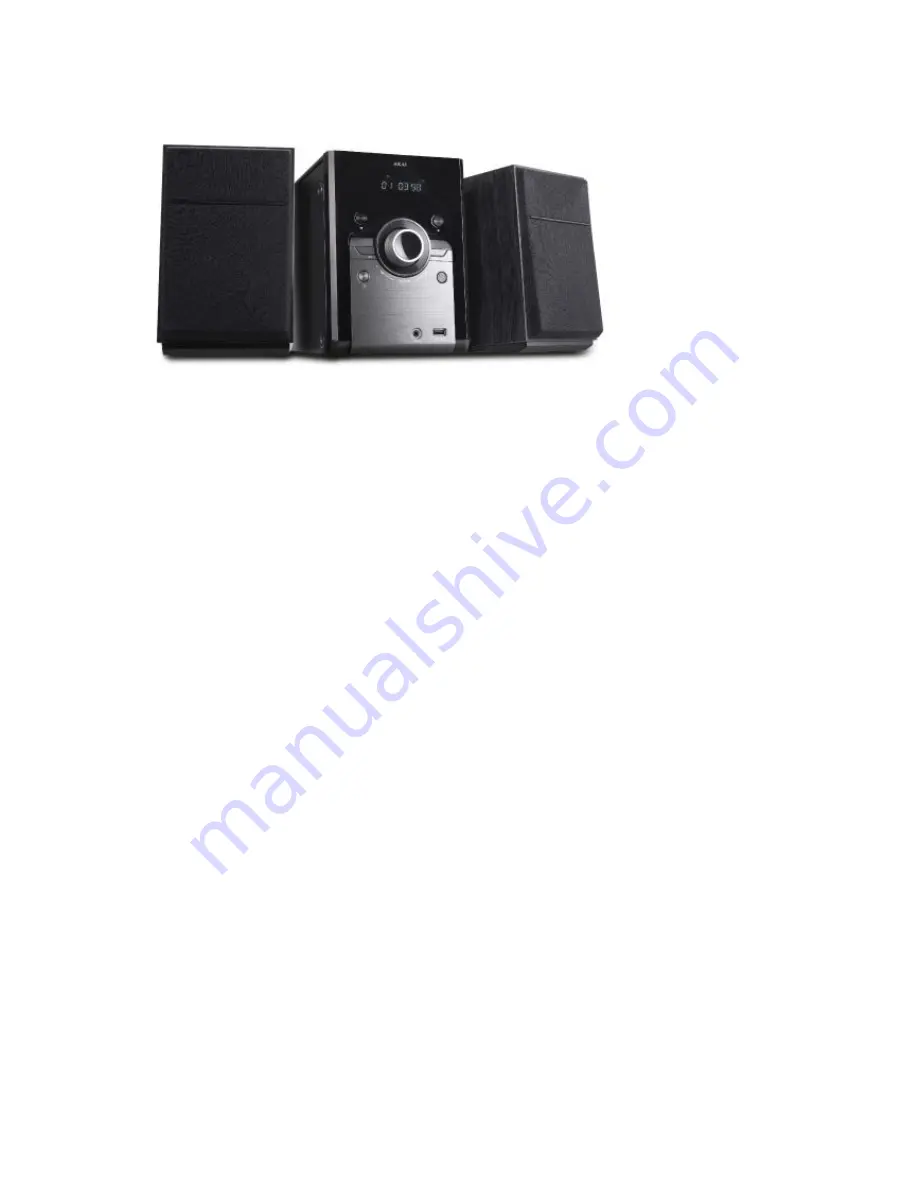
5.2. AMD350 Microset 


6. Operation 

o


6.1. Quick start 

o


6.2. General setup menu operation 

o


6.3. DVD/CD functions 

o


6.4. Radio functions 

o


6.5. USB functions 

o


6.6. LINE-IN 

o


6.7. Operation with BLUETOOTH 


7. Cleaning and maintenance 

o


7.1. Handle and care of a disc 


8. Technical data 


9. Disposal of used electrical and electronic equipment 


Summary of Contents for AMD320

Page 1: ...ystem o 4 3 Connecting random equipment o 4 4 Connecting to the mains 5 Functions o 5 1 Remote control o 5 2 AMD350 Microset 6 Operation o 6 1 Quick start o 6 2 General setup menu operation o 6 3 DVD CD functions o 6 4 Radio functions o 6 5 USB functions o 6 6 LINE IN o 6 7 Operation with BLUETOOTH 7 Cleaning and maintenance o 7 1 Handle and care of a disc 8 Technical data 9 Disposal of used elect...

Page 2: ... disc of the same regional code If the code number on the label of a DVD does not match that on the label alongside the DVD will not play on this appliance The appliance has built in copyright protection technology that prevents copying from a disc to any media If a video recorder is connected to the appliance the video output image will be distorted during recording Manufactured under license fro...

Page 3: ... accessed via DVD CD and USB The appliance contains a built in rechargeable battery 2 2 General safety instructions WARNING Do not put force on the appliance The appliance can fall and can cause serious injury CAUTION Do not spill any liquid on the appliance WARNING Do not insert any objects in the ventilation holes CAUTION Do not block the ventilation holes This appliance is double insulated ther...

Page 4: ...n case it ever becomes necessary to return your product for service This is the only way to safely protect the product against damage in transit If you do dispose of the carton and the packing materials please remember to recycle with due care to the environment 3 2 Package contents The following items are included in the received package 1 x AMD320 DVD Micro System 2 x Speaker 1 x Remote control ...

Page 5: ...ings CAUTION Incorrect installation can cause battery leakage and corrosion which will damage the appliance Corrosion oxidation battery leakage and any other gradually acidic defect of this nature will invalidate the guarantee 4 2 Connecting the system Connect the speakers to the appliance To connect the aerial 75Ω to the appliance ...

Page 6: ...4 3 Connecting random equipment Connect the tv Use one of the cables as presented in the image below ...

Page 7: ...4 4 Connecting to the mains Connect the appliance to the mains Switch on the appliance ...

Page 8: ...utton 6 PBC button 7 PROGRAM button 8 OSD button 9 FAST FORWARD REWIND button 10 TITLE button 11 Arrow buttons 12 AUDIO button 13 SLOW button 14 SOUND EFFECT button 15 USB button 16 REPEAT button 17 A B REPEAT button 18 L R STEREO button 19 ANGLE button 20 MUTE button 21 V MODE button 22 SOURCE SELECT button ...

Page 9: ...23 NEXT PREVIOUS button 24 VOLUME button 25 SUBTITLE button 26 ENTER button 27 MENU button 28 STEP button 29 RESET button 30 ZOOM button 31 STOP button 5 2 AMD350 Microset ...

Page 10: ...MOTE CONTROL SENSOR 4 PREVIOUS 5 STOP 6 NEXT 7 VOLUME 8 SOURCE 9 STANDBY 10 AUX IN 11 USB 2 0 slot 12 HDMI 13 COAXIAL DIGITAL AUDIO OUTPUT 14 COMPOSITE VIDEO OUTPUT 15 LEFT RIGHT AUDIO INPUT 16 FM wire antenna 17 Connection to speakers ...

Page 11: ...by mode To switch on the appliance press the STANDBY button 1 To switch back to the standby mode press the STANDBY button 1 again To adjust the volume press the VOL button or the VOL button 24 To mute or restore sound press the MUTE button 20 DVD CD functions Turn on the television Switch on the appliance To select the source mode DVD CD press the SOURCE SELECT button 22 Push the disc cover to loa...

Page 12: ... 22 AUX To select the source mode AUX press the SOURCE button 22 Connect the external appliance to your AMD320 Mircoset USB and Memory card functions Please note the disc cover must be closed in order to use the USB functions Switch on the appliance Insert the USB device in the slot The device can only be connected one way Press the USB button 15 To start playback press the PLAY PAUSE button 4 onc...

Page 13: ... 5 Press the arrow buttons left and right 12 to select a menu The submenu is displayed directly Press the arrow buttons up and down 11 to scroll through the submenu Press the ENTER button 26 to select a setting or the left arrow button to cancel the selection Press the SETUP 5 button to store the settings and exit Picture format In the TV DISPLAY section press the arrow buttons 11 to select 4 3 4 ...

Page 14: ...he video output format can only be selected when the DVD tray is empty Please note if the wrong option has been selected this may result in very poor image quality In that case select a different setting Language setup page In the SUBTITLE section choose the subtitle language In the AUDIO section choose the audio language In the DISC MENU section choose the language for the disc menu Rating setup ...

Page 15: ...en Press the arrow buttons 11 to select a menu item Press the ENTER button 26 to enter the selected menu item During playback the following functions are available To select a chapter DVD or track CD press the digit buttons 2 To select the next or previous chapter DVD or track CD press the PREV button 23 or the NEXT button 23 To forward or rewind the DVD press the FWD button 9 or the REV button 9 ...

Page 16: ...FFECT button 14 Press the GOTO 3 button to acces the quick menu Use numerical buttons to input track number and track time Press ENTER to confirm a selection Push the GOTO 3 button to load the quick start menu Then select the desired time and number and push the ENTER 26 button followed by the GOTO button Using the A B REPEAT function The A B REPEAT function can be used to repeat a specific sectio...

Page 17: ...th the small images you can also select the functions SLIDE SHOW MENU PREV or NEXT Use the arrow keys 11 to select the desired functions and ENTER 26 to confirm Press the PLAY PAUSE button 4 to hold the slide show at the current picture Press the PLAY PAUSE button 4 to resume the slide show Press the PREV or NEXT buttons 23 to select the previous or next picture To magnify the picture press the ZO...

Page 18: ...mber buttons to determine the preset position Start with a 0 for numbers under ten Quick installation of the list of stations Press 3 seconds on the key AUTO 25 to start the search programme for automatically setting the available channels To select a preset station press the digit buttons 2 Search for the desired frequency with the SEARCH button 9 To skip to the next preset station press the RADI...

Page 19: ...r a file Press ENTER 26 to confirm Press the MENU button 27 to return to the content menu during playback During playback the following functions are available To select a track press the PREV button 23 or the NEXT button 23 until the desired track is set To pause playback press the PLAY PAUSE button 4 once to resume playback press the button again To stop playback press the STOP button 31 To remo...

Page 20: ...ton 22 Press and hold the button PLAY PAUSE 4 to activate the Bluetooth pairing mode Search Bluetooth devices and select Akai AMD320 to establish connection Enter 0000 when the player asks for the PIN code o When the pairing succeeds the LED display panel shows BT LINK NOTE your Bluetooth connection has a range of approximately 8 metres If you move outside the Bluetooth range the connection will b...

Page 21: ... care of a disc Hold the disc with fingers Hold the disc outer edge and or the centre spindle hole Do not touch the disc surface Do not bend or press the disc Do not expose the disc to direct sunlight or heating sources Clean the disc surface with a soft dry cleaning cloth Wipe the disc surface gently radially from centre towards the outer edge Do not apply thinner alcohol chemical solvent or spra...

Page 22: ...e ratio 80dB 1kHz Dynamic range 70dB 1kHz Distortion 60dB 1kHz Remote control Battery size AAA Radio Frequency range 87 5 108 MHz Supported media formats Disc types DVD DVD R W DVD R W S VDC CD CD R CD RW Picture formats JPEG Kodak Picture CD Video formats MPEG 4 DivX USB Xvid Video formats MPEG 4 DivX only via USB Xvid Audio formats MP3 WMA Working environment Operating temperature 10 35 C elsius...

Page 23: ...sal of this product you will help prevent potentially hazardous to the environment and to human health which could otherwise be caused by unsuitable waste handling of this product The recycling of materials will help conserve natural resources Please do not therefore dispose of your old electrical and electronic equipment with your household waste For more detailed information about recycling of t...

Reviews: