AIRIS T920A, User Manual
The AIRIS T920A User Manual is essential for maximizing the full potential of your device. This comprehensive manual provides step-by-step instructions, troubleshooting tips, and useful insights to enhance your experience. Download it for free from our website manualshive.com and get the most out of your AIRIS T920A.
Share
Download


Reviews:
No comments
Related manuals for T920A

Premium
Brand: E-LOSTBAG Pages: 32

Q35
Brand: Quuppa Pages: 21

Rino 600
Brand: Garmin Pages: 12

Mobile PC
Brand: Garmin Pages: 12

GPSMAP 700 Series
Brand: Garmin Pages: 6

Nuvi 205 Series
Brand: Garmin Pages: 64

GPSMAP GPSMAP 196
Brand: Garmin Pages: 124

guide+play GPS-810
Brand: Harman Kardon Pages: 16

GR-213U
Brand: Holux Pages: 22

GM-210
Brand: Holux Pages: 14

StreetPilot i5
Brand: Garmin Pages: 68

AXIOM 2 XL
Brand: Raymarine Pages: 108

PET FINDER
Brand: PAJ GPS Pages: 64

HI-204III
Brand: Haicom Pages: 64

CF GPS GPS-6020
Brand: Rikaline Pages: 11
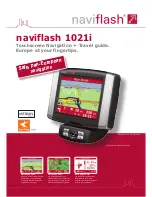
Touchscreen Navigation + Travel Guide Naviflash...
Brand: naviflash Pages: 2

MX420
Brand: Navico Pages: 80

ETREX 22X
Brand: Garmin Pages: 25


