background image

Printed in China

01025 INST 012413

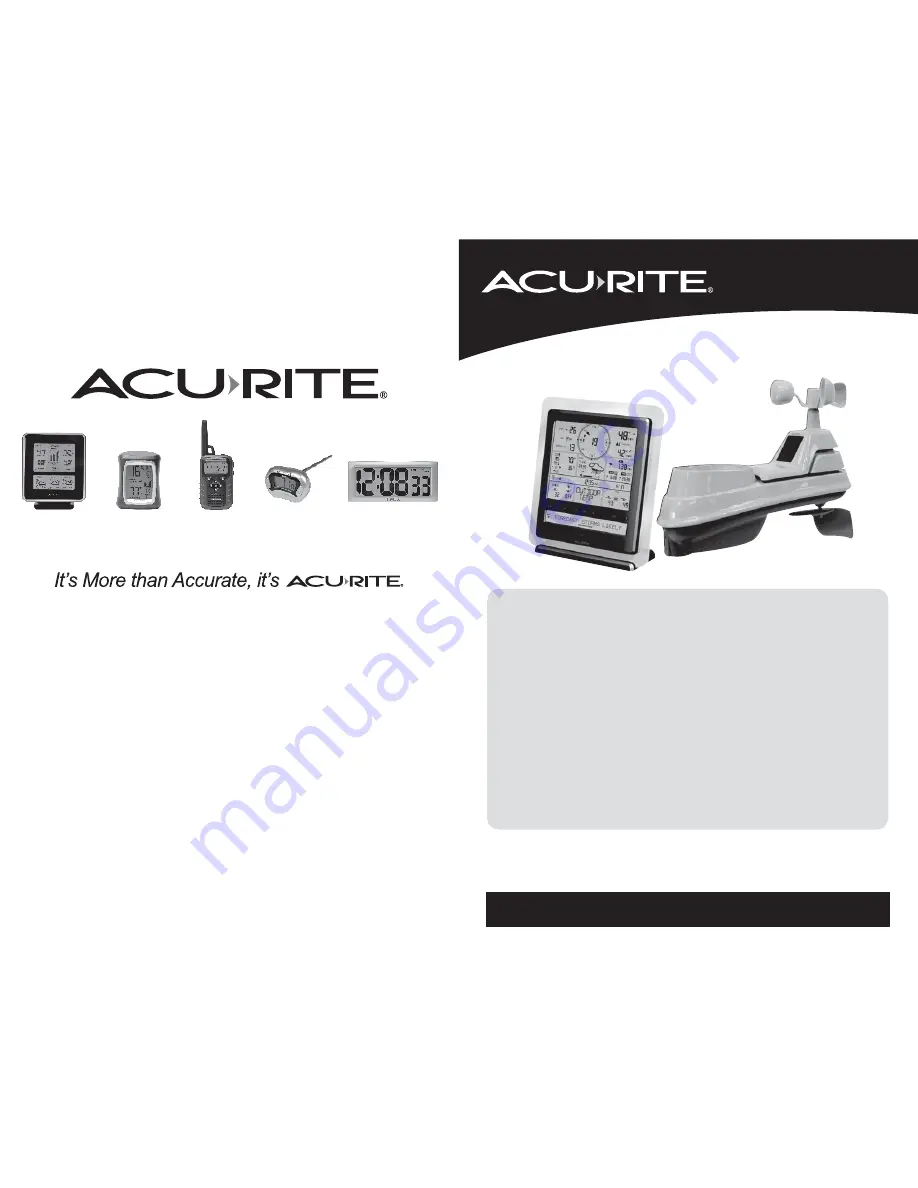
Professional Weather Center

model 01025

Instruction Manual

SAVE THIS MANUAL FOR FUTURE REFERENCE.

AcuRite offers an extensive assortment of precision instruments, 

designed to provide you with information you can depend on to 

Plan your day with confidence

.

www.

AcuRite

.com

Temperature

& Humidity

Kitchen

Thermometers

& Timers

Weather

Stations

Weather

Alert Radio

Clocks

©2013 Chaney Instrument Co. All rights reserved.  AcuRite and Acu-Link are 
registered trademarks of the Chaney Instrument Co., Lake Geneva, WI 53147. All other 
trademarks and copyrights are the property of their respective owners.  Patent 
numbers: 5,978,738; 6,076,044; 6,597,990; US 7,637,141 B2

 and other patents applied for.

Questions? 

Contact Customer Support at 

(877) 221-1252 or visit www.

AcuRite

.com.

CONTENTS

Unpacking Instructions............2

Package Contents..................2

Product Registration…......……2

Features & Benefits: 5-in-1.......3

Features: Display Unit.............4

Back of Display Unit...............6

Setup....................................7

5-in-1 Sensor Setup.................7

Display Unit Setup..................8

Set the Time & Date................9

Measurement Units...............10

Set Language.......................10

Sensor & Display Placement...11

5-in-1 Sensor Installation........12

PC Connect Overview...........13

PC Connect USB Modes........13

PC Connect Software............14

Using the Weather Center.....15

Weather Ticker.....................16

Programmable Alarms..........18

Troubleshooting…………....…19

Care & Maintenance............22

Calibration..........................22

Specifications......................24

FCC Information...................24

Customer Support…...….......25

Warranty…………........…….25

Summary of Contents for 1025

Page 1: ...the property of their respective owners Patent numbers 5 978 738 6 076 044 6 597 990 US 7 637 141 B2 andotherpatentsappliedfor Questions Contact Customer Support at 877 221 1252 or visit www AcuRite com CONTENTS Unpacking Instructions 2 Package Contents 2 Product Registration 2 Features Benefits 5 in 1 3 Features Display Unit 4 Back of Display Unit 6 Setup 7 5 in 1 Sensor Setup 7 Display Unit Setu...

Page 2: ...warranty protection PRODUCT REGISTRATION Register a Product IMPORTANT PRODUCT MUST BE REGISTERED TO RECEIVE WARRANTY SERVICE 10 9 Features Benefits 5 IN 1 SENSOR 1 Rainfall Collector Funnel 2 Solar Cell Panel Converts sunlight into power to run internal aspirating fan Internal Aspirating Fan not shown Draws ambient air into sensor to reduce solar radiation heating resulting in more accurate readin...

Page 3: ...ecorded 21 Activate Weather Ticker Message 22 Up Down to Select Category shown in 16 Adjust Settings 23 Weather Ticker Manual Cycle Press to advance through messages 24 Settings Button 25 Alarm On Off Button Activate alarm press and hold to adjust alarm values 26 Deactivate Weather Ticker Message 27 Indicates Deactivated Weather Ticker Message During ticker customization mode 28 Indicates Active W...

Page 4: ...artment 3 Replace the battery cover 2 Remove Rain Gauge Stabilizer Locate and remove the rain gauge stabilizer plastic tab taped into the bottom of the sensor The rain gauge will not function until this is removed 3 Set the A B C Switch Locate the A B C switch inside the battery compartment Set the A B C switch to A B or C You must select the same letter choices for both the sensor and the display...

Page 5: ... WAY AND IN ACCORDANCE WITH YOUR LOCAL LAWS AND REGULATIONS BATTERY SAFETY Clean the battery contacts and also those of the device prior to battery installation Remove batteries from equipment which is not to be used for an extended period of time Follow the polarity diagram in the battery compartment Promptly remove dead batteries from the device Dispose of used batteries properly Only batteries ...

Page 6: ...ion photos and video or learn more about AcuRite technology www AcuRite com 5in1 Display Unit Placement Place the display unit in a dry area free of dirt and dust To ensure accurate temperature measurement place out of direct sunlight and away from heat sources or vents Display unit stands upright for tabletop use or is wall mountable 5 in 1 Sensor Placement The 5 in 1 sensor is designed to remain...

Page 7: ...ed During Installation When installation is complete clear erroneous data from the display unit by pressing the CLEAR TODAY button on the back of the display unit inside the battery compartment This button will clear data recorded since 12 00am Basic Setup is Complete The 5 in 1 sensor will now synchronize with the display unit It may take a few minutes for synchronization to complete If both or o...

Page 8: ...ta from the sensor in your backyard It generates a forecast with pinpoint accuracy personalized for your exact location Learning Mode Self Calibrating Forecasting use a unique algorithm to analyze changes in pressure and temperature over a time period called Learning Mode to determine your altitude After 14 days the Learning Mode icon disappears from the display screen At this point the self calib...

Page 9: ...selection Weather Ticker speed is now set Weather Ticker The Weather Ticker automatically streams your real time weather information and alerts as scrolling text in the lower part of the display unit screen You can manually cycle through all the available messages by pressing Default WEATHER TICKER messages are pre loaded as follows FORECAST MOON PHASE INDOOR COMFORT IT FEELS LIKE __ OUTSIDE OUTDO...

Page 10: ...o Read Slow down the speed of the ticker see page 16 Silence a Sounding Alarm The alarm sounds initially for a few minutes then silences itself The alarm then sounds every few minutes afterwards until one of the following happens 1 SNOOZE Press any button Alarm silences but sounds again if the alarm condition reoccurs 2 Turn alarm OFF Deactivates alarm Set a Weather Alarm 1 Choose the weather cate...

Page 11: ...ND to PC USB port Confirm that the correct mode is selected see page 13 Troubleshooting PC Connect software data is different than display unit data Check that the USB cable is securely connected to the display unit AND to your PC USB port Confirm that the correct USB mode is selected on your display unit Restart the PC Connect Software Unplug the USB cable from your PC for about 1 minute re inser...

Page 12: ...hidden except for the value being calibrated calibrate and arrows appear next to the value being calibrated 3 Press the up or down arrow buttons to calibrate the data value higher or lower from the actual reading 4 Press the button to confirm the calibration adjustment Note The icon remains illuminated next to calibrated values Calibrate the Rain Gauge The rain gauge on the 5 in 1 sensor can be ca...

Page 13: ...resentatives of Chaney The above described warranty is expressly in lieu of all other warranties express or implied and all other warranties are hereby expressly disclaimed including without limitation the implied warranty of merchantability and the implied warranty of fitness for a particular purpose Chaney expressly disclaims all liability for special consequential or incidental damages whether ...

Reviews: