background image

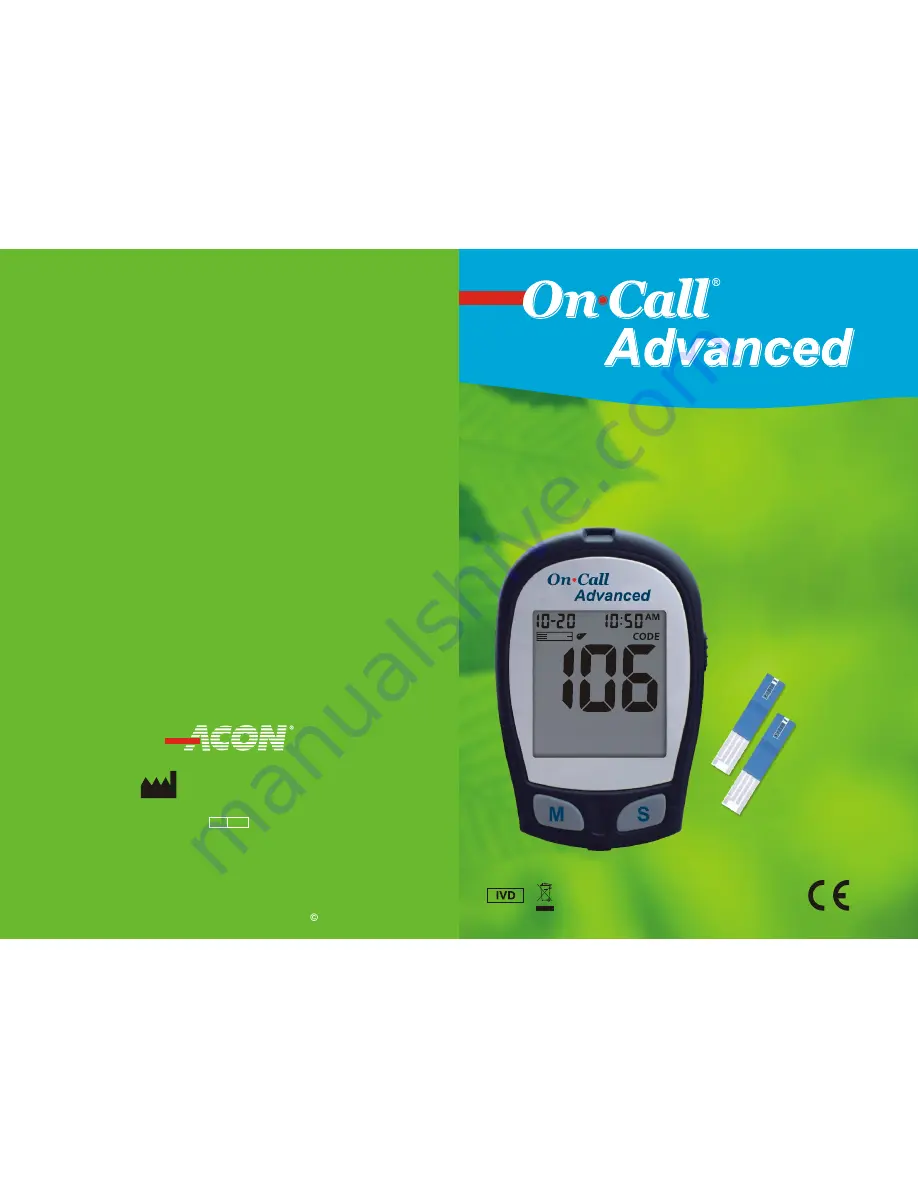
 Blood 

 Monitoring System

Glucose

User's Manual

2010 

ACON

 Laboratories, Inc.

Number: 1150589401
Effective date: 2010-xx-xx

ACON

 Laboratories, Inc.

10125 Mesa Rim Road, 
San Diego, CA 92121, USA

EC

REP

MDSS GmbH 

Schiffgraben 41 

30175 Hannover, Germany

0197

Summary of Contents for On Call

Page 1: ...tem Glucose User s Manual 2010 ACON Laboratories Inc Number 1150589401 Effective date 2010 xx xx ACON Laboratories Inc 10125 Mesa Rim Road San Diego CA 92121 USA EC REP MDSS GmbH Schiffgraben 41 30175 Hannover Germany 0197 ...

Page 2: ... instructions before use Use the code chip that accompanies each box of test strips Use only On Call Advanced Blood Glucose Test Strips with the On Call Advanced Blood Glucose Meter For in vitro diagnostic use only Your blood glucose monitoring system is to be used only outside the body for monitoring the effectiveness of diabetes control It should not be used for the diagnosis of diabetes For sel...

Page 3: ...bol 42 Index 43 Component Descriptions 2 On Call Advanced Blood Glucose Meter 3 Meter Display 5 On Call Advanced Blood Glucose Test Strips 6 On Call Advanced Glucose Control Solution 9 Step 1 Coding the Meter 12 Step 2 Adjusting the Meter Settings 12 Step 1 Getting a Drop of Blood 20 Step 2 Testing Blood Glucose 26 HI and LO Messages 28 Hypo and Hyper Messages 29 Ketone Message 29 Viewing Stored R...

Page 4: ...rifies the proper operation of the blood glucose monitoring system by checking the test strips and meter against a pre calibrated control solution Control Solution 1 is all you need most of the time If you want to do additional levels of tests Control Solution 2 are available Control 1 and 2 are available in the On Call Advanced Control Solution package which is sold separately 8 Carrying Case Pro...

Page 5: ...forms other menu selection functions Selects meter settings and performs other menu selection functions Test strips are inserted into this area to perform a test Slide the ejector forward to discard the test strip Note Dispose of blood samples and materials carefully Treat all blood samples as if they are infectious materials Follow proper precautions and obey all local regulations when disposing ...

Page 6: ...ot be adjusted Do not get water or other liquids inside the meter Keep the strip port area clean Keep your meter dry and avoid exposing it to extremes in temperature or humidity Do not leave it in your car Do not drop the meter or get it wet If you do drop the meter or get it wet check the meter by running a quality control test Refer to Quality Control Test on page 17 for instructions Do not take...

Page 7: ...2 30 C o 36 86 F Store them away from heat and direct sunlight Do not freeze or refrigerate Do not store or use test strips in a humid place such as a bathroom Do not store the meter the test strips or control solution near bleach or cleaners that contain bleach Replace the cap on the test strip vial immediately after removing a test strip The test strip should be used immediately after removing i...

Page 8: ...On Call Advanced Glucose Control Solution Please review the following storage and handling instructions o o Store the control solution at room temperature 2 30 C 36 86 F Do not refrigerate or freeze If the control solution is cold do not use until it has warmed to room temperature Use before the unopened expiration date that is shown on the bottle Note The expiration date is printed in Year Month ...

Page 9: ...h your meter turned off insert the new code chip into the code chip slot of the meter It should easily snap into place The code chip should remain in the meter do not take it out until you change to another new box of test strips 3 Turn the meter on by inserting a test strip You can see the code number appear on the center of the screen If the code number on the code chip does not match the number...

Page 10: ...displayed on the large center segments of the display and the symbol of before meal and after meal will be displayed as shown below Press the M button to switch between turning the Meal Marker On and Off Press the S button to confirm your selection 6 Audio Feature The meter comes with the meter audio feature enabled The meter will give one short beep when it is turned on after sample detection and...

Page 11: ...he S button will go to the set up of the second Test Reminder When the Test Reminder is On pressing the S button will go to the set up of the time for the first Test Reminder Press the M button to adjust the first Test Reminder time Time is adjusted by every 15 minutes Press the S button to confirm the first Test Reminder time and then go to the second Test Reminder set up When the Test Reminder i...

Page 12: ...hiffgraben 41 30175 Hannover Germany o 35 C o 2 C The quality control test confirms that the test strips and meter are working together properly and that you are performing the test correctly It is important to perform this test Before you first use your meter Before using a new box of test strips When you suspect that the meter or test strips are not working properly When you suspect that your te...

Page 13: ...icient for most all self testing needs If you think your meter or strips may not be working correctly you may also want to do a level 2 test The ranges for both CTRL 1 and CTRL 2 are displayed on the test strip vial or on the foil pouch Simply repeat Steps 4 through 6 using Control Solution 2 For confirmation of results Control Solution 1 tests should fall within the CTRL 1 range and Control Solut...

Page 14: ...not need the clear cap for fingertip sampling 5 4 3 1 2 3 5 4 3 Adjustment 1 and 2 for delicate skin 3 for normal skin 4 and 5 for calloused or thick skin Note Greater pressure of the lancing device against the finger will also increase the puncture depth 5 Pull the cocking barrel back to set the lancing device You may hear a click The device is now loaded and ready for obtaining a drop of blood 6...

Page 15: ...Please refer to Fingertip Testing to insert the lancet and load the lancing device For the greatest reduction in pain lance on the sides of the fingertips Rotation of sites is recommended Repeated punctures in the same spot can make your fingers sore and callused 2 Choose a puncture site on the forearm or palm Select a soft fleshy area of the forearm that is clean and dry away from bone and free o...

Page 16: ...is used care should be taken to uniformly distribute red cells throughout the tube before testing Gently invert the capped tube several times Please note do not mix the blood sample in the tube too much Step 2 Testing Blood Glucose Step 2 Testing Blood Glucose Note Insertion of a new test strip at any time except while in the data transfer mode detailed on page 33 will cause the meter to automatic...

Page 17: ...essage appears on the display refer to the Troubleshooting Guide on page 39 If a HI or LO error appears on the display refer to HI and LO messages below The meter can accurately measure blood glucose concentrations between 0 6 to 33 3 mmol L 10 to 600 mg dL HI and LO messages indicate results outside of this range If HI appears on the display the measured concentration value is above 33 3 mmol L 6...

Page 18: ...re professional to find out your hematocrit level Abnormally high levels of Vitamin C ascorbic acid or other reducing substances will produce falsely high blood glucose measurements Fatty substances such as Triglycerides up to 166 7 mmol L 3 000 mg dL or Cholesterol up to 27 8 mmol L 500 mg dL have no major effect on blood glucose test results The On Call Advanced Blood Glucose Monitoring System h...

Page 19: ...reme caution should be used when clearing the memory This is not a reversible operation To clear the memory 1 With the meter off press and hold the M button for two seconds This will turn on the meter and enter the delete mode 2 To clear the memory press and hold both the M and S buttons for two seconds Note If you do not wish to view your average glucose measurements you can press the S button ag...

Page 20: ...on 4 During the data transfer the meter will display to and PC This indicates the data is being transferred from the meter to the PC En En 3 The display will show MEM and the meter will clear its memory and turn itself off after a moment 4 If you entered the delete mode but want to exit without deleting the recorded data press the S button This will turn the meter off without deleting any data 5 O...

Page 21: ...ttery replacement to ensure time is set correctly To set the meter clock see Meter Setup Before Testing on page 12 Your On Call Advanced Blood Glucose Meter does not require special maintenance or cleaning A cloth dampened with water and a mild detergent solution can be used to wipe the outside of the meter Take care to avoid getting liquids dirt blood or control solution into the meter through th...

Page 22: ...w often to test your blood glucose Some suggested times are When you wake up fasting level Before breakfast 1 2 hours after breakfast Before lunch 1 2 hours after lunch Before or after exercise Before dinner 1 2 hours after dinner Before bedtime After a snack At 2 or 3 AM if taking insulin 1 You may need to test more often whenever You add or adjust your medication for diabetes You think your bloo...

Page 23: ...n error messages appear note the error number turn off the meter and then follow these instructions Display Causes Solution Meter fails to turn on Battery may be damaged or not be charged Meter is too cold Replace battery If meter has been exposed to or stored in cold conditions wait 30 minutes to allow meter to reach room temperature then repeat test En En Insufficient sample Repeat test and appl...

Page 24: ...ry installed o 5 45 C 10 90 20 70 9600 baud 8 data bits 1 stop bit no parity 0 6 33 3 mmol L 10 600 mg dL En En Warranty Please complete the warranty card that came with this product and mail it to your dealer to register your purchase If the meter fails to work for any reason other than obvious abuse within the first five 5 years from purchase we will replace it with a new meter free of charge Fo...

Page 25: ... 14 29 Blood Glucose 27 Lancing Device 1 20 36 Control Solution 18 Lancets 1 20 Meter vs Lab Results 38 Logbook 2 37 Target Goals 37 Maintenance 6 35 Unit of Measure 18 37 Measure Unit of 5 18 Suggested Testing Times 37 Meter 3 Symbols Index of 42 Audio feature 14 Test Strip 6 Cleaning 35 Code 7 Code chip 2 Expiration 8 Display 5 Precautions 9 Error Messages 39 Testing Your Blood 20 HI and LO Mess...

Reviews: