


QUICK START GUIDE
TalkingBrix™ 2
speech device
WARRANTY
AbleNet manufactured products include a 2-year limited
warranty. This warranty is against defects in materials and
manufacturing for 2-years from the date of purchase. Full
warranty details available at www.ablenetinc.com.
AbleNet, Inc.
2625 Patton Road
Roseville, MN 55113
United States of America
(651) 294-3101
www.ablenetinc.com
Made with recycled content
EN June 18, 2021 1:59 PM
1
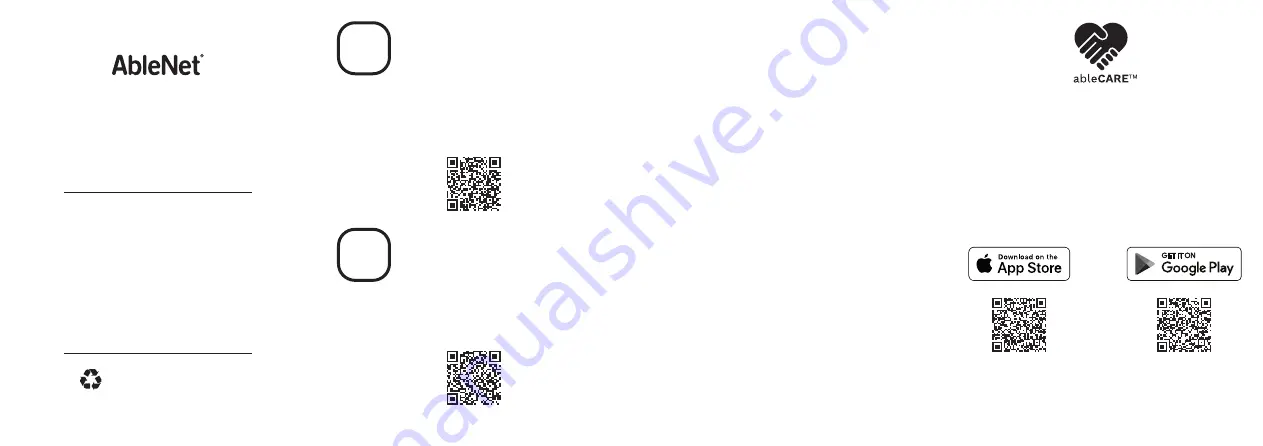
Product
Registration
Registering your product provides you
access to ableCARE, product updates,
and resources for your product. Scan the
QR code below to register your product.
2
Getting
Started
Scan the QR code below to watch a
short getting started video or follow
the instructions listed.
To get started:
1. On back of device, move the switch
to REC.
2. Press and hold colored switch top.
3. Begin speaking for up to 10-seconds
when light starts blinking.
4. Release colored switch top when
finished.
5. On back of device, move switch from
REC to ON to start using.
This device can do more! Full Instructions
for Use are available at
www.ablenetinc.com.
Download the ableCARE app to access
live support from the ableCARE Product
Success team, an online knowledge base
filled with videos and getting started
information, and other resources.
Scan the QR code below to download
the free ableCARE app to your phone or
tablet.


