background image

Expand Your Factory Radio

iSimple®

A Division of AAMP of America™

13190 56th Court Clearwater, FL 33760

Ph. 866-788-4237

[email protected]

©2009 AAMP of Florida, Inc.

www.isimplesolutions.com

Harness Connection

a

Port 1

a

Port 2

a

Dip Switches

(See Manual)

a

USB

a

FORD

LINCOLN

MERCURY

Owner’s Manual

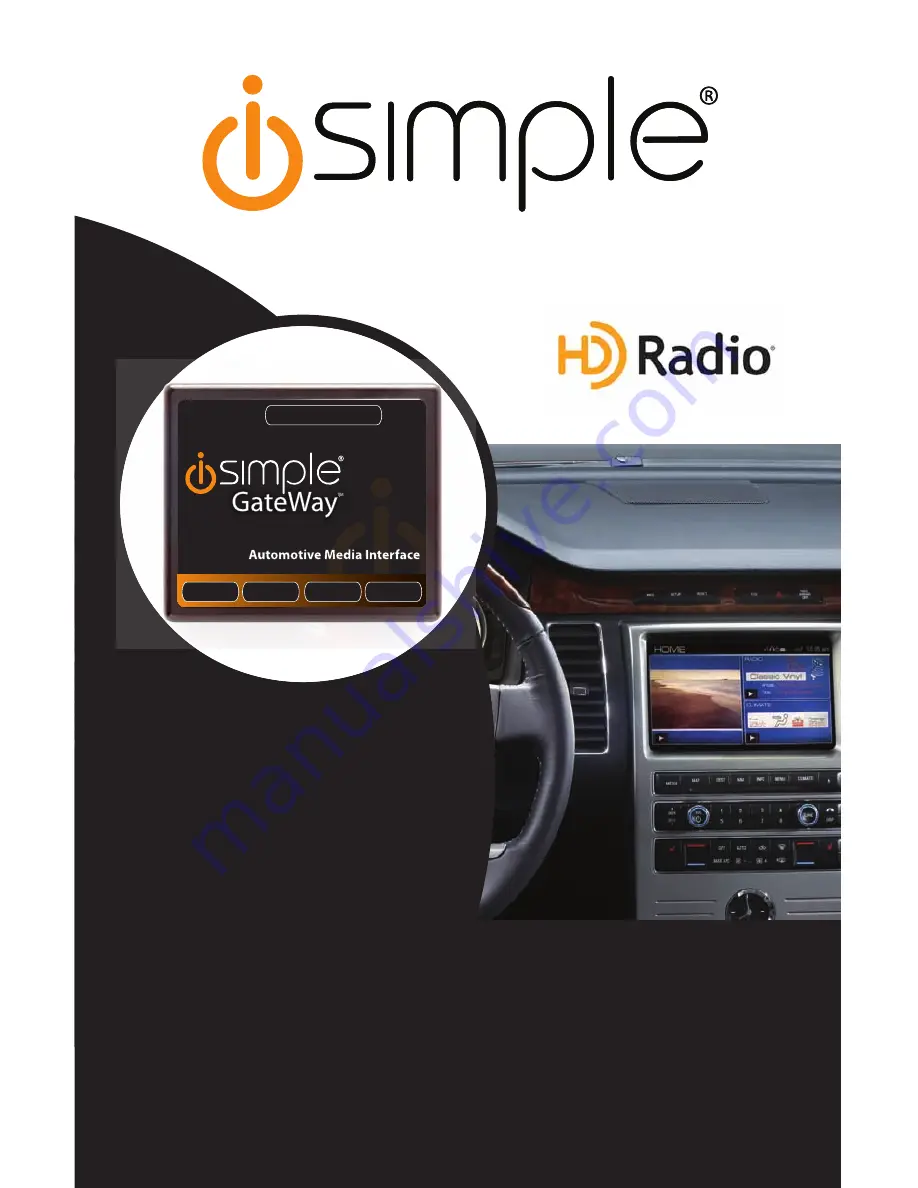
Media Gateway 

PXAMG

PGHFD1

Rev. 8-05-10

Inst023

add


Summary of Contents for PGHFD1

Page 1: ...ourt Clearwater FL 33760 Ph 866 788 4237 support isimplesolutions com 2009 AAMP of Florida Inc www isimplesolutions com Harness Connection a Port 1 a Port 2 a Dip Switches See Manual a USB a FORD LINCOLN MERCURY Owner s Manual Media Gateway PXAMG PGHFD1 Rev 8 05 10 Inst023 add ...

Page 2: ...ibility Notes 2 3 4 Programming the Media Gateway PXAMG 3 4 5 Installation 4 6 6 Satellite Tuner Emulation Operation All 2005 2008 Select 2009 2010 6 10 7 SYNC Emulation Operation 2009 2010 Navigation Center Stack radios 10 15 8 Troubleshooting 16 9 Warranty Info 17 ...

Page 3: ... Part PXAMG 3Ft HD Radio Cable 11Ft iPod Cable HD RadioTM Tuner Part HDRT Antenna Adapter Part BAA20 LCD Retention Harness Part PGHFD1A H ar ne ss Co nn ec tio n a Po rt 1 a Po rt 2 a Dip Sw itc he s Se e Ma nua l a U SBa Harness Connection Port 1 Port 2 Dip Switches See Manual USB The Media Gateway will only support 2 inputs ...

Page 4: ...harge for this update PREVENTING DAMAGE TO YOUR VEHICLE OR iPod Some installations require you to make wiring connections To eliminate the risk of an electrical short we recommend disconnecting the vehicle s battery prior to installation If you do not feel comfortable making these connections we suggest you seek professional installation We recommend that the iPod be disconnected from the interfac...

Page 5: ...s All navigation radios and non navigation center stack radios that have an active SYNC system are compatible In these vehicles the Media Gateway emulates the SYNC system therefore it is required that the vehicle be equipped with SYNC All non navigation radios exclud ing vehicles equipped with the standard center stack radios that feature an AUX or SIRIUS button are compatible In these vehicles th...

Page 6: ...avigation 1 When making electrical connections it is always recommended that the vehicle s battery be disconnected from the electrical system before performing the installation 2 Carefully remove the trim panels covering the bolts that secure the radio into the dash cavity Remove these bolts and carefully pull the radio from the dash of the vehicle This will provide access to the factory radio con...

Page 7: ...rness Be sure to make a firm connection but do not force it If you are using the PGHFD1A harness the 4 pin plug on this harness will connect to the 4 Pin plug on the PGHFD1 harness The 12 pin plug on this harness will replace the current 12 pin harness connected to the LCD screen mounted above the radio Disconnect the factory 12 Pin harness and do not reconnect Plug the 12 Pin connector of the PGH...

Page 8: ...manually or to seek back to previous broadcasting station Changing from auto seek to manual tuning Press and hold SEEK button for longer than two seconds to toggle between manual tune and auto tune modes Either MANUAL or AUTO will be displayed on the screen to verify which mode is selected Changing Bands Press the AUX button repeatedly to cycle through FM1 FM2 FM3 and AM1 Storing Radio Stations in...

Page 9: ...gnal is too far away causing a weak signal iPod Operation Press the AUX or Sirius button repeatedly Must press SR icon then use the SR123 icon on navigation radios until iPod is displayed on the screen When you press the AUX or SAT button you will see the corresponding SAT mode for example SAT 1 a slight delay and then the current Media Gateway mode will be displayed HD Radio iPod Sat1 Sat 2 Sat 3...

Page 10: ...ayed in front of the name of the album to indicate you are searching for an album Press the SEEK or SEEK button to cycle through the albums Once the desired album is displayed Press Preset 2 to select the desired Album The first song in the album will be displayed TR will be displayed in front of the song title to indicate that a track or song title is being displayed Press the SEEK or SEEK button...

Page 11: ...on repeatedly Must press SR icon then use the SR123 icon on navigation radios until SIR 1 is displayed on the screen NOTE When you press the AUX or SAT button you will see the corresponding SAT mode for example SAT 1 a slight delay and then the current Gateway mode will be displayed HD Radio iPod Sir1 Sir 2 Sir 3 Line In Channel Up Press the Tune button to move up through the channels Channel Down...

Page 12: ... NOTE If you have installed the Media Gateway into a 2009 vehicle that has an external Satellite tuner and you followed the dipswitch configuration for the 2005 2008 models please refer to the 2005 2008 operation section Pages 6 8 HD Radio Operation Navigation Radios First press the Media button Next press the USER DEVICE icon on the navigation screen Now press the SOURCE icon on the navigation sc...

Page 13: ...display on the navigation screen NOTE If the selected station supports HD RADIO and the signal is strong enough the radio will auto lock onto the HD Radio Station The letters HD1 HD2 or HD3 will follow the stations frequency when locked onto an HD station The HD Radio will pick up both Digital and Analog radio signals Multicast HD2 and HD3 stations are digital only and will not be available if the...

Page 14: ...tion screen to select the desired Album The first song in the album will be displayed TR will be displayed in front of the song title to indicate that a track or song title is being displayed Turn the Tune Knob to cycle through the songs in the selected album Songs are listed in the order in which they appear in the album not alphabetically Once the radio displays the name of the desired song Pres...

Page 15: ...l and Analog radio signals Multicast HD2 and HD3 stations are digital only and will not be available if the radio signal is too far away causing a weak signal iPod Operation Non Navigation Radios Press the AUX button on the radio until SYNC is displayed Press and hold the SCAN button on the radio to enter the mode select menu Once in the mode select menu turn the Tune Knob until IPOD is displayed ...

Page 16: ...play the albums by that artist The Albums from the selected Artist will be displayed one at a time in alphabetical order AL will be displayed in front of the name of the album to indicate you are searching for an album Turn the Tune Knob to cycle through the albums Once the desired album is displayed Press Preset 4 to select the desired Album The first song in the album will be displayed TR will b...

Page 17: ...AUX source to control the iPod from the click wheel The Media Gateway does not recognize the HD tuner HDRT The HD tuner was not properly connected when the PXAMG was first connected and initialized HDRT must be connected before the PXAMG is plugged in Disconnect the PXAMG from the vehicle harness for at least 5 minutes Verify the 8 pin DIN HDRT cable is securely connected at both ends before recon...

Page 18: ...ASE from an authorized iSimple dealer Warning This equipment may be reset by unintentional electrostatic discharge during operation Exposure to direct sunlight or extreme heat may cause damage or malfunction FCC Class B Radio Frequency Interference Statement This equipment has been tested and found to comply with the limits for a Class B digital device pursuant to Part 15 of FCC rules These limits...

Page 19: ..._________________________________________________ _ ____________________________________________________ _ ____________________________________________________ _ ____________________________________________________ _ ____________________________________________________ _ ____________________________________________________ _ ____________________________________________________ _ __________________...

Page 20: ..._________________________________________________ _ ____________________________________________________ _ ____________________________________________________ _ ____________________________________________________ _ ____________________________________________________ _ ____________________________________________________ _ ____________________________________________________ _ __________________...

Page 21: ..._________________________________________________ _ ____________________________________________________ _ ____________________________________________________ _ ____________________________________________________ _ ____________________________________________________ _ ____________________________________________________ _ ____________________________________________________ _ __________________...

Page 22: ...20 For Best Performance Have It Professionally Installed www isimplesolutions com ...

Reviews: