A-Neuvideo ANI-42HPIP, Instruction Manual
The A-Neuvideo ANI-42HPIP is an advanced audio-video distribution system. Enhance your user experience by downloading the free Instruction Manual that includes comprehensive step-by-step instructions and explanations. Visit manualshive.com now to effortlessly download your manual and enjoy full control over this exceptional product.
Share
Download


Reviews:
No comments
Related manuals for ANI-42HPIP

CMP2000N
Brand: I-Tech Pages: 16

MVDP1101
Brand: Memorex Pages: 2

Sceptre 2
Brand: Kings Audio Pages: 6

DVBT-ST35
Brand: Laser Pages: 20

PET946
Brand: Philips Pages: 22

MPD 110
Brand: Caliber Pages: 15

IDM-9530
Brand: Initial Pages: 36

DRC618N
Brand: RCA Pages: 123

SMP-L
Brand: Scala Pages: 3

3500
Brand: RMvisto Pages: 23

Multimedia Player
Brand: PQI Pages: 45

D1
Brand: XINDAK Pages: 15

Music Maker 2395IR
Brand: Califone Pages: 16

NPD-952
Brand: Naxa Pages: 13

TF-DVD7500
Brand: Coby Pages: 32
DVD8009
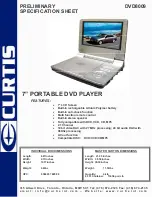
Brand: Curtis Pages: 1

DVD8402
Brand: Curtis Pages: 1

BTVi3
Brand: CYBER SERVICES Pages: 32


