background image

© 3M 1997

3M

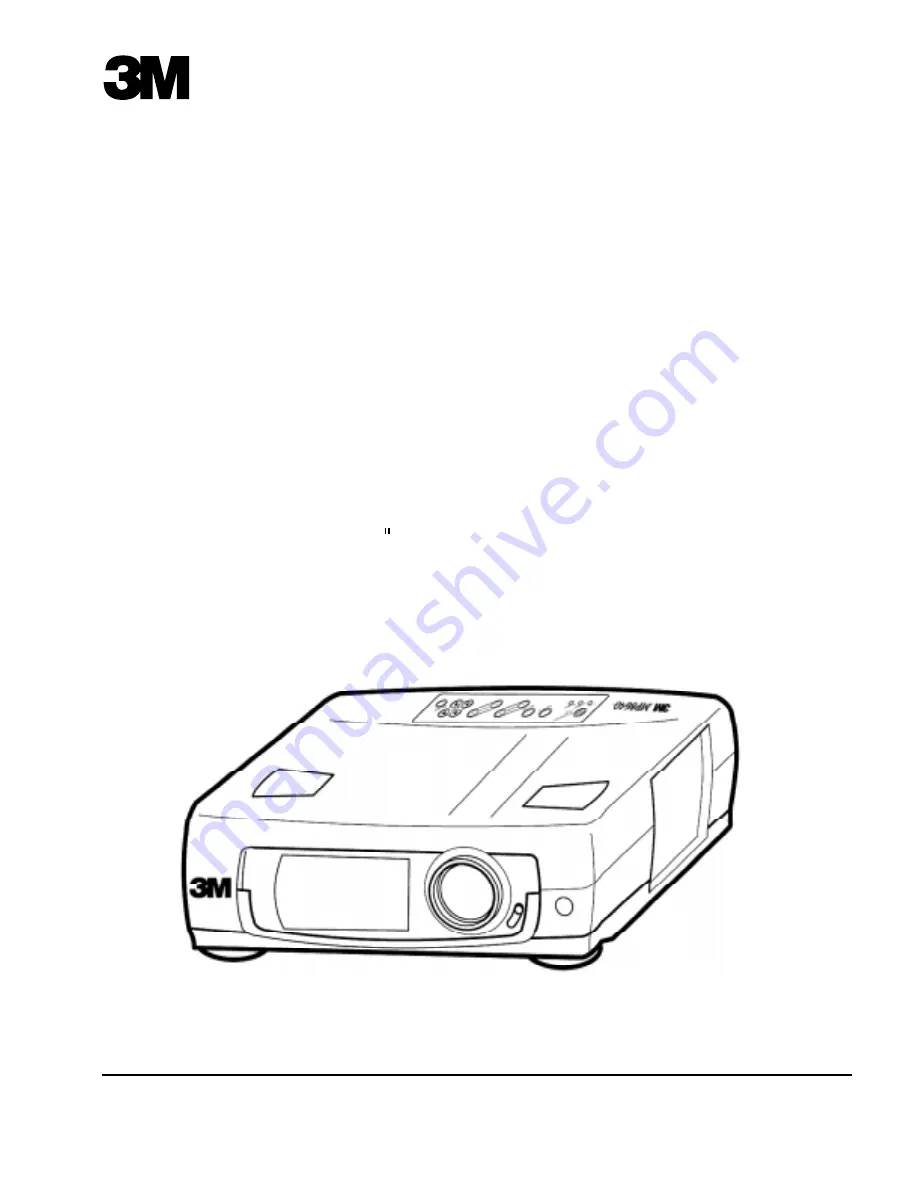
 Multimedia Projector MP8640

MP8640 Multimedia Projector

Operator's Guide

MP8640 Projecteur multimédia Guide de l'opérateur

MP8640 Multimedia-Projektor Benutzerhandbuch

Proyector de Multimedia MP8640 Manual del Usuario

MP8640 Proiettore Multimediale Manuale dell'operatore

MP8640 Bruksanvisning for multimediaprojektor

MP8640 Multimedia Projector Gebruiksaanwijzing

Summary of Contents for MP8640 - MP XGA LCD Projector

Page 1: ...8640 Projecteur multimédia Guide de l opérateur MP8640 Multimedia Projektor Benutzerhandbuch Proyector de Multimedia MP8640 Manual del Usuario MP8640 Proiettore Multimediale Manuale dell operatore MP8640 Bruksanvisning for multimediaprojektor MP8640 Multimedia Projector Gebruiksaanwijzing ...

Page 2: ...ation 10 3 2 Using the Projector 11 3 3 Turn Off Power 12 Section 4 Adjustments and Functions 13 4 1 Menu 13 4 2 How To Use Foot Adjusters 14 4 3 SETUP 15 4 4 INPUT 16 4 5 IMAGE 16 4 6 OPT 18 Section 5 Connection to Signal Terminals 19 5 1 Connection to the Video Signal Terminal 19 5 2 Connection to the RGB Signal Terminal 19 5 3 Connection to the Control Signal Terminal 21 Section 6 Maintenance 2...

Page 3: ...tlet before cleaning and servicing and when not in use Grasp plug and pull to disconnect 9 To reduce the risk of electric shock do not immerse this appliance in water or other liquids 10 To reduce the risk of electric shock do not disassemble this appliance but take it to a qualified technician when service or repair work is required Incorrect assembly can cause electric shock when the appliance i...

Page 4: ...ves you specific legal rights and you may have other rights which vary from state to state FCC STATEMENT CLASS A This equipment generates uses and can radiate radio frequency energy and if not installed and used in accordance with the instruction manual may cause interference to radio communications It has been tested and found to comply with the limits for a Class A computing device pursuant to S...

Page 5: ...eries included VGA Cable 15 15 pin M M 3 Conductor Video Audio Cable Adapter with dip switch Video Cable S Video mini DIN4 pin Figure 1 1 Inventory of Shipping Box Power Cord 110V US 220V UK Europe The shipping carton contains the items illustrated in Figure 1 1 In addition the following items are also included but not shown here If any of these items are missing please contact your place of purch...

Page 6: ...a metal halide lamp ensures high brightness SVGA resolution 3 separate 800 x 600 LCD panels are used for the R G and B signals XGA compression 60 Hz and 70 Hz Compact size light weight for portability RGB computer video output terminal Serial PS 2 and Apple Desktop Bus ADB mouse emulation Power zoom and power focus functions Easy to set up and use Ability to display 16 7 million colors Two compute...

Page 7: ...tton Adjusts picture size FOCUS button Adjusts focus MENU button RESET button Resets unit to factory settings LAMP indicator ON indicator VIDEO input terminal S VIDEO input terminal VIDEO input terminal AUDIO L R input terminal MAIN POWER switch Main power ON OFF switch OFF ON RGB input terminal RGB input terminal AUDIO input terminal Stereo mini jack RGB output terminal RGB output terminal AUDIO ...

Page 8: ...ge mouse driver information to Serial Mouse or PS 2 Mouse Windows 95 Click Start select Settings select Control Panel Click on Mouse select the General tab see what driver is currently loaded and make note of it select Change select Show all devices make note of the current Manufacturer and Model select Standard Mouse Type for Manufacturer then select Standard Serial Mouse or Standard PS 2 Mouse C...

Page 9: ... STANDBY ON button Power ON OFF button OFF sets the unit in standby mode ZOOM button Adjusts picture size TIMER ON OFF button Displays or removes TIMER When the blank screen is displayed TIMER can not be displayed BLANK ON OFF button Blanks the screen Pull down or left on stick switch to reveal screen POSITION button Hold this button and move stick switch to adjust vertical and horizontal image po...

Page 10: ... cm 454 cm 363 cm 272 cm 22 4 ft 119 in 95 in 71 in 179 in 143 in 107 in 853 cm 377 cm 302 cm 226 cm 556 cm 453 cm 340 cm 28 0 ft 148 in 119 in 89 in 223 in 178 in 134 in 1137 cm 502 cm 402 cm 301 cm 755 cm 604 cm 453 cm 37 3 ft 198 in 158 in 119 in 297 in 238 in 178 in Section 3 Basic Operations 3 1 Installation Example of the Multimedia projector and screen installation Determine picture size an...

Page 11: ...ss the FOCUS button The on screen display shown on the right appears 2 Adjust the focus so that the picture is sharp using the FOCUS button 6 Turn on all connected equipment The method of connecting various equipment see section 2 3 7 Press the INPUT button on the projector or the INPUT SELECT VIDEO or RGB button on the remote to select the source of the signal to be projected on the screen The se...

Page 12: ...ximately 1 minute the fan stops and the indicator stays orange 2 Turn the MAIN POWER switch of the projector off Caution Do not turn off the MAIN POWER switch before pressing the STANDBY ON button After the STANDBY ON button is pressed the fan rotates for about 1 minute to cool the projector 3 Close the lens shutter Push up on the lens cover switch to close 4 Disconnect cables 12 ...

Page 13: ... STICK SWITCH Highlighted items may be adjusted M ENU RESET 1 2 1 1 2 S E T U P I N P U T I M A G E O P T VOL B R I CON SHA COL T I N RESET SETUP DEFAULT CANCEL 13 Note SeparatesettingsareprovidedfortheVIDEO1 VIDEO2 RGB1andRGB2inputterminals Adjustmentsaresavedafterpoweroff To return to the factory default setting Highlight SETUP option To reset the entire SETUP menu Press the RESET button Select ...

Page 14: ...unlock lock Front view Side view 4 2 1 Lift up the projector unlock the foot adjusters 4 2 2 Adjust a viewing angle and then lock the foot adjusters 4 2 3 For fine adjustments rotate the foot adjusters 14 Caution Do not unlock the foot adjusters if the projector is not supported If the foot adjusters do not lock completely turn the foot adjusters slightly before locking ...

Page 15: ... BAL Details of adjustment Decrease Increase Dark Bright Lower Higher Soft Sharp Less More Red Green Moves the picture up or down Moves the picture left or right Decreases the picture flicker Widens or Narrows the horizontal size of picture R stronger Red N Normal B stronger Blue Note TINT cannot be adjusted with a PAL video signal input TINT COLOR and SHARPNESS cannot be adjusted with an RGB sign...

Page 16: ...ISP SIZE MESSAGE S E T U P I N P U T I M A G E O P T WHITE BLUE BLACK B L A N K S E T U P I N P U T I M A G E O P T NORMAL H INVERT V INVERT H V INVERT M I R R O R S E T U P I N P U T I M A G E O P T FAST MEDIUM SLOW R E V E A L 16 Selection RGB1 RGB2 VIDEO1 VIDEO2 TEST PATTERN Description Selects the RGB 1 terminal Selects the RGB 2 terminal Selects the VIDEO 1 terminal Selects the VIDEO 2 termin...

Page 17: ...640 X 480 Normal Displays in 640x480 window centered on screen Large Expands 640x480 to full 800x600 screen 800 X 600 Normal Displays full 800x600 Large Not available 1024 X 768 Normal Compresses 1024x786 to 800x600 screen Large Displays 800x600 window into 1024x768 This window can be moved with H and V Position or by holding position button and moving the stick switch Video Normal Displays video ...

Page 18: ...n STOP AUTO OFF S E T U P I N P U T I M A G E O P T 1200 2400 4800 9600 19200 COM SPEED bps Selection COM SPEED COM BITS TIMER LANGUAGE AUTO OFF START UP Description Selects the data speed of transmission For mouse emulation 1200 Selects the data format of transmission 7N1 7 data bits No parity 1 stop bit For mouse emulation 7N1 8N1 8 data bits No parity 1 stop bit Sets the timer in minutes Select...

Page 19: ...signal Horizontal sync signal Vertical sync signal Composite sync signal Audio signal Input Output Analog 0 7Vp p 75 Ω termination Positive polarity TTL level Positive negative polarity TTL level Positive negative polarity TTL level 200mVrms 20k Ω below MAX 3 0Vp p 0 200mVrms 1k Ω a Input signal Output signal 1 2 3 4 5 6 7 8 Video signal Red Video signal Green Video signal Blue N C N C Ground for ...

Page 20: ...ve V Negative H V separate H Positive V Positive H V separate H Negative V Negative H V separate H Negative V Negative H V separate H Positive V Positive H V separate H Positive V Positive Interlaced Non interlaced Interlaced Non interlaced Non interlaced Non interlaced Non interlaced Non interlaced Non interlaced Non interlaced Non interlaced Non interlaced Non interlaced Note 3 Someinputsourcesm...

Page 21: ...Select the correct mouse driver for the application See computer s User Manual for this procedure Note In some Notebook computers which have internal pointing device mouse emulation will not work unless the internal pointing device is disabled In this case disable the internal pointing device in BIOS setting Check the computer s manual for procedure to follow to disable internal pointing device in...

Page 22: ...ontrol Signal Terminal continued b RS 232 Control Cable not included with basic packout This cable is used to directly control the projector without using the Remote Control or Operator s Panel D sub 15pin Female D sub 15pin Female Serial Mouse cable RS 232 cable 22 male male ...

Page 23: ...closed Let projector cool 20 minutes Check air flow and filter call your dealer 6 2 Message Table a On Screen Display The following messages are displayed on the screen NO SIGNAL IS DETECTED The projector is not detecting a signal SYNC IS OUT OF RANGE The horizontal frequency of the input signal exceeds the range of the projector or it cannot be displayed CHANGE THE LAMP Change when the lamp messa...

Page 24: ...g screws Note There are three lamp module screws that must be loosened These screws are self containing screws that cannotberemovedfromthelampmodule Display Lamp Operation Hours If there is a need to determine the lamp operation hours follow these steps a While the projector is running press and hold the timer button on the remote control for 3 seconds b The operating time of the lamp will be disp...

Page 25: ...ct the cable correctly Connect the cable correctly Press the MENU button and increase BRIGHTNESS Connect the cable correctly Press the VOL button and increase VOLUME Press the MUTE button Adjust the color and tint correctly Adjust the brightness and contrast correctly Replace the lamp with a new one Adjust the focus Turn off power and let cool for 20 minutes then restart If problem persists call y...

Page 26: ...2 8 Metal halide lamp 260W 2W and 2W stereo AC100 120V 5A AC220 240V 2 2A Universal 370W 32 95 F 0 35 C 16 3 W 5 9 H 12 0 D 414 mm W x 150 mm H x 305 mm D 18 lbs 8 1 kg S VIDEO Mini DIN4 pin terminal VIDEO RCA Jack terminal AUDIO RCA Jack terminal RGB signal D sub 15pin Female AUDIO Stereo mini jack D sub 15pin Male Liquid crystal panel Input Output terminal 7 2 Accessories Metal halide lamp modul...

Page 27: ... 3M 1997 3M Multimedia Projector MP8640 7 3 Dimension Diagram 27 ...

Page 28: ...USA 3M 1997 78 6970 7912 3 Printed on 50 recycled wastepaper including 10 post consumer Let us help you make the most of your next presentation We offer everything from presentation supplies to tips for better meetings And we re the only transparency manufacturer that offers a recycling program for your used transparencies For late breaking news handy reference and free product samples call us tol...

Reviews: