360 Systems Instant Replay DR-600, Owner'S Manual
Download the free Owner's Manual for the innovative 360 Systems Instant Replay DR-600! Unlock the full potential of this cutting-edge product with the comprehensive manual, available for download at manualshive.com. Harness the power of this remarkable device and explore its features today!
Share
Download


Reviews:
No comments
Related manuals for Instant Replay DR-600

BS1
Brand: Ramsey Electronics Pages: 20

LS-10 - Linear PCM Recorder 2 GB Digital...
Brand: Olympus Pages: 4

SSABR G2
Brand: Digital Audio Corporation Pages: 53

DR430KC
Brand: Toshiba Pages: 2
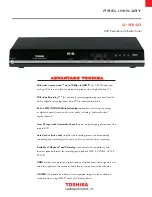
DR550 - DVD Recorder With TV Tuner
Brand: Toshiba Pages: 2
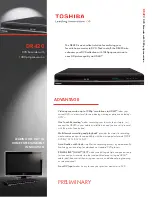
DR420
Brand: Toshiba Pages: 2

D-RW2SU
Brand: Toshiba Pages: 2

D-R560 - DVD Recorder With TV Tuner
Brand: Toshiba Pages: 2

D-R5 - DVD Recorder With TV Tuner
Brand: Toshiba Pages: 2

D-R410
Brand: Toshiba Pages: 2

D-R400
Brand: Toshiba Pages: 2

D-R4
Brand: Toshiba Pages: 2
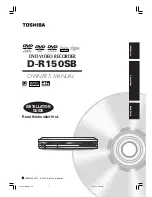
D-R150SB
Brand: Toshiba Pages: 48

D-R2SC
Brand: Toshiba Pages: 56

D-R1SU
Brand: Toshiba Pages: 58

DVR D-R17DTKB
Brand: Toshiba Pages: 88

D-R160SB
Brand: Toshiba Pages: 67

D-VR610KU
Brand: Toshiba Pages: 87


