


Chapter 88 Networked AV Mode
XS3800-28 User’s Guide
702
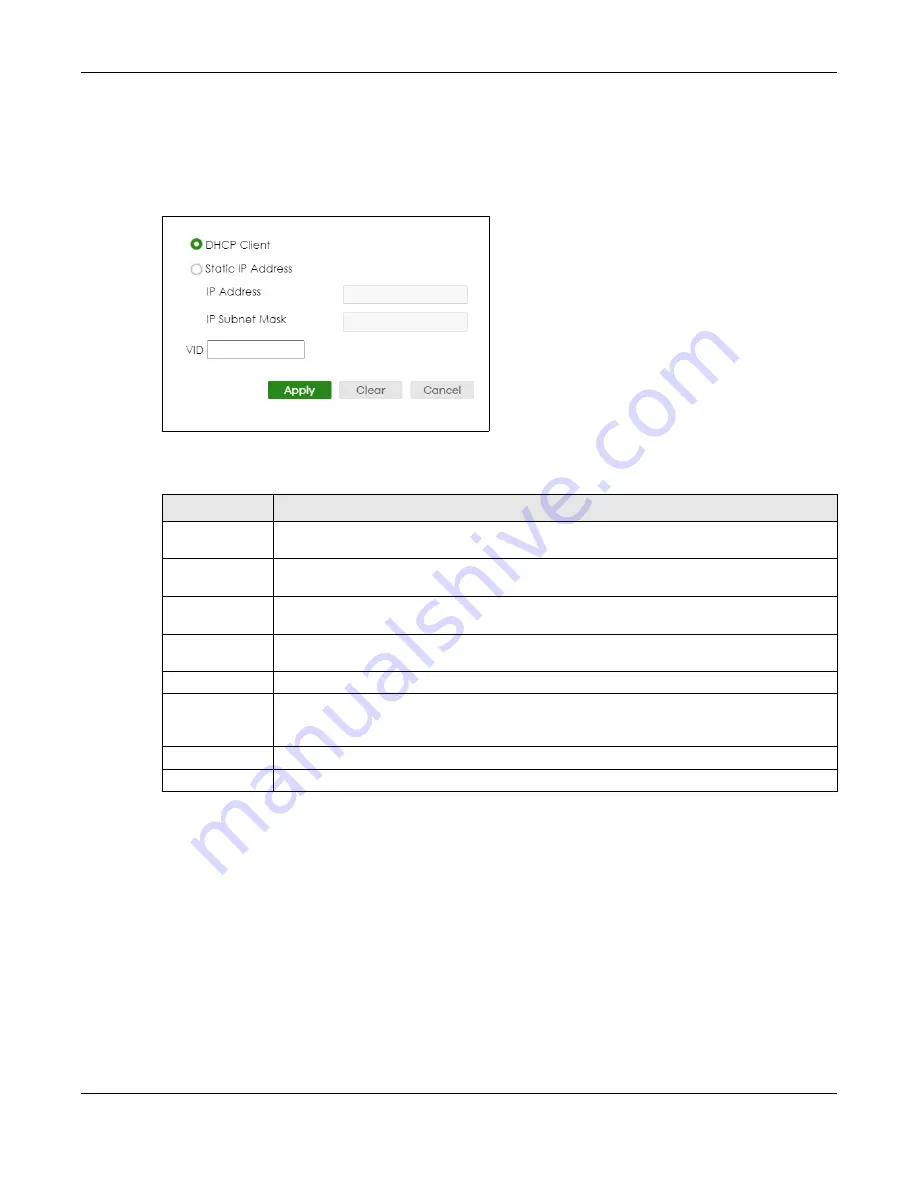
88.11.1 Add/Edit IP Interfaces
Use this
screen to add or edit IP interfaces. Click
Add/Edit
, or select an entry and click
Add/Edit
in the
SYSTEM
>
IP Setup
screen to display this screen.
Figure 560
SYSTEM > IP Setup > Add/Edit
The following table describes the labels in this
screen.
88.12 Logins
Up to five people (one administrator and four non-administrators) may access the Switch through Web
Configurator at any one time.
• An administrator is someone who can both view and configure Switch changes. The user name for
the Administrator is always
admin
. The default administrator password is
1234
.
Note: It is highly recommended that you change the default administrator password (
1234
).
• A non-administrator (user name is something other than
admin
) is someone who can view and/or
configure Switch settings. The configuration right varies depending on the user’s privilege level.
Table 375 SYSTEM > IP Setup > Add/Edit
LABEL
DESCRIPTION
DHCP Client
Select this option if you have a DHCP server that can assign the Switch an IP address, subnet
mask, a default gateway IP address and a domain name server IP address automatically.
Static IP Address
Select this option if you do not have a DHCP server or if you wish to assign static IP address
information to the Switch. You need to fill in the following fields when you select this option.
IP Address
Enter the IP address of your Switch in dotted decimal notation, for example, 192.168.1.1. This is
the IP address of the Switch in an IP routing domain.
IP Subnet
Mask
Enter the IP subnet mask of an IP routing domain in dotted decimal notation, for example,
255.255.255.0.
VID
Enter the VLAN identification number to which an IP routing domain belongs.
Apply
Click
Apply
to save your changes to the Switch’s run-time memory. The Switch loses these
changes if it is turned off or loses power, so use the
Save
link on the top navigation panel to save
your changes to the non-volatile memory when you are done configuring.
Clear
Click
Clear
to clear the fields to the factory defaults.
Cancel
Click
Cancel
to not save the configuration you make and return to the last screen.
Summary of Contents for XS3800-28
Page 29: ...29 PART I User s Guide...
Page 54: ...54 PART II Technical Reference...
Page 88: ...Chapter 4 Web Configurator XS3800 28 User s Guide 88 Figure 51 Online Web Help...
Page 148: ...Chapter 20 Cloud Management XS3800 28 User s Guide 148 Figure 94 SYSTEM Cloud Management...
Page 263: ...Chapter 36 OAM XS3800 28 User s Guide 263 Figure 182 PORT OAM OAM Status OAM Details...
Page 540: ...Chapter 72 VRRP XS3800 28 User s Guide 540 Figure 434 VRRP Example 2 VRRP Status on Switch B...
Page 581: ...Chapter 77 Policy Rule XS3800 28 User s Guide 581 Figure 456 Policy Example...