Chapter 12 DNS
XMG3512-B10A User’s Guide
168
The following table describes the labels in this screen.
12.3 The Dynamic DNS Screen
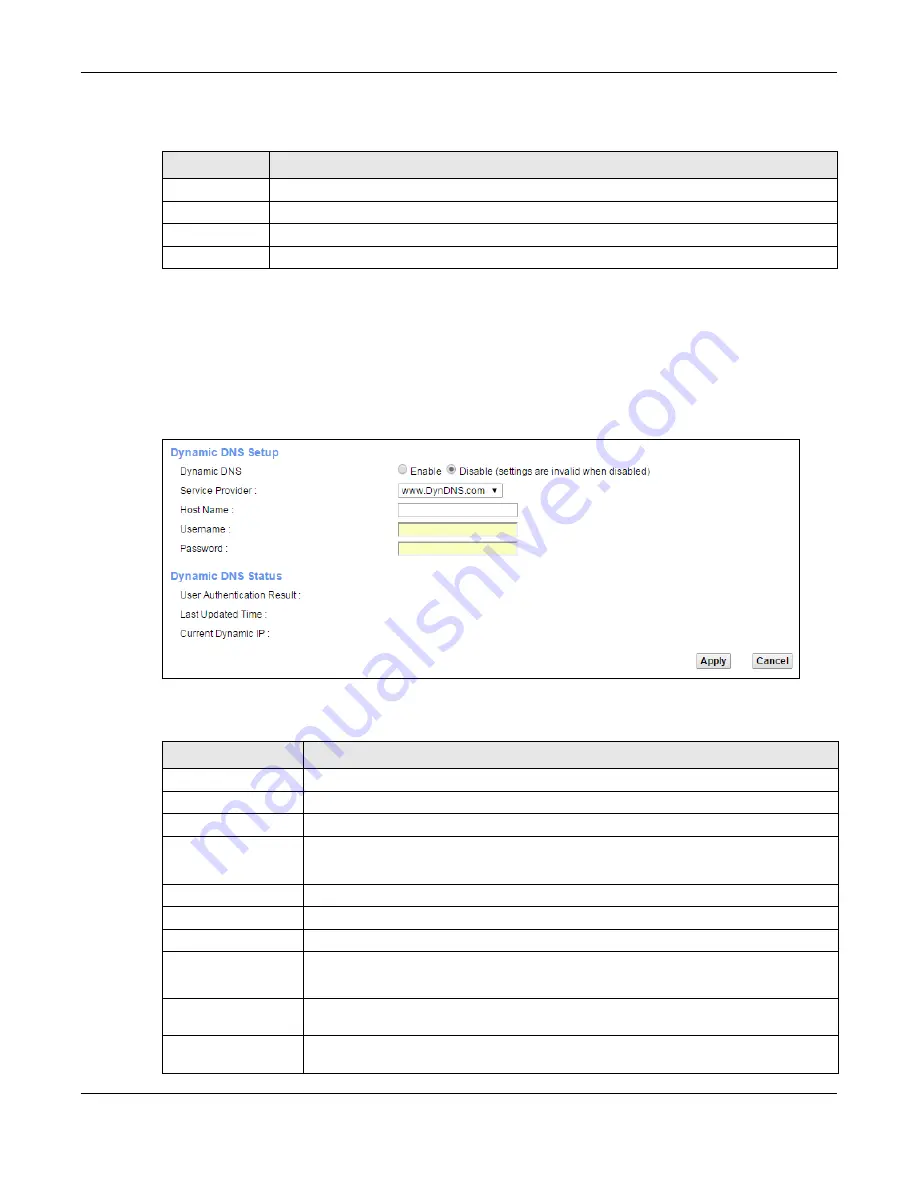
Use this screen to change your XMG’s DDNS. Click
Network Setting > DNS > Dynamic DNS
. The screen
appears as shown.
Figure 94
Network Setting > DNS > Dynamic DNS
The following table describes the fields in this screen.
Table 69 DNS Entry: Add/Edit
LABEL
DESCRIPTION
Host Name
Enter the host name of the DNS entry.
IPv4 Address
Enter the IPv4 address of the DNS entry.
OK
Click
OK
to save your changes.
Cancel
Click
Cancel
to exit this screen without saving.
Table 70 Network Setting > DNS > > Dynamic DNS
LABEL
DESCRIPTION
Dynamic DNS Setup
Dynamic DNS
Select
Enable
to use dynamic DNS.
Service Provider
Select your Dynamic DNS service provider from the drop-down list box.
Host Name
Type the domain name assigned to your XMG by your Dynamic DNS provider.
You can specify up to two host names in the field separated by a comma (",").
Username
Type your user name.
Password
Type the password assigned to you.
Dynamic DNS Status
User
Authentication
Result
This shows
Success
if the account is correctly set up with the Dynamic DNS provider
account.
Last Updated Time This shows the last time the IP address the Dynamic DNS provider has associated with the
hostname was updated.
Current Dynamic
IP
This shows the IP address your Dynamic DNS provider has currently associated with the
hostname.
Summary of Contents for XMG3512-B10A
Page 14: ...14 PART I User s Guide ...
Page 23: ...Chapter 1 Introducing the XMG XMG3512 B10A User s Guide 23 Figure 8 Wall Mounting Example ...
Page 33: ...Chapter 3 Quick Start XMG3512 B10A User s Guide 33 Figure 16 Quick Start Result Summary ...
Page 56: ...56 PART II Technical Reference ...
Page 279: ...Appendix D Legal Information XMG3512 B10A User s Guide 279 Environmental Product Declaration ...


