Chapter 7 Wireless
VMG4380-B10A / VMG4325-B10A User’s Guide
114
7.6 The WMM Screen
Use this screen to enable Wi-Fi MultiMedia (WMM) and WMM Power Save in wireless networks for
multimedia applications.
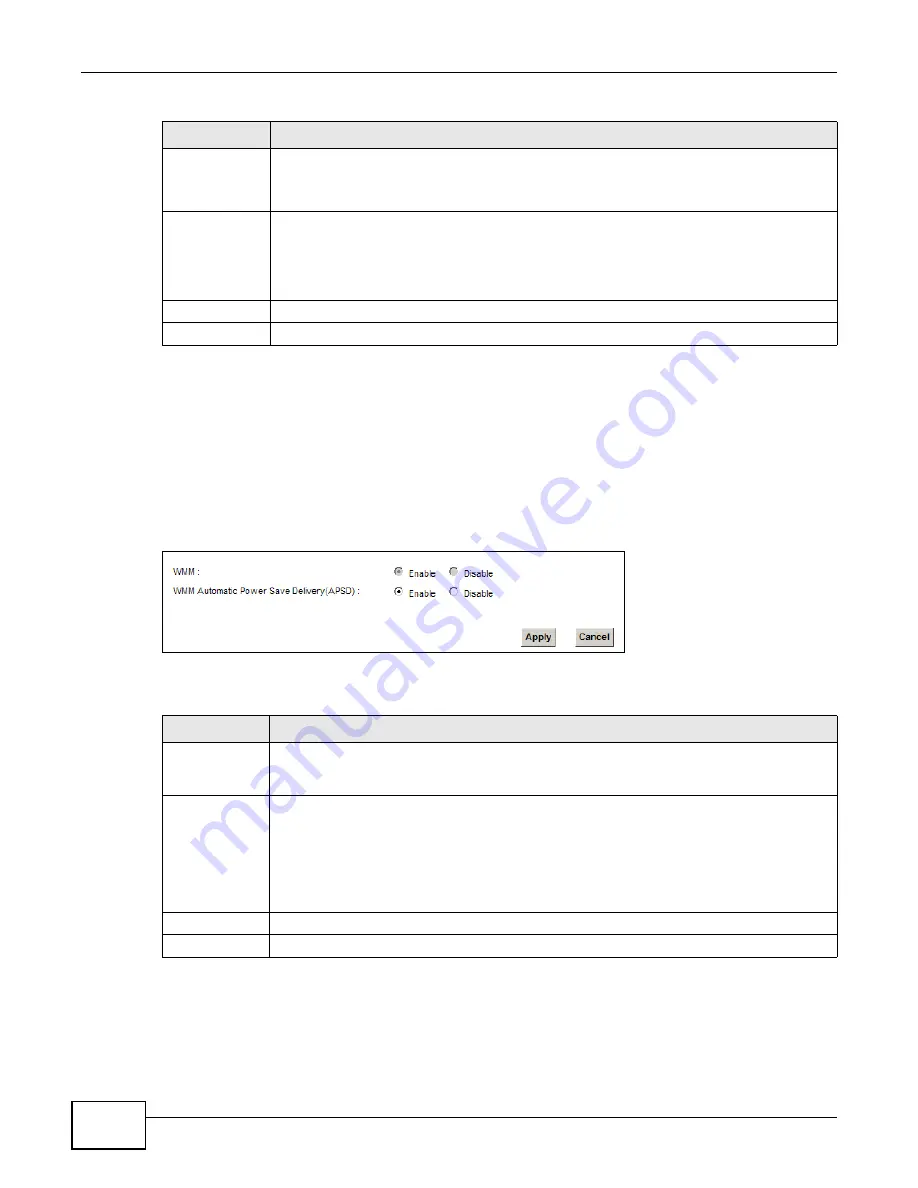
Click Network Setting > Wireless > WMM. The following screen displays.
Figure 39
Network Setting > Wireless > WMM
The following table describes the labels in this screen.
Release
Configuratio
n
The default WPS status is configured.
Click this button to remove all configured wireless and wireless security settings for WPS
connections on the Device.
Generate
New PIN
Number
The PIN (Personal Identification Number) of the Device is shown here. Enter this PIN in the
configuration utility of the device you want to connect to using WPS.
The PIN is not necessary when you use WPS push-button method.
Click the Generate New PIN Number button to have the Device create a new PIN.
Apply
Click Apply to save your changes.
Cancel
Click Cancel to restore your previously saved settings.
Table 24
Network Setting > Wireless > WPS (continued)
LABEL
DESCRIPTION
Table 25
Network Setting > Wireless > WMM
LABEL
DESCRIPTION
WMM
Select On to have the Device automatically give a service a priority level according to the
ToS value in the IP header of packets it sends. WMM QoS (Wifi MultiMedia Quality of
Service) gives high priority to voice and video, which makes them run more smoothly.
WMM
Automatic
Power Save
Delivery
Select this option to extend the battery life of your mobile devices (especially useful for
small devices that are running multimedia applications). The Device goes to sleep mode to
save power when it is not transmitting data. The AP buffers the packets sent to the Device
until the Device "wakes up". The Device wakes up periodically to check for incoming data.
Note: Note: This works only if the wireless device to which the Device is connected also
supports this feature.
Apply
Click Apply to save your changes.
Cancel
Click Cancel to restore your previously saved settings.
Summary of Contents for VMG4325-B10A
Page 4: ...Contents Overview VMG4380 B10A VMG4325 B10A User s Guide 4 Troubleshooting 283 ...
Page 14: ...Table of Contents VMG4380 B10A VMG4325 B10A User s Guide 14 ...
Page 15: ...15 PART I User s Guide ...
Page 16: ...16 ...
Page 24: ...Chapter 1 Introducing the Device VMG4380 B10A VMG4325 B10A User s Guide 24 ...
Page 69: ...69 PART II Technical Reference ...
Page 70: ...70 ...
Page 178: ...Chapter 10 Quality of Service QoS VMG4380 B10A VMG4325 B10A User s Guide 178 ...
Page 204: ...Chapter 13 Interface Group VMG4380 B10A VMG4325 B10A User s Guide 204 ...
Page 220: ...Chapter 15 Firewall VMG4380 B10A VMG4325 B10A User s Guide 220 ...
Page 226: ...Chapter 17 Parental Control VMG4380 B10A VMG4325 B10A User s Guide 226 ...
Page 236: ...Chapter 19 Certificates VMG4380 B10A VMG4325 B10A User s Guide 236 ...
Page 240: ...Chapter 20 Log VMG4380 B10A VMG4325 B10A User s Guide 240 ...
Page 244: ...Chapter 21 Traffic Status VMG4380 B10A VMG4325 B10A User s Guide 244 ...
Page 250: ...Chapter 24 IGMP Status VMG4380 B10A VMG4325 B10A User s Guide 250 ...
Page 254: ...Chapter 25 xDSL Statistics VMG4380 B10A VMG4325 B10A User s Guide 254 ...
Page 256: ...Chapter 26 User Account VMG4380 B10A VMG4325 B10A User s Guide 256 ...
Page 262: ...Chapter 29 TR 064 VMG4380 B10A VMG4325 B10A User s Guide 262 ...
Page 266: ...Chapter 30 Time Settings VMG4380 B10A VMG4325 B10A User s Guide 266 ...
Page 272: ...Chapter 32 Logs Setting VMG4380 B10A VMG4325 B10A User s Guide 272 ...
Page 290: ...Chapter 36 Troubleshooting VMG4380 B10A VMG4325 B10A User s Guide 290 ...
Page 344: ...Appendix D Wireless LANs VMG4380 B10A VMG4325 B10A User s Guide 344 ...