


Chapter 2 Hardware Installation and Connection
NBG7815 User’s Guide
23
2
Mark two holes on the wall at the appropriate distance apart for the screws.
Be careful to avoid damaging pipes or cables located inside the wall when
drilling holes for the screws.
3
If using screw anchors, drill two holes for the screw anchors into the wall. Push the anchors into the full
depth of the holes, then insert the screws into the anchors. Do NOT insert the screws all the way in –
leave a small gap of about 0.5 cm.
If not using screw anchors, use a screwdriver to insert the screws into the wall. Do NOT insert the screws
all the way in – leave a gap of about 0.5 cm.
4
Make sure the screws are fastened well enough to hold the weight of the NBG7815 with the connection
cables.
5
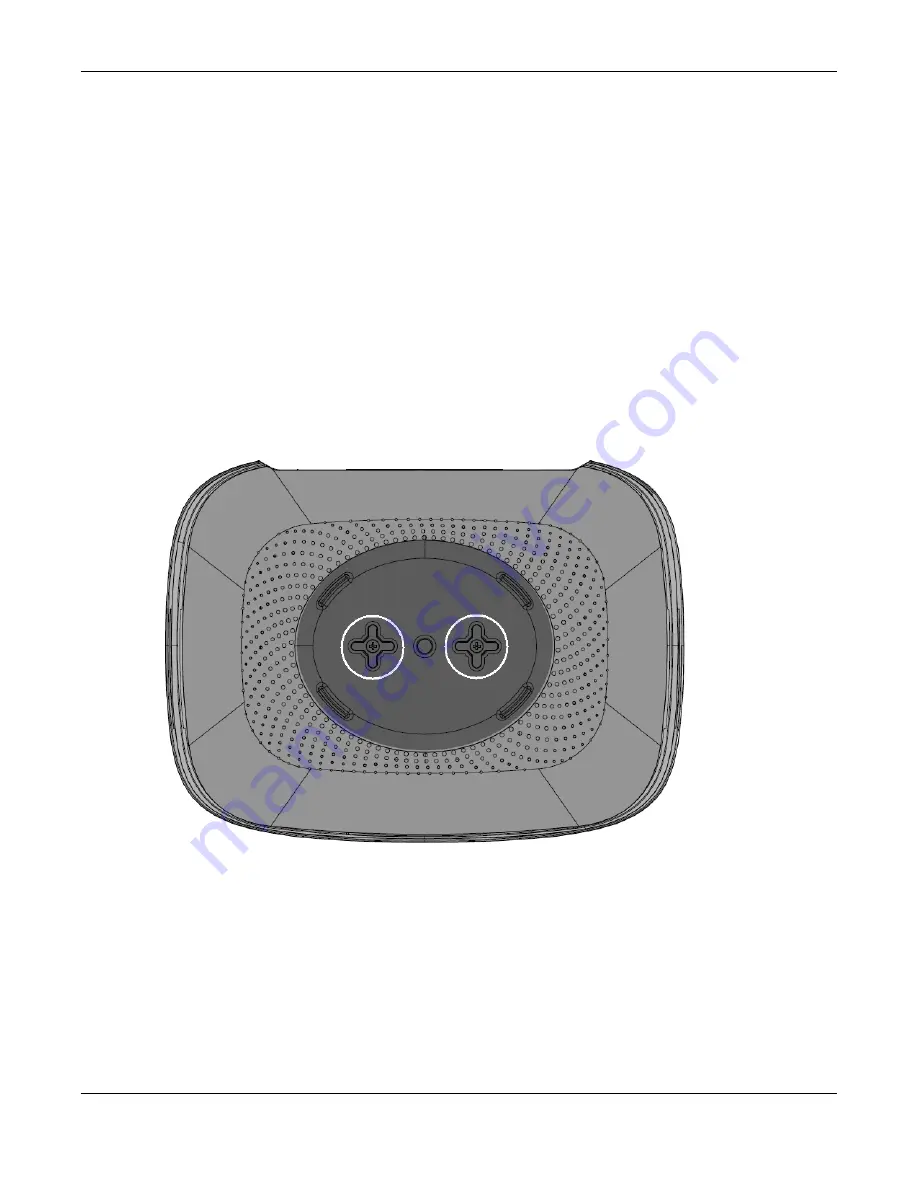
Remove the rubber feet.
6
Align the holes on the back of the NBG7815 with the screws on the wall. Hang the NBG7815 on the
screws.
Figure 13
Wall Mounting – Rubber Feet
Summary of Contents for NBG7815
Page 10: ...10 PART I User s Guide...
Page 37: ...Chapter 4 Tutorials NBG7815 User s Guide 37...
Page 46: ...Chapter 4 Tutorials NBG7815 User s Guide 46...
Page 49: ...Chapter 5 Web Configurator NBG7815 User s Guide 49 Figure 14 Overview Standard Mode...
Page 61: ...61 PART II Technical Reference...
Page 111: ...Chapter 10 Wireless LAN NBG7815 User s Guide 111 Figure 58 Settings WiFi Main WiFi...
Page 120: ...Chapter 11 LAN NBG7815 User s Guide 120 Figure 66 Settings LAN LAN IP Standard Mode...
Page 136: ...Chapter 13 System NBG7815 User s Guide 136 Figure 77 Settings System Status Standard Mode...
Page 144: ...Chapter 13 System NBG7815 User s Guide 144 Figure 84 Settings System Logs...
Page 145: ...145 PART III Troubleshooting and Appendices...
Page 172: ...Appendix B Setting Up Your Computer s IP Address NBG7815 User s Guide 172...