


Chapter 9 The VPN Transport Screens
User’s Guide
119
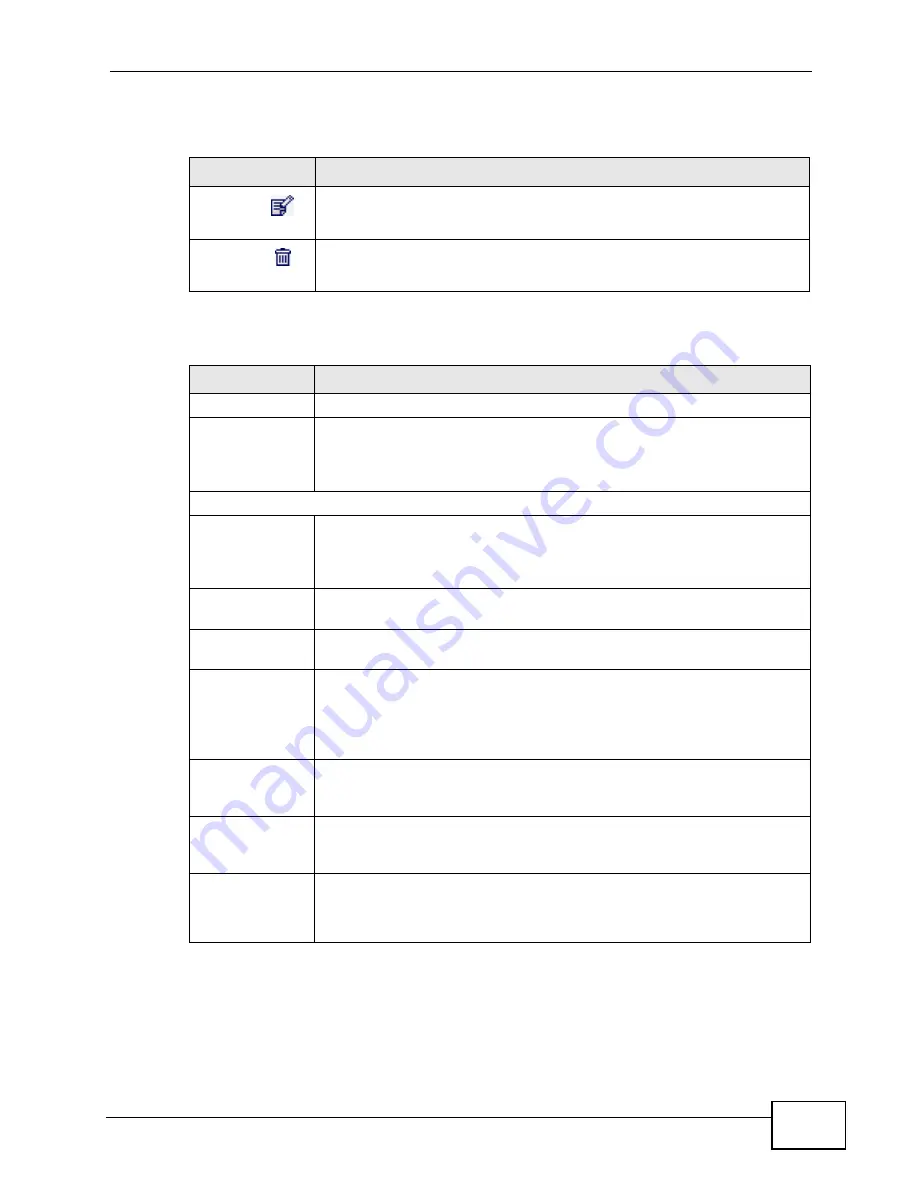
The following table describes the icons in this screen.
The following table describes the labels in this screen.
Table 38
Advanced> VPN Transport > Customer Interface
ICON
DESCRIPTION
Edit
Click to edit this item.
Delete
Click to delete this item.
Table 39
ADVANCED > VPN Transport > Customer Interface
LABEL
DESCRIPTION
#
The number of the item in this list.
Active
This icon is green if the associated interface is enabled. The icon is grey
if the associated interface is disabled. Enable or disable an interface by
clicking its Edit icon and selecting or deselecting Active and clicking
Apply in the screen that displays.
Interface
Type
This displays either Tagged or Untagged. A tagged interface controls
traffic with a specific IEEE 802.1Q VLAN tag, whereas an untagged
interface controls traffic that does not have a VLAN tag. There can be
only one untagged interface.
VLAN ID
For a tagged interface, this displays the IEEE 802.1Q VLAN ID number.
For the untagged interface, -1 displays.
Mode
This displays either B (bridging) or R (routing). Only the default
interface, interface 0, can be a routing interface.
Associated
Ethernet
Pseudowire
(Ingress,
Egress)
This displays the number of the Ethernet pseudowire that this interface
uses, as well as the ingress and egress MPLS (Multi-Protocol Label
Switching) VC (Virtual Circuit) label numbers.
DSCP
This displays the DiffServ Control Point value you previously entered in
binary. This determines the pseudowire’s priority on the network. The
DSCP value is displayed in binary notation and has six bits.
Interface
Description
This displays the information you previously entered describing the
interface. For the default interface, interface 0, the description reads
“for routing / NAT”.
Action
Click the Edit icon to set up a new interface or alter the configuration of
an existing interface.
Click the Delete icon to remove an existing interface.
Summary of Contents for MAX-306
Page 2: ......
Page 8: ...Safety Warnings User s Guide 8...
Page 10: ...Contents Overview User s Guide 10...
Page 30: ...30...
Page 36: ...Chapter 1 Getting Started User s Guide 36...
Page 46: ...Chapter 2 Introducing the Web Configurator User s Guide 46...
Page 64: ...Chapter 4 VoIP Connection Wizard User s Guide 64...
Page 65: ...65 PART II Basic Screens The Main Screen 40 The Setup Screens 67...
Page 66: ...66...
Page 74: ...74...
Page 88: ...Chapter 6 The LAN Configuration Screens User s Guide 88...
Page 112: ...Chapter 8 The Wi Fi Configuration Screens User s Guide 112...
Page 134: ...Chapter 10 The NAT Configuration Screens User s Guide 134...
Page 146: ...146...
Page 164: ...Chapter 12 The Service Configuration Screens User s Guide 164...
Page 180: ...Chapter 14 The Phone Book Screens User s Guide 180...
Page 182: ...182...
Page 202: ...Chapter 15 The Certificates Screens User s Guide 202...
Page 212: ...Chapter 16 The Firewall Screens User s Guide 212...
Page 226: ...Chapter 18 The Remote Management Screens User s Guide 226...
Page 242: ...Chapter 19 The Logs Screens User s Guide 242...
Page 252: ...Chapter 20 The UPnP Screen User s Guide 252...
Page 265: ...265 PART VI Troubleshooting and Specifications Troubleshooting 267 Product Specifications 275...
Page 266: ...266...
Page 274: ...Chapter 22 Troubleshooting User s Guide 274...
Page 278: ...278...
Page 310: ...Appendix B Setting Up Your Computer s IP Address User s Guide 310...
Page 336: ...Appendix D Pop up Windows JavaScripts and Java Permissions User s Guide 336...
Page 380: ...Appendix F Importing Certificates User s Guide 380...
Page 382: ...Appendix G SIP Passthrough User s Guide 382...
Page 398: ...Appendix J Customer Support User s Guide 398...
Page 405: ...Index User s Guide 405...