background image


1    

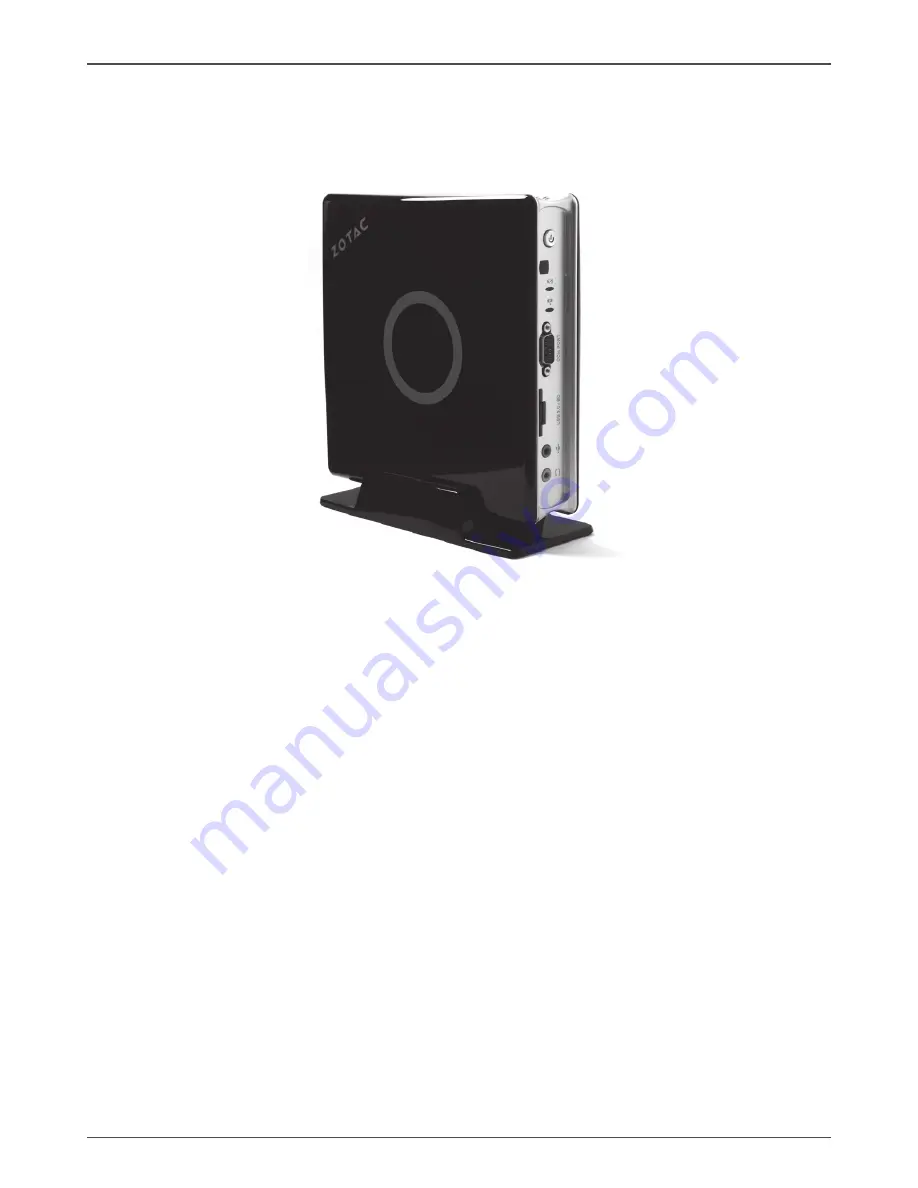
ZOTAC ZBOX

ZOTAC ZBOX  

User’s Manual

No part of this manual, including the products and software described in it, 

may be reproduced, transmitted, transcribed, stored in a retrieval system, or 

translated into any language in any form or by any means,except documenta-

tion kept by the purchaser for backup purposes, without the express written 

permission of ZOTAC.

Products and corporate names mentioned in this manual may not be reg-

istered trademarks or copyrights of their respective companies, and are 

used for identification purposes only. All trademarks are the property of their 

respective owners.

Every effort has been made to ensure that the contents of this manual are cor-

rect and up to date. However, the manufacturer makes no guarantee regard-

ing the accuracy of its contents, and reserves the right to make changes 

without prior notice.

CAUTION:

Risk of explosion if the battery is replaced with an incorrect type. Batteries 

should be recycled where possible. Disposal of used batteries must be in 

accordance with local environmental regulations.

Summary of Contents for ZBOX series

Page 1: ...e reg istered trademarks or copyrights of their respective companies and are used for identification purposes only All trademarks are the property of their respective owners Every effort has been made to ensure that the contents of this manual are cor rect and up to date However the manufacturer makes no guarantee regard ing the accuracy of its contents and reserves the right to make changes witho...

Page 2: ...le 9 Removing the memory module 10 Installing a hard disk 11 Setting up your ZOTAC ZBOX 13 Positioning your ZOTAC ZBOX 14 Installing the stand 14 Installing your ZOTAC ZBOX to a monitor 14 Installing drivers and software 15 Installing an operating system 15 Installing system drivers 15 Using your ZOTAC ZBOX 16 Configuring wireless connection 16 Configuring wired connection 16 Using a static IP 16 ...

Page 3: ... v SATA 6 0 Gb s transfer rates v Supports one 2 5 inch SATA HDD or SSD support the device with max 9 5mm height q Legacy port v One COM port q Onboard Dual LAN v Supports 10 100 1000 Mbps operation v Supports IEEE 802 3 q WiFi Bluetooth support v Compliant with IEEE802 11ac standard v High speed wireless connection and enhanced wireless security v Fully qualified Bluetooth v4 0 q Onboard Audio v ...

Page 4: ...is product in environments with ambient temperatures between 0 and 35 If you use an extension cord please use the UL listed cord and make sure that the total ampere rating of the devices plugged into the extension cord does not exceed its ampere rating Care during use Do not walk on the power cord or allow anything to rest on it Do not spill water or any other liquids on your system When the syste...

Page 5: ...e package contents of your new ZOTAC ZBOX If any of the below items is damaged or missed contact your retailer Package contents 1 x ZOTAC ZBOX 1 x Stand 1 x VESA mount 1 x AC Adapter 1 x Power Cord 1 x Antenna 1 x Driver DVD 1 x USB flash drive with OS drivers 1 x User Manual Warranty Card 1 x Quick Start Guide ...

Page 6: ... USB 3 0 Memory card slot The combo USB 3 0 memory card slot is compatible with USB 3 0 devices and SD SDHC MS MSPro MMC cards used in devices like digital cameras MP3 players mobile phones and PDAs 4 COM port Use the COM port to connect serial devices such as mouse of fax modems 5 WiFi LED The WiFi LED blinks when data is being transfered over WiFi 6 Hard disk LED The hard disk LED blinks when da...

Page 7: ...maximum performance with USB 3 0 compatible devices 4 DisplayPorts DisplayPorts support both external box to box and internal laptop LCD panel display connections Note The product does not support four DP ports simultaneously Please connect at least one DisplayPort monitor if you want to use four DisplayPorts at a time 5 Power input The supplied power adapter converts AC power to DC power for use ...

Page 8: ...dicator 1 Turn on the ZBOX mini PC and press Delete to enter the BIOS SETUP UTILITY 2 Use the arrow keys to navigate to the Power menu and select Backlight Control 3 Press Enter and select Disabled 4 Press F10 to save the configuration and exit ...

Page 9: ... 1 Unscrew 2 Gently remove the cover as the image below Installing a memory module 1 Locate the SO DIMM memory slots and insert a SO DIMM memory module into the slot at a 45 degree angle Note 1 Users please note that the SO DIMM slots are under the HDD bracket 2 When installing two SO DIMM memory modules please insert a module into the lower slot first ...

Page 10: ...s two DDR3 DDR3L SO DIMM memory modules You must install at least one module in one of the two slots Removing the memory module 1 Locate the SO DIMM memory slot and gently press the two arms securing the memory module outwards as shown in the image below to release the memory module 2 Remove the memory module from the slot at a 45 degree angle ...

Page 11: ...11 ZOTAC ZBOX Installing a hard disk 1 Locate the 2 5 inch SATA hard disk and the hard disk bracket 2 Install the hard disk to the hard disk bracket ...

Page 12: ...12 ZOTAC ZBOX 3 Insert the hard disk into the slot at a 45 degree angle and gently slide into the connector 4 Reinstall the thumb screw ...

Page 13: ...itch 3 Connecting to USB 3 0 devices Connect USB 3 0 devices such as external hard drives SSDs and flash drives to the USB 3 0 port on the system rear panel 4 Connecting a DisplayPort display Connect the DisplayPort connector to the DP port 5 Turning on the system Connect the supplied AC adapter to the DC IN jack on the system rear panel and then press the power switch on the front panel to turn o...

Page 14: ... on the VESA mount noting the correct alignment and then secure the PC to the VESA mount with a coin To fasten the VESA mount your monitor must comply with VESA75 Or VESA100 standard Mechanical Loading Stability Mounting of the equipment on the backside of the monitor should be lay this equipment on a reliable surface when install A drop or fall could cause injury If the total weight of your monit...

Page 15: ...f the ZOTAC ZBOX hardware and features Installing system drivers Before you can use the full features of the ZOTAC ZBOX the system drivers must be installed The following types of operating systems are supported by the ZOTAC ZBOX driver DVD and USB flash drive Windows 7 Windows 8 Windows 8 1 Follow the instructions below to install the system drivers 1 Insert the ZOTAC ZBOX driver DVD or USB flash...

Page 16: ...ireless network you want to connect to from the list and click Connect 3 After connection is established you will see Connected Note 1 For security concerns Do NOT connect to an unsecured network otherwise the transmitted information without encryption might be visible to others Note 2 Enter the network security key if necessary Configuring wired connection Using a static IP 1 Right click the netw...

Page 17: ...d Click Next 10 Click Finish to finish the configuration 11 Enter your user name and password Click Connect to connect to the internet Note Contact your internet Service Provider ISP if you have problems connecting to the network Configuring audio output via a DP device Follow the steps below to enable audio output via DP when connecting the ZOTAC ZBOX to a TV or receiver via DP 1 Access the Sound...

Page 18: ...finity technology Please connect at least one DisplayPort monitor follow the steps below to set AMD Eyefinity Multi Display 1 Right click on the desktop and select AMD Catalyst Control Center 2 On the AMD Catalyst Control Center interface select AMD EyefinityTM Multi Display ...

Page 19: ...19 ZOTAC ZBOX 3 Click Create Eyefinity Display Group select the display group we will take 3 displays as examples and click Next ...

Page 20: ...20 ZOTAC ZBOX 4 When the following interface displays arrange the display group as needed and click Next ...

Page 21: ...21 ZOTAC ZBOX 5 If you use different scale displays the interface will display as figure below Select Fit and Next ...

Page 22: ...22 ZOTAC ZBOX 6 Click OK to save Eyefinity Display Group ...

Page 23: ...23 ZOTAC ZBOX ...

Page 24: ...24 ZOTAC ZBOX 291 MB280 02 ...

Reviews: