Installation and user manual
-
English
Electric cleaner
Translation of the original instructions in French
H0491600_REVG - 2019/11 -
EC11--
More documents on:
www.zodiac.com
Vortex™
EN
Page 1: ...Installation and user manual English Electric cleaner Translation of the original instructions in French H0491600_REVG 2019 11 EC11 More documents on www zodiac com Vortex EN ...
Page 2: ......
Page 3: ...he appliance and for compliance with national installation regulations Under no circumstances may the manufacturer be held liable in the event of failure to comply with applicable local installation standards For any work other than the simple user maintenance described in this manual the product should be referred to a qualified professional Incorrect installation and or use may cause serious dam...
Page 4: ...or throw it into a fire Do not expose it to high temperatures or direct sunlight In stormy weather disconnect the appliance from the power supply to prevent it from suffering lightning damage Do not immerse the appliance in water with the exception of cleaners or mud SPECIFIC FEATURES APPLICABLE TO Pool cleaners The cleaner is designed to operate properly in pool water at a temperature of between ...
Page 5: ...ce behaviour 21 5 2 I User alerts 22 5 3 I Pre diagnostic menu depending on the model 23 Before handling the appliance it is vital that you read this installation and user manual as well as the warnings and warranty booklet delivered with the appliance Failure to do so may result in material damage or serious or fatal injury and will void the warranty Keep and pass on these documents for reference...
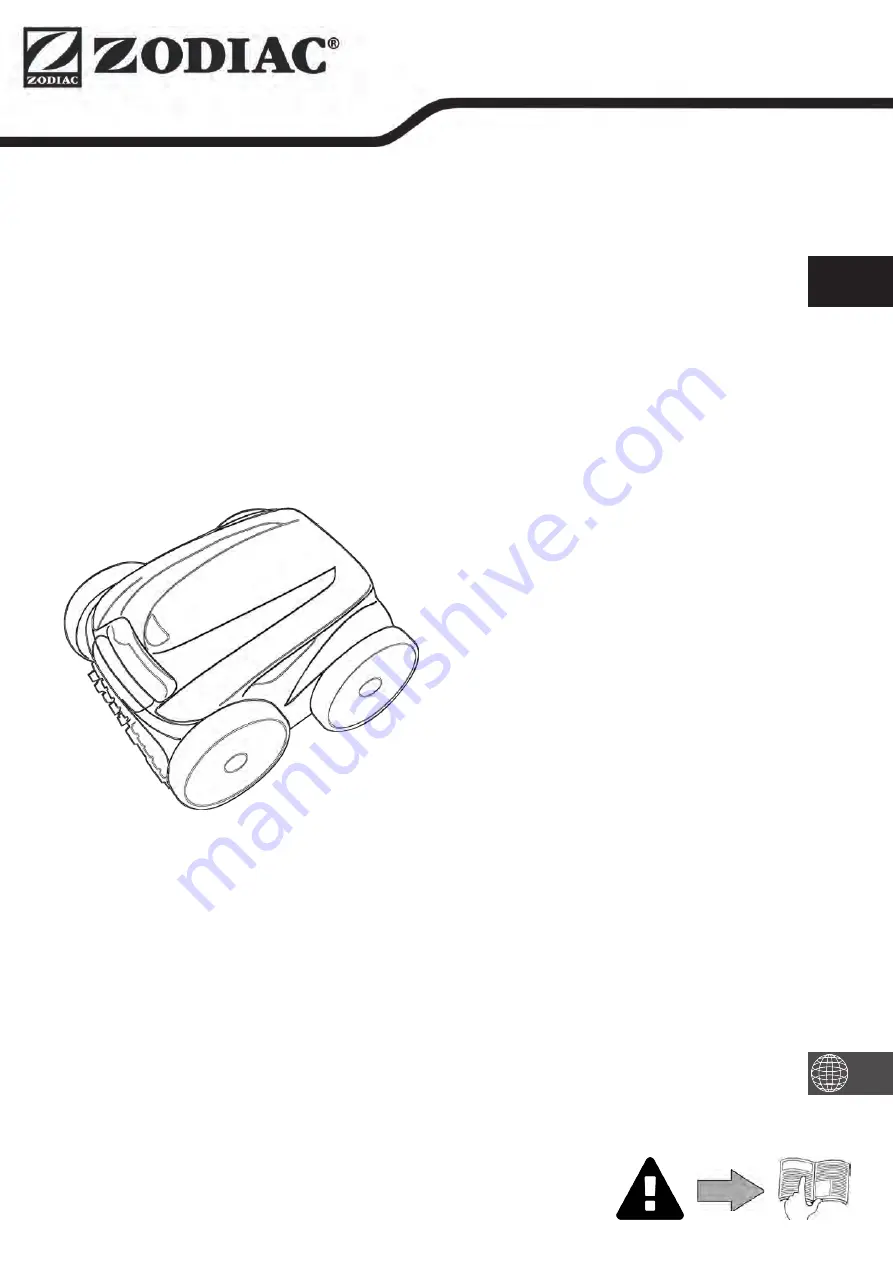
Page 6: ... A Cleaner floating cable Front driving wheels 2WD Front rear driving wheels 4WD B Control box C Caddy kit D Base for control box E Kinetic remote control F Kinetic remote control Remove from pool mode G Remote control support H 100µ fine debris filter 200µ large debris filter 60µ very fine debris filter I Front tiling tyres GV 3420 GV 3520 Vortex PS 200 Vortex 205 Vortex 305 OV 3310 OV 3480 OV 35...
Page 7: ... OV 5390 RV 5300 OV 5410 OV 5430 OV 5460 RV 5380 RV 5450 RV AQ54 RV CA54 VortexTM PS 400 RV 5400 RV 5470 RV 5500 RV 5600 Start Stop the appliance Control indicator Clean filter indicator Remove from pool mode Surface to be cleaned Bottom only Bottom walls water line Water line only Pool shape Flat bottomed rectangular Other shapes other bottoms Cleaning intensity Low intensity Intensive Cleaning c...
Page 8: ...Vortex 305 Vortex PS 400 RV 4550 RV 4560 RV 5500 RV 5600 Control box power supply 220 240 VAC 50 Hz Cleaner power supply 30 VDC Maximum power input 150 W Cable length 15 m 18 m 21 m 25 m Cleaner size L x W x h 43 x 48 x 27 cm Package dimensions L x W x h 69 x 43 x 46 cm 56 x 56 x 46 cm Cleaner weight without cable 10 2 kg Packaged weight 14 kg 19 kg Theoretical cleaning width 270 mm Pump flow 16 m...
Page 9: ...8 Installation 2 1 I Set up 3 5 meters Minimum Control box Caddy Cleaner Floating cable Plug Power cord 2 2 I Attachment to the base or caddy assembly depending on model 2 2 1 Attachment to the base EN ...
Page 10: ...9 2 2 2 Caddy assembly Tool free assembly x2 x2 x2 For the number of driving wheels 2WD or 4WD see 1 1 I Description ...
Page 11: ... be easily dismantled and stored The appliance must operate in pool water with the following properties Water temperature Between 15 C and 35 C pH Between 6 8 and 7 6 Free chlorine 3 mg l When the pool is dirty especially when commissioning remove the largest debris using a net in order to optimise the appliance s performances Remove any thermometers toys and other objects that might damage the ap...
Page 12: ...p see figure Connect the floating cable to the control box and lock it in place by turning the ring only in the clockwise direction to prevent damage to the floating cable seefigure Make sure that the connector is fully pushed in so that no water can get in see figure Connect the power cord see figure Only connect the control box to a power outlet protected by a 30 mA maxi mum residual current dev...
Page 13: ...he screen for example depending on the model The cleaning cycle can be selected at any time before the appliance starts or while it is operating The new cycle will be launched instantly and the remaining time countdown will be reinitialised The cleaner adapts its movement strategy depending on the choice in order to optimise coverage Surface to be cleaned Pool shape Cleaning intensity Bottom only ...
Page 14: ...y from sunlight and any splashes A protective cover is available as an optional extra see figure 3 6 1 Remove from pool mode depending on the model This function enables the cleaner to return to an exact point at the edge of the pool When it climbs the wall the cleaner sprays a jet of water behind it to make it lighter as it exits the pool Direct the cleaner towards the required pool wall then mak...
Page 15: ...isconnected 3 7 1 Setting the time DAY Press for 3 seconds The days of the week then the LEDs start to flash Select the day with or Press to confirm HOURS The hours start to flash Select the hour with or Press to confirm MINUTES The minutes start to flash Select the minutes with or Press to confirm Exit the menu by pressing or Tip check the time setting Stopping the appliance if a cleaning cycle i...
Page 16: ...eks You must set the time before you program the cleaning cycles see 3 7 1 Setting the time Start by selecting the cleaning cycle on the control box see 3 5 1 Cleaning cycle selection depending on model Then program the days hours and minutes HOURS The hours start to flash Select the hour with or Press to confirm To cancel a day s programming hold down until the display changes The programming sto...
Page 17: ...f the water depending on the model Press The cleaner moves toward the wall and climbs up to the waterline 3 8 4 Synchronising the remote control with the control box By default the remote control is already synchronised with the control box If replacing the remote control control box or if a synchronisation problem occurs follow the steps below Place the remote control a maximum of 50 cm away from...
Page 18: ...y 2 years to preserve the integrity of the appliance and guarantee optimum performance 4 2 I Cleaning the filter The cleaner s performance may be reduced if the filter is full or dirty Clean the filter regularly with clean water for efficient pool cleaning If the filter is clogged clean it with an acidic solution spirit vinegar for example It is recommended that you do this at least once a year si...
Page 19: ...aintaining the propeller Loosen the screw on the grid see figure Remove the grid see figure Remove the flow guide carefully see figure To remove the propeller wear gloves and hold the end of the propeller carefully when pushing it see figure Remove all debris hair leaves stones etc which may be blocking the propeller EN ...
Page 20: ...ators appear as shown in figure To remove worn brushes remove the tabs from the holes in which they are fixed see figure To fit new brushes start by fitting the side without tabs under the brush holder see figure Roll the brush around its support slide the tabs into the attachment holes and pull on the end of each tab until its edge passes through the slit see figure Cut the tabs using a pair of s...
Page 21: ...20 4 5 I Changing the tyres EN ...
Page 22: ...ors 4 4 I Replacing the brushes then turn the brushes to check the rotations Replace the brushes where necessary If the problem continues contact your retailer The appliance does not move on start up Check that the control box s power socket is receiving a power supply Check that a cleaning cycle has been launched and that the lights are on If the problem continues contact your retailer The cable ...
Page 23: ...he control box If necessary unplug it and reconnect it following the appropriate procedure Er 02 Er 03 Er 05 Er 06 Check that there is nothing preventing the brushes and wheels from turning To do so turn the wheels 1 4 turn to release any debris that may be jammed Er 07 Er 08 Cleaner operating outside the pool Make sure you start the cleaner when it is in the water see 3 3 Immersing the cleaner Er...
Page 24: ... seconds The last error code if the cleaner has had at least one error 3 seconds Back to menu The operating time during the error if the cleaner has had at least one error Tip if you require assistance inform the retailer about the appliance s condition Recycling This symbol means that your appliance must not be thrown into a normal bin It will be selectively collected for the purpose of reuse rec...
Page 25: ...u cedex France Simplified joint stock company with sole shareholder and a share capital of 1 267 140 SIREN 395 068 679 TCR PARIS Votre revendeur Your retailer Modèle appareil Appliance model Numéro de série Serial number Pour plus d informations enregistrement produit et support client For more information product registration and customer support www zodiac com ...