1
Z I P P M A N U FA C T U R I N G
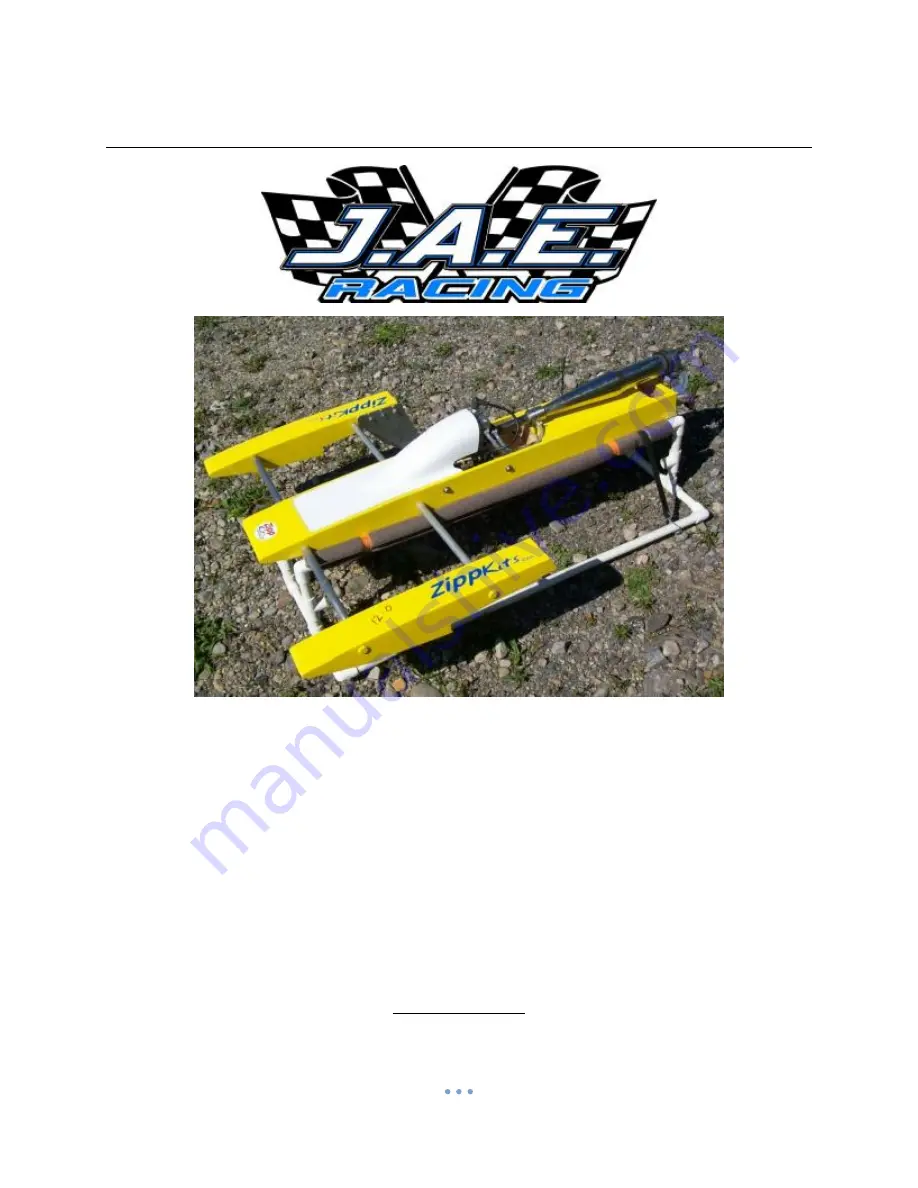
JAE GAS Outrigger
V2
A Zippkits R/C Boat
Building Instructions
2012 Zipp Manufacturing
www.zippkits.com
Toll Free (866) 922-ZIPP
Page 1: ...1 Z I P P M A N U FA C T U R I N G JAE GAS OutriggerV2 A Zippkits R C Boat Building Instructions 2012 Zipp Manufacturing www zippkits com Toll Free 866 922 ZIPP ...
Page 2: ...le as all of the hard stuff has been done for you That is no excuse to do a poor job with assembly The better you build this boat the better it will run Often the difference between an excellent building job and a poor one is a simple sanding block A note about overhangs This boat is designed to shear water and prevent any capillary action of water To do this the tub ski and sponsons have rear ove...
Page 3: ... 600 grit paper Drill with bits Square Flat file FLAT Workbench 1 2 ounce Medium CA glue and accelerator Good quality 30 minute epoxy Epoxy finishing resin Spring clamps paper clamps c clamps etc Weights or bricks Razor blade or X Acto knife Masking tape Waxed paper Wood filler Primer Paint ...
Page 4: ...all link Zipp 3457 4 40 solder clevis Zipp 3455 Throttle pushrod 2 56 size Zipp 3462 2 56 nylon clevis Zipp 3459 3 pushrod seals Zipp 3404 12 16 ounce Fuel Tank or IV bag Zipp 3506 IV Bag 250 strut Zipp 3496 250 drive dog Zipp 3442 Zipp 678 or ABC 2818 2 prop starting point Prop nuts Zipp 3450 Cable grease Rudder Zipp 3414 36 inch length of 5 16 brass tubing Zipp 3452 36 inch length of 5 32 brass ...
Page 5: ...5 Let s identify the parts so that we can easily find them when needed Mark the parts that are inside other parts 1 16 plywood parts Foam parts ...
Page 6: ...6 1 8 plywood parts plywood parts ...
Page 7: ...ckly Tub Jig We recommend that you make a jig for the tub This can be as simple as two straight pieces of to inch thick wood It can be as elaborate as 1 8 by 2 inch aluminum angle with adjustment slots for different tub widths Either way you need something to clamp the tub sides to Every critical component on this hull depends on a straight square tub Do whatever it takes to get it done correctly ...
Page 8: ... sides This is for the radio box lid frame Use a file to touch up the inside corners on the tub sides to square off the tiny radius left by the cutting bit Glue the inner sides to the outers making sure that you have a RIGHT and a LEFT side they are mirror images of each other Use the aluminum boom tubes to ensure perfect alignment of the inner and outer sides Try not to get any glue in the slots ...
Page 9: ...while gluing the aft bottom in place Put a layer of waxed paper over the jig Put the tub aft bottom in the jig and set the tub onto it Fully clamp the tub sides to the jig Check all around to make sure that the tub fits properly on the bottom sheet Remove the tub from the jig in preparation for gluing Using epoxy glue the tub aft bottom in place Make sure that the bottom extends to the front bulkh...
Page 10: ...e block There should be a slight overhang on all sides so that the sub nose can be sanded to shape later Glue in the transom doubler with epoxy Make sure that it fits flat against the transom and that it sits firmly on the tub bottom Clamp until cured When cured remove the tub from the jig and flip it over Put the upside down tub back in the jig Sand the front edge of the bottom sheet so that it m...
Page 11: ...ear See drawing When cured sand the bottom sheets flush with the tub sides and front Do not sand off the rear overhang Drill two 1 8 inch holes through the tub sides into the transom Make these about inch deep Cut 4 pieces of bamboo skewer about an inch long Put a drop of glue in the hole and hammer the skewer in each hole until it bottoms out Allow to cure Cut the skewer with side cutters and san...
Page 12: ... now permanently attached without the need for any additional reinforcement Glue in the lid frame support This gets attached to the rear of bulkhead 3 and is flush with the lower portion of the sides Be sure that the lid frame support is flush with the lower inside edge The 1 16 radio box lid frame will go here later ...
Page 13: ...tube or drill bit to make sure that the engine is aligned with the holes in the rear bulkhead and floor Put the inch tube or bit in the collet and snug it up by hand If you want to be precise about the shaft tube location you can slip a piece of 9 32 brass tubing over your This will then be a nice slip fit to your 5 16 shaft tube It should line up perfectly If not put scrap wood spacers under the ...
Page 14: ...e your 5 16 shaft tube in until it is about inch from the collet Make a small mark where your 5 16 tube goes through the bulkhead Make another mark about 6 inches past the back of the boat Cut the brass tube here The 5 16 inch brass tubing needs to be annealed This will make it easy to bend by hand without kinks Only anneal the brass tube from the mark you made rearward We don t want to anneal the...
Page 15: ...e on a heat proof surface concrete will do or you can quench it with water until cold When cool use a ScotchBrite pad or coarse sandpaper to scuff the brass tube Put the shaft tube through the hole in the tub bottom and through bulkhead 3 Put the end that you didn t anneal towards the engine The tube should start inch behind the engine and continue about 6 inches behind the transom If the tube fit...
Page 16: ...s of the bulkheads for a leak free installation Ski Assemble the 3 parts of the ski using epoxy or CA Let the bottom overhang past the sides about 1 8 inch at the rear to allow for sanding Glue the ski bottom onto the sides Leave about 1 8 inch of bottom behind the ski sides Clamp or tape this assembly until cured Be sure that the ski sides are 90 degrees to the bottom We used medium CA and accele...
Page 17: ...he ski when the ski is in place on the tub Tape the ski in place over the shaft tube We want the ski to sit flat on the tub and the strut to sit on the bottom of the ski at the rear Strut Make a pencil line in the center of the transom and mount the strut bracket flush with the top of the transom Slide the strut onto the shaft tube and bolt in place ...
Page 18: ...de on and bolt squarely to the transom Mark the tube where it exits the strut Remove the strut and cut the shaft tube at your mark Clean and deburr this cut inside and out Remove the ski Rudder Bolt the rudder in place This should be as far to the left as possible and sitting on the bottom sheet overhang as low as possible Make a mark on the transom where the rudder pushrod will exit Sight this fr...
Page 19: ...nt base is assembled from 3 pieces Glue the inch spacer to the bottom side of one of the mount halves Be sure that the spacer is perfectly aligned Glue the other half to the spacer We used medium CA for this Put this assembly on the bench to be sure that it sits flat Clamp until cured Check the height of your servo The mount should be a tiny bit shorter than your servo If necessary sand the top of...
Page 20: ... flat Put the servo mount assembly in position about 1 inch forward of the rear bulkhead Mark the pushrod where the servo output shaft is Remove the pushrod Cut the pushrod and solder a clevis in place so that its pin is where the mark was Put the pushrod back in place Put a servo arm on the servo so that it is facing straight down Pop the clevis into the innermost hole in the servo arm and move t...
Page 21: ...pilot holes and mount the servo with about 1 16 clearance between the servo and mount Be sure the servo wire is not touching the mount Open this cutout if necessary Screw the servo to the mounts with servo screws Thread a nylon clevis onto the 2 56 pushrod and attach your clevis to the throttle Figure out where you need to drill the hole through the bulkhead and drill it with a inch bit Set the se...
Page 22: ...e will lock in the shape of the tub If there is any twist this will make it permanent Make sure that there is no twist if you want to be perfect you can put the boom tubes in place and measure from the bench to be sure that the tub is level Before we get to the top deck we need to glue in the radio box lid frame This frame provides the lip around the radio box for the lit to sit in Check all aroun...
Page 23: ...ix up some 30 minute epoxy Using a brush or scraper coat the underside of the deck with epoxy Get the whole deck as it needs to be waterproof Work quickly Coat the tops of the bulkheads and tub sides Also coat the top of the lid frame Again work quickly Set the deck in place and start taping it to the tub and bulkheads Use weights so that it is in contact at all points and be sure that it is cente...
Page 24: ...e CS sides by sanding a bevel where they meet the top and bottom Glue these in place Sand for the lids Glue the aft lid in place Sand it to match the angle of the sides and glue the FWD lid in place Sand the assembly Install your engine and carb You will need to cut the tub side for carb clearance Only remove enough material to clear the carb as removing too much will weaken the tub ...
Page 25: ...ll the holes with a 5 32 bit and glue in the 4 40 blind nuts from inside the tub Attach the shield with the two 4 40 screws and washers With the shield in place sand a bevel on the small CS shield and glue it to the front of the carb opening as shown This provides additional protection from mist Fuel Bag Mount The fuel bag mount is ply Drill a 1 16 hole in the center and screw the eye in place Glu...
Page 26: ...mance it does mean that you can rotate the pipe to get the distance from the mount to the tub correct Remove everything in preparation for sealing Sealing Use epoxy finishing resin West Systems epoxy or our favorite Klass Kote epoxy paint to seal the inside of the tub Brush a coat of epoxy into all areas in the tub Be sure to get the servo mounts and the underside of the lid frame Use an acid brus...
Page 27: ...ide plates by lightly sanding the edges Put the RH sponson outside 3 big holes on the bench Mix up some 30 minute epoxy and coat the inside of the sponson plates and both sides of the foam sponsons Laminate the foam sponsons and add the 1 8 ply sponson plates Work quickly Put epoxy in the holes and insert the 3 wood dowels They should bottom out on the outer plate and stick up above the inside pla...
Page 28: ...done in this order because it has to overlap in a specific way Follow along and you won t have any trouble If something doesn t seem to fit stop and find out why Epoxy is impossible to remove from foam Grab all the sheeting pieces Use a file to sharpen the inside corner of the sponson step as shown Use your sanding block with 80 grit paper to sand the foam flush with both sponson plates Using epox...
Page 29: ...lue S 3 in place S 3 is 1 16 ply Glue S 4 and leave an overhang in the rear S 4 is 1 8 ply It should be aligned to the break where the sponson bottom changes angle for S5 and overhang at the rear Once S 4 is cured sand the front of S 4 flush with the forward bottom This is exactly like the forward tub bottom Do not round any corners ...
Page 30: ...en cured sand the front until it is flat and square Glue the pine sponson tip in place with epoxy When cured sand the nose block to a nice blunt tip Also sand the top sheeting S 2 and the tips flush with the sides Do not sand off the overhang on the sponson bottom Leave all corners sharp and square If you have not done so repeat on the other sponson You can now epoxy the aluminum sponson plugs in ...
Page 31: ...will stick out about 9 3 16 inch from either side This measurement is not critical We want both tubes to be exactly the same length In other words we don t want any toe in or out on the sponsons If they are very different sand the longer tube with 80 grit on a block Assemble measure and sand until both the front and rear are exactly the same If they are slightly off less than 1 16 inch simply put ...
Page 32: ...en everything is looking good drill a 5 32 hole through the aluminum boom tube and the sponson plug Put the supplied 6 32 screw and locknut in place Do this for all 4 corners Ski Test fit the ski to the tub The rear of the ski should line up with the rear of the transom and the front should blend into the tub bottom Measure from both sides and make small alignment marks for the ski It should be ce...
Page 33: ...he ski check alignment and allow to cure Turn Fin The turn fin is a critical part of the handling of the JAE gas outrigger Take the time to get this correct as the number one reason the boat does something stupid is the turn fin Check to see if the fin is flat front to rear The rolling process can induce a slight cupping of the fin If you find this file or block sand until it is gone Sharpen the o...
Page 34: ...pplied screws nuts and washers Note that you can later fine tune the fin with the oversized slotted holes Remove the turn fin in preparation for finishing Finishing Sand the tub and sponsons but be sure to leave the rear overhangs Fill any holes or imperfections with wood filler Sand everything with 150 Seal the tub and sponsons with epoxy finishing resin or Klass Kote epoxy Be sure that all wood ...
Page 35: ...hat the strut is straight up The strut needs to be at the very bottom of the ski for the proper propeller depth Make the ski parallel with the bench 0 degree angle Slide your drive dog onto your flex shaft then your prop Leave about half of the threads showing past the prop Tighten the drive dog set screw Remove the prop and measure the exact location of the set screw from the end of the shaft Rem...
Page 36: ...on with the 6 32x7 8 screws and locknuts Turn on the radio Make sure that the steering trim is in the center Move the steering servo arm so that it is straight down Put the servo arm screw in Mount the throttle servo arm so that it is at about 2 o clock with the trigger at neutral Put the servo arm screw in Install the servos and pushrods again only this time glue pushrod seals in place with Goop ...
Page 37: ...and will be embarrassing and dangerous Mount your switch with a waterproof switch cover Make sure that your tuned pipe is mounted to the tub Make sure your prop is sharpened and balanced Grease the flex shaft with cable grease or high quality marine grease Install the flex cable Hook up your fuel and water lines Running The main thing is to get the boat running smoothly and turning well After that...
Page 38: ...Epoxy Paint www klasskote com Phone 612 243 1234 Source for the best epoxy paints in the world Servo City www servocity com Phone 620 221 0123 Best servo prices around Setup and Adjustment Make absolutely certain that the boom tubes are the same length and the sponsons have NO toe out A slight bit of toe in will not hurt anything but toe out will be devastating ...
Page 39: ... forward the boat rides loose and adjusted back the boat rides wet Don t try to shim the strut right or left This does nothing Tips Do not change the ride attitude or height Leave the AOA alone The boat will not turn sharp left You can make left corrections but if you push it it will flip Try different props The ABC 2818 2 R round tip is a good start Do not cut the rudder You need all you can get ...