Programming
94
Position Layout
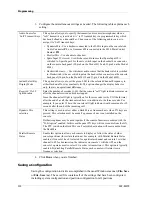
The layout of button panels can vary from position to position.
♦
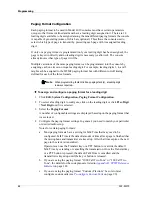
To configure a position’s panel layout
1. Click
Edit, Position Configuration
.
2. Click
Position Layout
.
The Position Panel Layout dialog box opens.
3. Configure the panels according to the actual hardware in use at this position.
4. When finished, click
Done
.
Key Definitions
Each panel that is configured in the position layout has a button that appears in the Key
Definitions area. Panel 0 also has a button for configuring spare inputs.
♦
To choose a panel for configuring keys
1. Click
Edit, Position Configuration
.
2. Select a panel by clicking on its button.
After selecting the appropriate panel, you will see a “key map” of the particular
panel that you are configuring. The layout of the key map matches the physical
layout of the keys on the actual panel.
3. Use the following procedures to define keys.
♦
To erase key definitions
1. Click on
Erase
.
2. Select all keys to erase by clicking on them. Deselect keys by clicking on them
again. Selected keys are outlined in blue. Undefined keys cannot be selected for
erasure because there is nothing to erase.
Tip
It is best to configure system settings before position settings.
Some position settings, such as specific key definitions, are not
available until the system settings are configured correctly. See
Tip
Choosing a panel affects the panel choices that follow, so configure
panels in numerical order (Panel 0 through Panel 3).
Note
Panel 0 Spare Inputs
is used to define the functions that spare
inputs activate. This virtual panel is configured just like the actual
panels, so the following procedures apply.

