


ZEROXCLUB Instructions Manual
8
NOTE:
One important thing to note here is that the camera
should face backward and that its view is not obstructed in any
way. You should also make sure that the camera sits properly,
and that a simple car bump or jerk, will not loosen it in any way.
The third caution is making sure that the installation spot is not
too far away and that it fits the cable length.
2.5 Camera-Cables Installation
●
Define the routing of each of the camera cables. Connect the
camera cable to the extension cable provided in the system (you
can coil up the unused part if you need shorter feet), and run the
extension through the car to the dash area.
●
Connect the extension wire to 4pin plug from the monitor. All the
cables you will need will come provided in the backup camera kit.
●
Do not pull aggressively on the connector head of the cable when
you are routing the cables though channels or tight spaces as this
may damage the fine wires in the cable. Use a fish tape to thread
the cables though these areas. Tape the cable securely to the fish
tape to distribute the load when the tape is pulling the cable though
the tight spots.
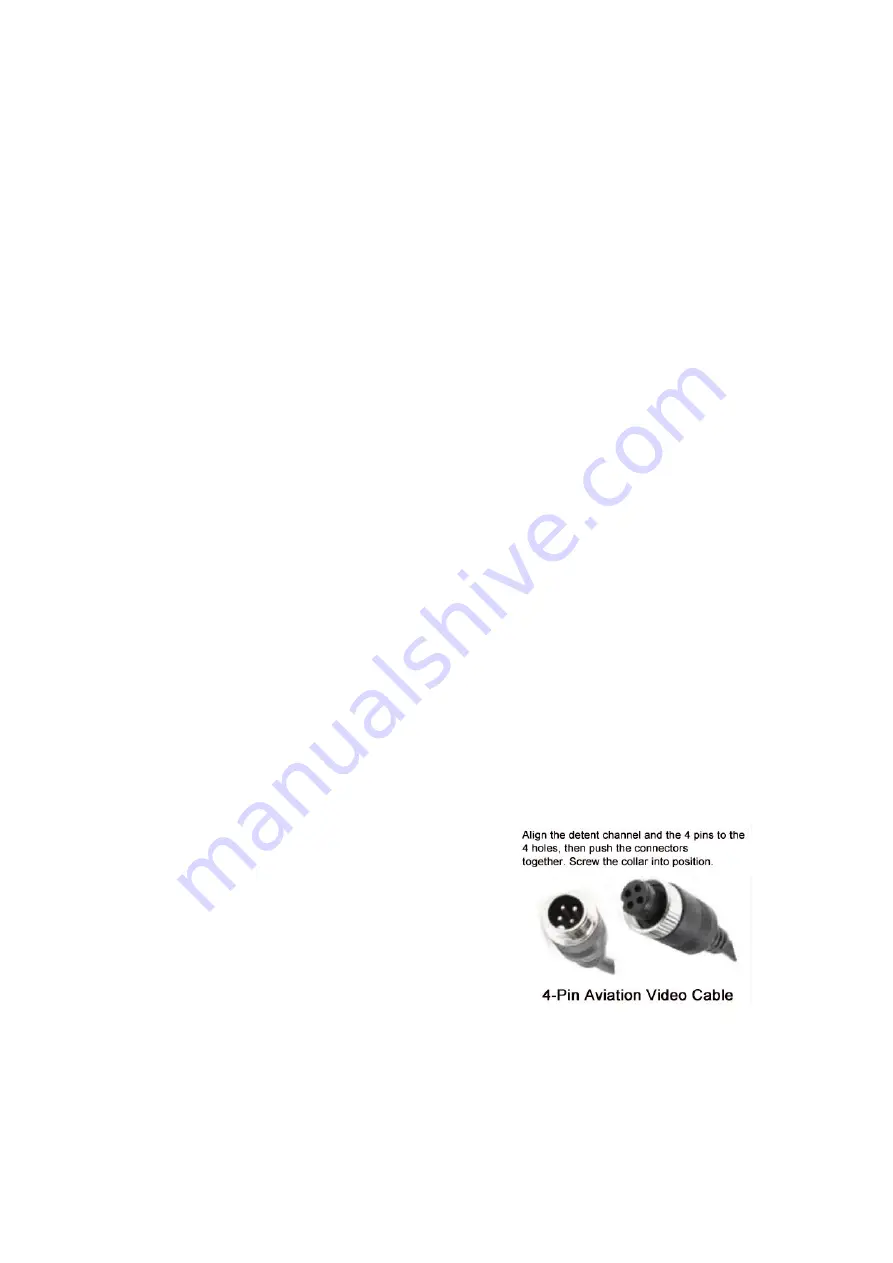
●
When you install the 4pin cable,
please target every pin to the hole,
avoid breaking the pin. When the
system is set-up the cables may now
be properly secured and stowed.
●
After connecting the wires, pay attention to the insulation
between the power cables to prevent the power cables from
short-circuiting the battery.
●
Use plastic split-shield cable covers where appropriate to protect


