


41
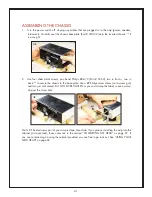
ASSEMBLING THE CHASSIS
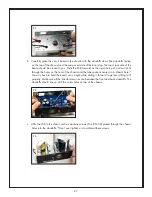
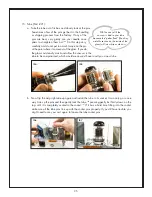
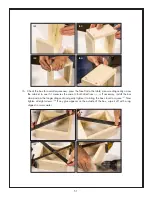
1. Turn the power switch off. Unplug any cables that are plugged in to the amp (power, speaker,
instrument). Carefully seat the chassis base plate (Part # CH03.2) onto the inverted chassis.
118
It
is a snug fit.
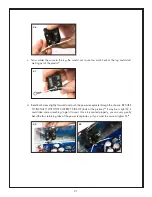
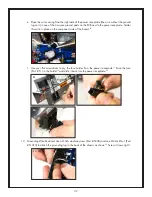
2. Use four sheet metal screws, pan head Philips #8x1/2 (Part # SC63), two in front
119
, two in
back
120
, to secure the chassis to the base plate. Use a #2 Philips screw driver (not a screw gun)
and turn just until seated. DO NOT OVER-TIGHTEN or you could warp the label, or even worse,
strip out the screw hole.
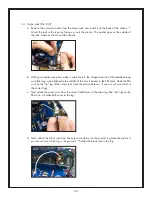
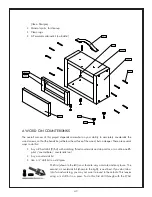
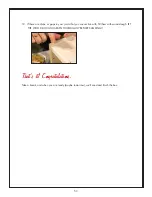
That’s it! The electronics part of your amp is done. Good job. If you plan on installing the amp into the
cabinet (a simple task), those notes are in the section “COMPLETING THE HEAD” on page 67. If
you are not planning on using the cabinet provided, you are free to go rock out. See “USING YOUR
NEW HEAD” on page 69.
118
119
120