Z41 Pro / Lite / COM
http://www.zennio.com
Tecnical Support:
http://support.zennio.com
120
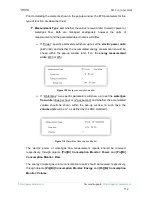
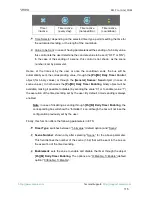
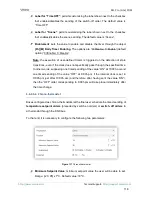
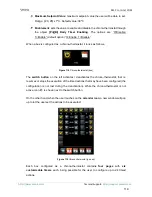
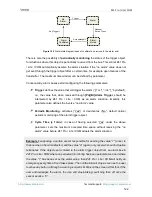
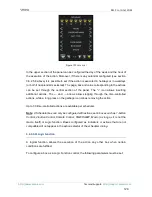
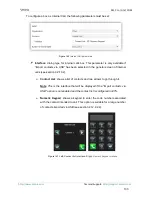
The buttons on the bottom of the window let switching across the four pages, as well as
closing the pop-up window (button ).
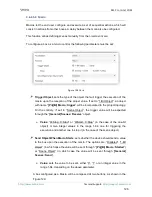
For each of the six timed actions of each page it is necessary to select, on the first hand,
the
days of the week
on which the action should be performed, as well as the specific
time of day
(the first day of the week will depend on the parameterisation of the Calendar
tab; see section 3.2.7).
After that, the user should select (through controls
and
) the
temperature setpoint
that will be sent
. The range of this value
is restricted by parameters “
Minimum Setpoint
Value
” and “
Maximum Setpoint Value
”.
Note
: the timed sending of a temperature setpoint is always preceded by a
switch-
on order
.
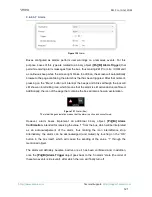
Instead of a temperature setpoint, it is also possible to send a
switch-off
order to the
thermostat. In such case, the user must successively press on the above control until
one of the range limits is reached, after which the word “
OFF
” will show on the screen
instead of a temperature value.
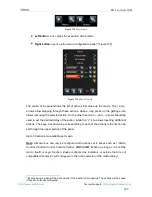
On the other hand, it is possible to
activate or deactivate
each action separately by
marking its corresponding checkbox. While this checkbox remains unmarked, the action
configured will not take place.
On
power failures and ETS downloads
, chrono-thermostat boxes behave as detailed
in section 3.8.
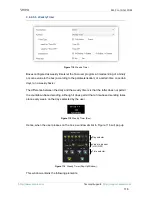
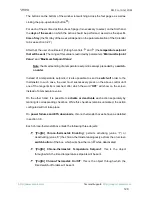
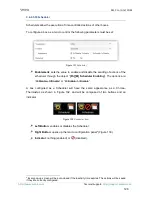
Each chrono-thermostat box entails the following three objects:
“
[Pn][Bi] Chrono-thermostat: Enabling
”:
permits activating (value “1”) or
deactivating (value “0”) the chrono-thermostat analogously as from the on-screen
switch button
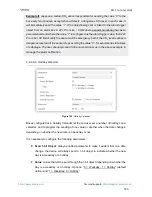
of the box, which will show the icon
while deactivated.
“
[Pn][Bi] Chrono-thermostat: Temperature Setpoint
”: this is the object
through which the timed temperature setpoints will be sent.
“
[Pn][Bi] Chrono-Thermostat: On/Off
”: this is the object through which the
timed switch-off orders will be sent.

