20
User Manual
8300 MkII Sound Reception System
5.1.3 Calibration Detection Mode
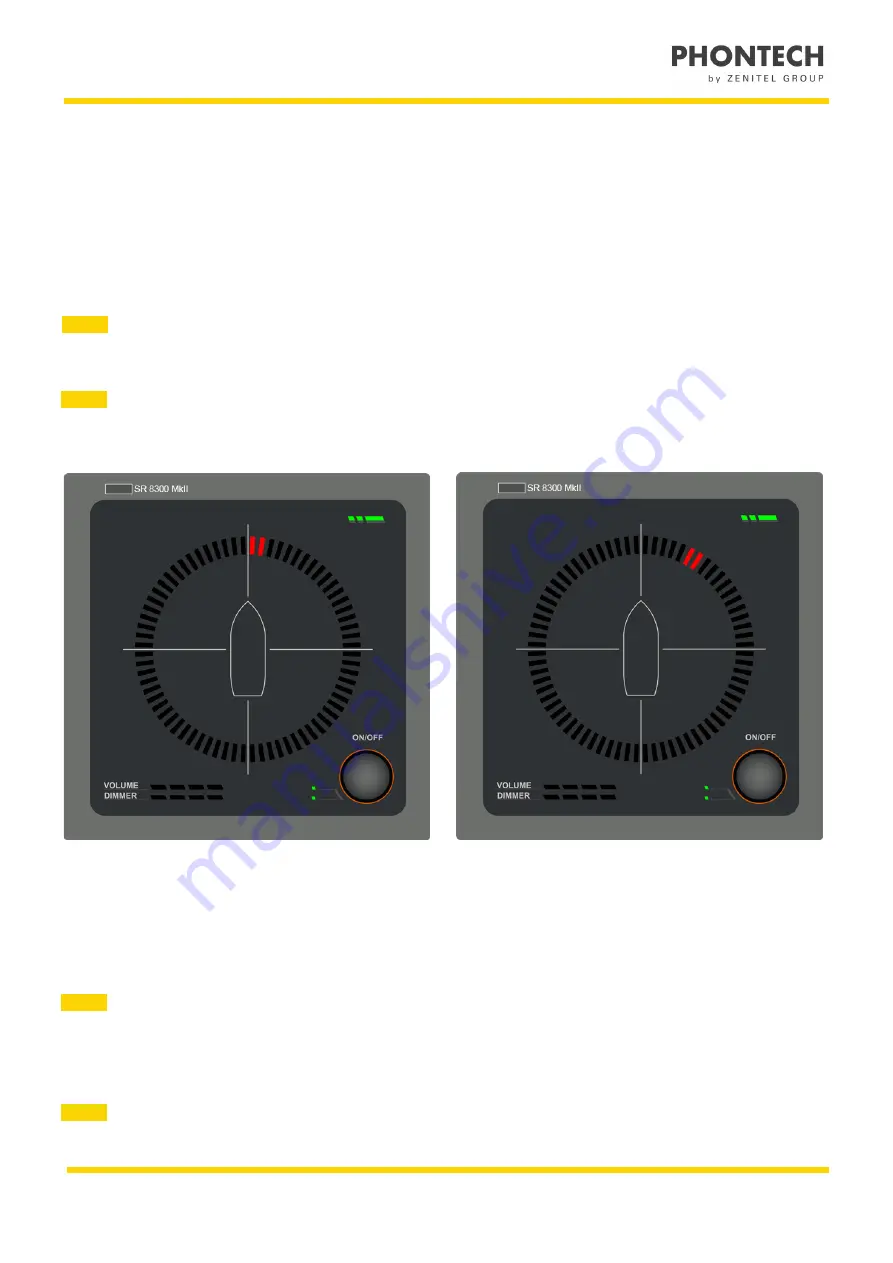
Figure 20: No offset (0 degree)
Figure 21: 30 degree offset
5.1.4 LED Test Mode
To enter the LED test mode, do the following:
1. Press and hold the control button for 15 seconds when in normal mode
NOTE:
If the manual listen mode is active, press and hold the control button for 10 seconds.
If the calibration detection mode is active, press and hold the control button for 5 seconds.
All LEDs on the display unit will light up when enabled, making any failed LEDs visible.
2. Hold the control button for another 5 seconds to return to normal operation.
NOTE:
The LED test mode will automatically return to normal mode if the control button is not pressed
or rotated for 30 seconds.
Use the calibration detection mode to adjust the offset display. You would, for example, do this to adjust the offset of an
incorrectly mounted P-8301 MkII microphone unit.
To enter the calibration detection mode, do the following:
1. Press and hold the control button for 10 seconds
NOTE:
If the unit is in the manual listen mode, then you only need to press and hold the control button for 5 seconds. When
the calibration mode is activated, the light behind the control rotary button switches to orange
2. Rotate the control button to calibrate the position, to add (right) or subtract (left) the offset for all detections
NOTE:
The default is a zero degree offset and a single tick with the control button will adjust the offset by 10 degrees.
The indication ring displays the current offset. A more precise offset can be set in the web interface.


