40
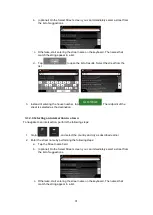
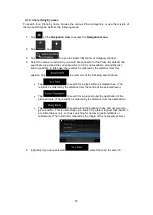
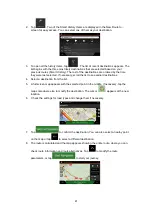
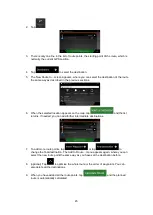
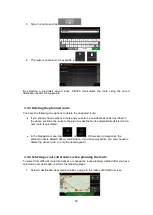
4. Tap the location that you want to set as your destination. If necessary, browse the list
to see more results.
5. (optional) If needed, tap
to enable the editing option so that you can rename the
saved locations or delete any of them.
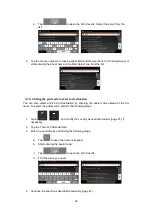
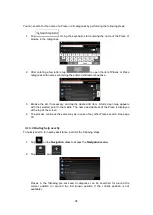
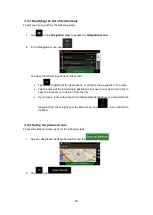
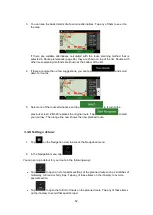
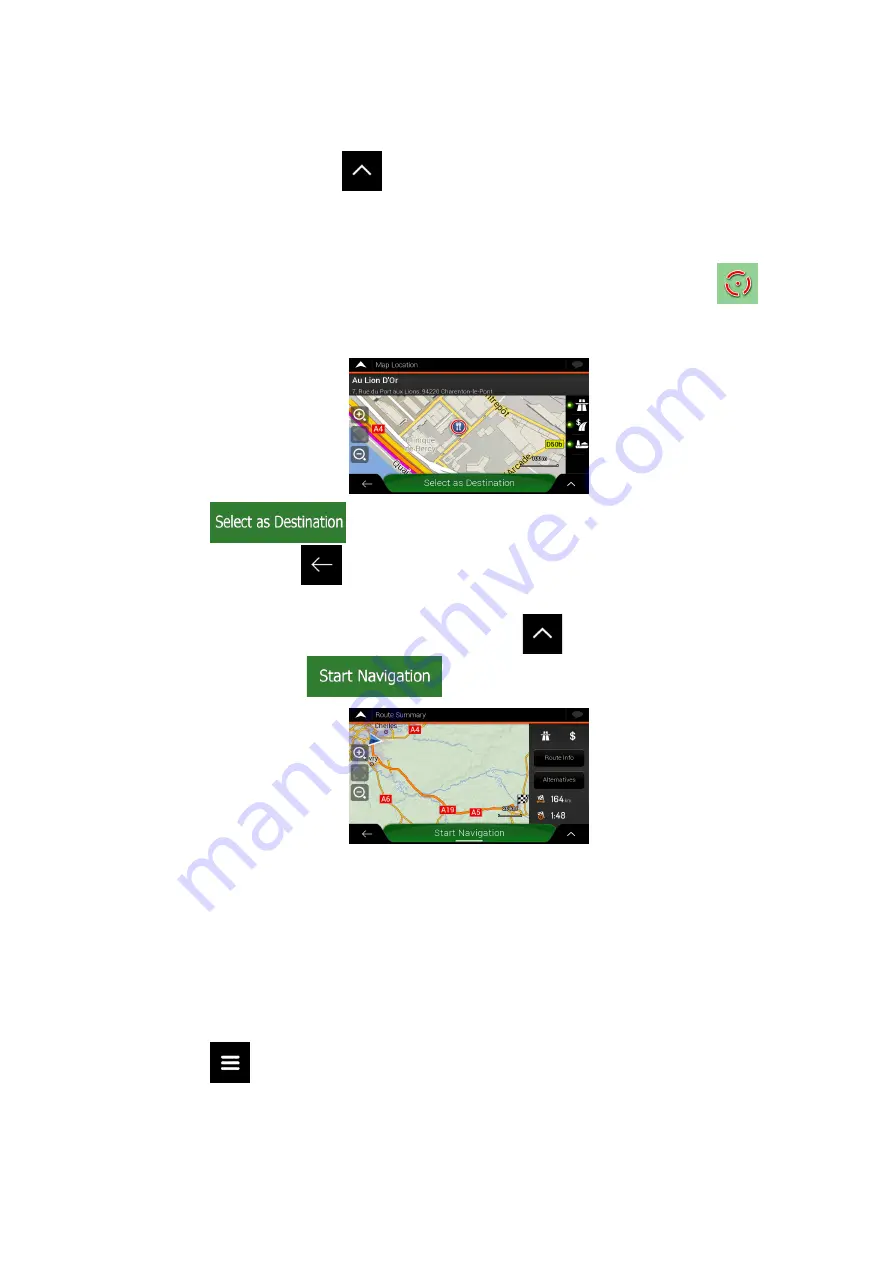
6. After you have selected a saved location as the destination, a full screen map appears
with the selected point in the middle.
7. If necessary, tap the map somewhere else to modify the destination. The cursor (
) appears in the new location.
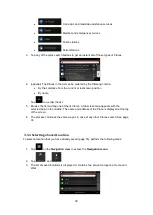
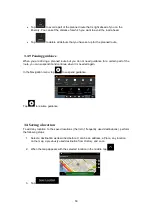
8. Check the settings for road types and change them if necessary.
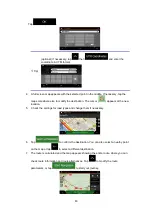
9. Tap
to confirm the destination. You can also select a nearby point
on the map or tap
to select a different destination.
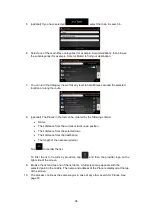
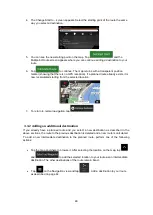
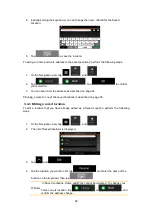
10. The route is calculated and the map appears showing the entire route, where you can
check route information and route alternatives. Tap
to modify the route
parameters, or tap
to start your journey.
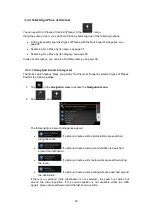
3.1.5 Selecting a History item
The destinations that you have used earlier appear in the History list. Smart History offers
these locations from your previous destinations, using parameters like the current time of day,
the day of week, and the current location. The more you use the navigation software, the
better it can guess your desired destination. To select a History item, perform the following
steps:
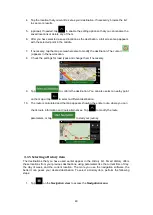
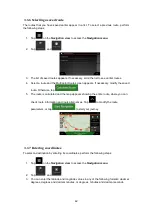
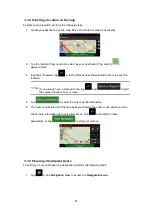
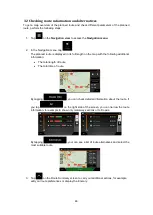
1. Tap
on the
Navigation view
to access the
Navigation menu
.


