ZEISS
5 First Operating Steps | 5.10 Capturing Images and Videos Using the Integrated Smart 8 MP Color
Camera
5.10.2 Basic Procedure Using OSD menu
Prerequisite
ü
The USB flash drive has been inserted into the USB A port.
ü
A mouse and keyboard have been plugged into a USB hub, which is connected to the other
USB A port.
ü
The binocular tube with smart 8 MP color camera is connected to a monitor via HDMI.
Procedure
1. Position your specimen on the microscope and adjust the microscope to see a focused im-
age on the monitor.
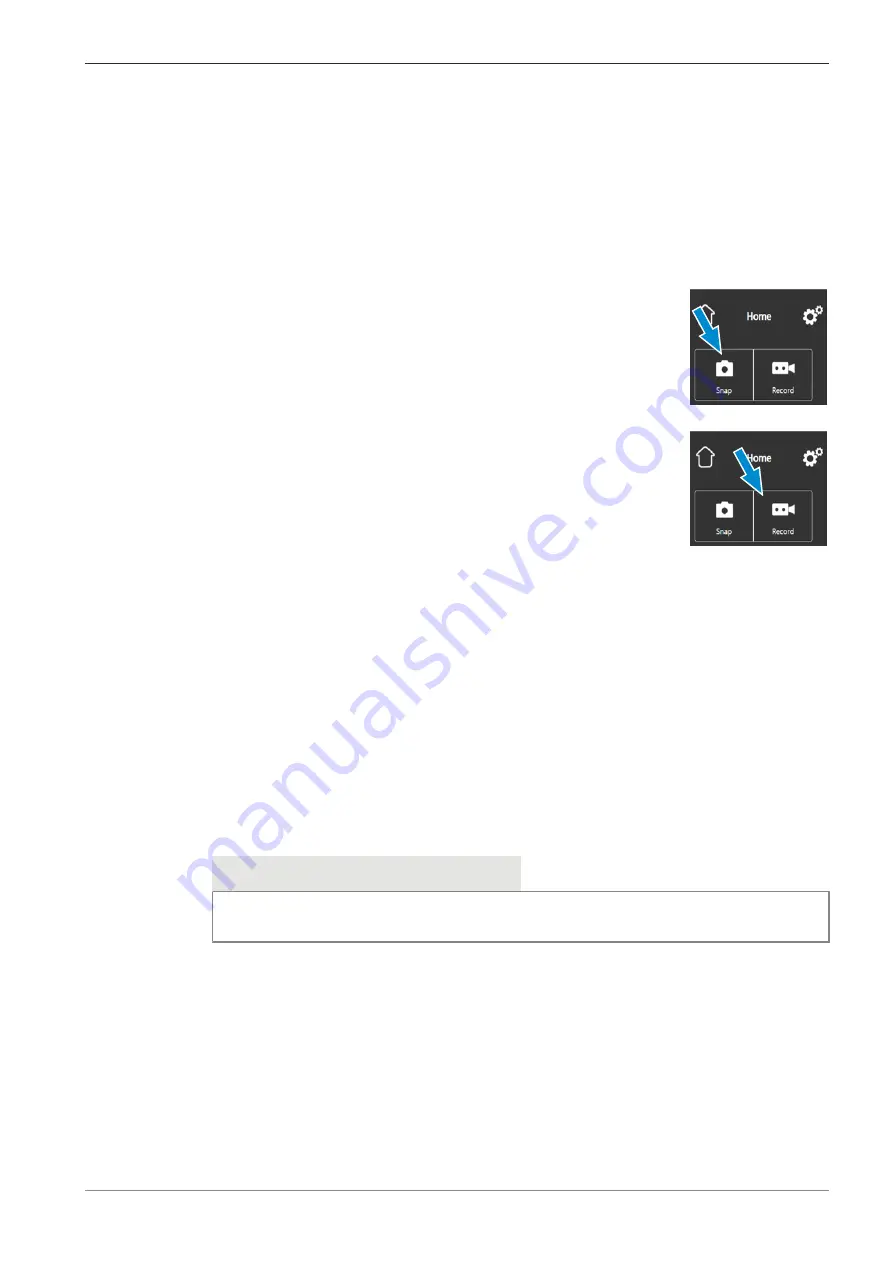
2. To take a single image, click
Snap
in the
OSD
menu.
à
The image is saved to the USB flash drive in
either JPEG or TIFF format.
3. To start video recording, click on
Record
in the
OSD
menu.
à
The
Record
button changes to
Stop
.
4. To stop video recording click on
Stop
in the
OSD
menu.
à
The video is saved to the USB flash drive in MP4 format.
5.10.3 Image Capture with Labscope or ZEN Lite
Prerequisite
ü
Wi-Fi adapter is inserted into the special USB port A; or the binocular tube with smart 8 MP
color camera is connected with an Ethernet cable with WLAN. Connection may also be estab-
lished with a USB 3.0 cable.
Procedure
1. Starting
Labscope
or
ZEN Lite
.
à
When starting
Labscope
or
ZEN Lite
for the first time, each screen starts with an over-
laying information screen explaining the functions.
2. Refer to the displayed information for using the software.
3. Disable or re-activate the information screens in the software's
Settings
menu on your iPad
or PC.
Info
For further support in using
Labscope
or
ZEN Lite
, see www.zeiss.com/microscopy/commu-
nity. Please check the
Labscope
,
ZEN Lite
threads for problem-solving notes.
Instruction Manual ZEISS Primostar 3 | en-US | Rev. 1 | 415501-7011-111_en
83


