Specialized and Integrative Visualization Tools
2660021169012 Rev. A 2017-12
CIRRUS HD-OCT User Manual
8-64
To Record:
1. Click the first box in the Save snapshot timeline.
2. Perform your first activity. Examples of activities: moving, rotating, slicing.
3. Click one of the boxes in the Save snapshot timeline to define the length of time for
the activity. The box becomes highlighted in green. You can deselect any box by
clicking it again.
4. Perform your next activity.
5. Repeat Step 3 to define the length of time for the second activity.
6. Repeat Steps 4 and 5 until you have completed your activities.
7. When you have completed all activities, you can drag the timeline pointer to see
snapshots at any point in the timeline.
To Play and Save:
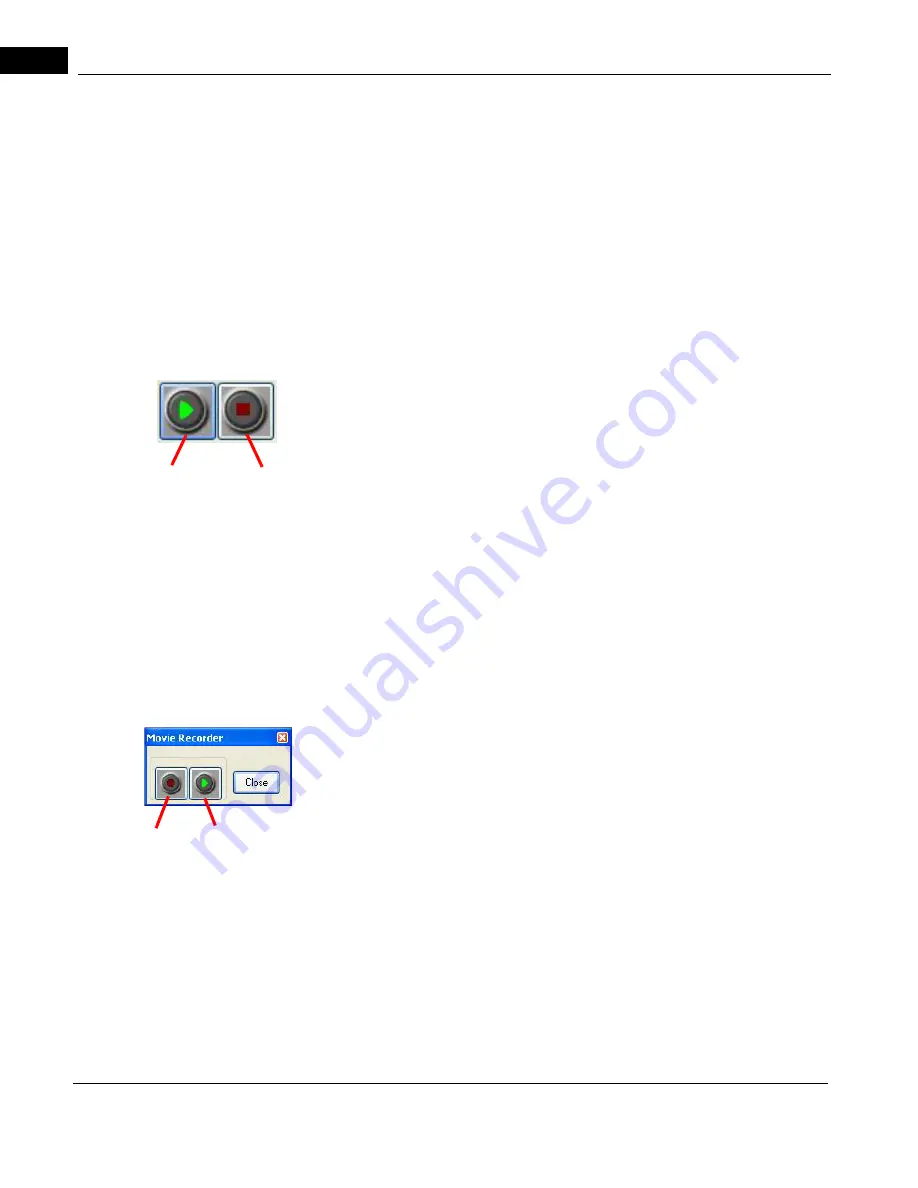
1. Click the Play/Pause button to play back and review your animation.
2. To pause or resume play, click the Play/Pause button. Both the top animation and the
timeline scroll bars move as the animation is played back.
3. To stop playback, click the Stop button.
4. If you want to make changes to the animation, start over from the first step.
5. To save your recorded animation, click Save or Save as Movie:
Save: saves the animation in a CIRRUS–specific format, which can only be viewed
using a CIRRUS HD-OCT Instrument or CIRRUS Review Software.
Save as Movie: saves the animation in a format that can be viewed with standard
movie players, such as Windows Media® Player or QuickTime® Player.
Play back any animations previously saved in CIRRUS format by clicking Load. You are
prompted to select the animation. Double click to play the desired file.
Close the Animation Editor by clicking the Close button.
Movie Recording
Use the AVI Recording feature to record multiple activities (moving, rotating, slicing)
automatically. Movies recorded with this feature are saved in a format than can be viewed
with standard movie players such as Windows Media Player or QuickTime Player.
To record a movie:
1. Click the Record button to start recording.
2. Perform all desired activities: moving, rotating, slicing.
3. Click the Record button again to finish recording. You are prompted to save your file.
4. Browse to the folder where you want to save your file. Name your file and click Save.
Play/Pause Stop
Record
Play
Summary of Contents for CIRRUS HD-OCT 500
Page 1: ...2660021156446 B2660021156446 B CIRRUS HD OCT User Manual Models 500 5000 ...
Page 32: ...User Documentation 2660021169012 Rev A 2017 12 CIRRUS HD OCT User Manual 2 6 ...
Page 44: ...Software 2660021169012 Rev A 2017 12 CIRRUS HD OCT User Manual 3 12 ...
Page 58: ...User Login Logout 2660021169012 Rev A 2017 12 CIRRUS HD OCT User Manual 4 14 ...
Page 72: ...Patient Preparation 2660021169012 Rev A 2017 12 CIRRUS HD OCT User Manual 5 14 ...
Page 110: ...Tracking and Repeat Scans 2660021169012 Rev A 2017 12 CIRRUS HD OCT User Manual 6 38 ...
Page 122: ...Criteria for Image Acceptance 2660021169012 Rev A 2017 12 CIRRUS HD OCT User Manual 7 12 ...
Page 222: ...Overview 2660021169012 Rev A 2017 12 CIRRUS HD OCT User Manual 9 28 ...
Page 256: ...Log Files 2660021169012 Rev A 2017 12 CIRRUS HD OCT User Manual 11 18 ...
Page 308: ...Appendix 2660021169012 Rev A 2017 12 CIRRUS HD OCT User Manual A 34 ...
Page 350: ...CIRRUS HD OCT User Manual 2660021169012 Rev A 2017 12 I 8 ...
Page 351: ...CIRRUS HD OCT User Manual 2660021169012 Rev A 2017 12 ...


