background image

YURAKU Yur.Photo 15KS2   

Instruction manual ver1.00 


All specification and information are subject to changes without further notice 

Features 

  1.5” CSTN LCD display 

  Auto slide show when power on 

  Built-in 3.7V rechargeable lithium battery 

  Storage space for 143 pictures 

  Picture format supporting JPG and BMP 

Button Descriptions 

△△△△

 PREVIOUS

: For previous picture or menu selection upwards 

▽▽▽▽

 NEXT

: For next picture or menu selection downwards 

◎◎◎◎

 MENU

: For power ON/OFF or enter into menu 

 RESET

: For resetting default value of the unit in case of program error 

Accessories 

* USB cable                                  1 piece 
* User manual                              1 piece 

Operation 

Putting your own photos into the 1.5” Digital Photo Frame 

To put your own photos into the unit, please follow the steps below: 
 
STEP 1 
Connect the 1.5” Digital Photo Frame to your PC with the USB cable provided with the unit. Please 
ensure the drive is set to AUTO-RUN for the software to auto launch. 
 
STEP 2 
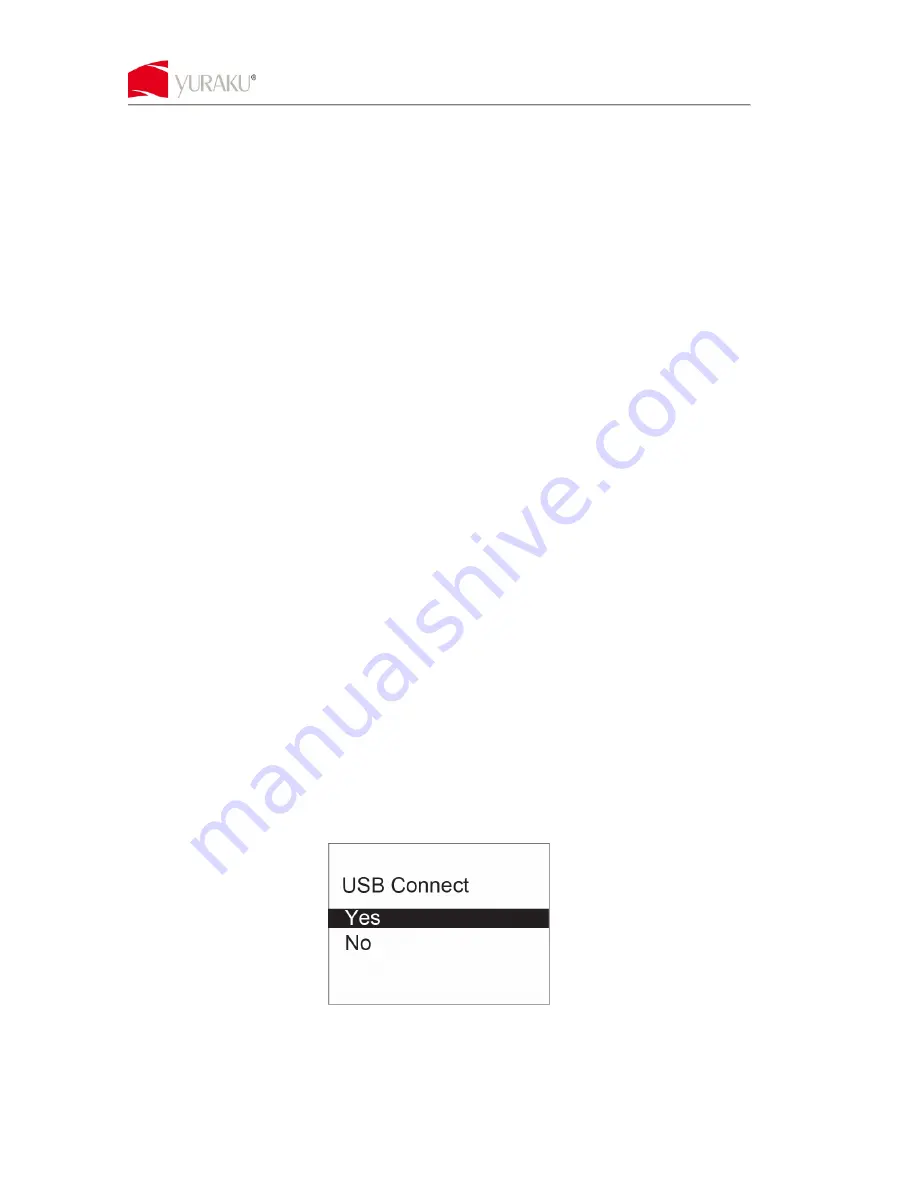
Press “MENU” button to access the main menu, and select “USB CONNECT”. Next select “YES” 
and Press “MENU” button to confirm. 


STEP 3 
Select and transfer your photos from your PC. Locate your photo library on the left window and 
select the photos to transfer. 

Summary of Contents for YUR.PHOTO 15KS2 -

Page 1: ...T For resetting default value of the unit in case of program error Accessories USB cable 1 piece User manual 1 piece Operation Putting your own photos into the 1 5 Digital Photo Frame To put your own...

Page 2: ...ht Repeat the same steps to input more photos STEP 5 Press Download to copy all the selected pictures into the 1 5 Digital Photo Frame STEP 6 Exit the software application and double click on the Safe...

Page 3: ...nten MENU MEN Ein und Ausschalten oder Zugang zum Men RESET R ckstellung auf die werkseitige Konfiguration im Fall von Programmfehlern Zubeh r USB Kabel 1 St ck Bedienungsanleitung 1 St ck Bedienung B...

Page 4: ...en um ein Bild in die rechte Spalte zu kopieren Den Vorgang wiederholen um weitere Fotos hochzuladen SCHRITT 5 Die Schaltfl che Download anklicken um die ausgew hlten Fotos auf dem Ger t zu speichern...

Page 5: ...des valeurs par d faut de l unit ou en cas d erreur de programme Accessoires C ble USB 1 pi ce Manuel de l utilisateur 1 pi ce Fonctionnement Entr e de vos propres photos dans le cadre photo num rique...

Page 6: ...tapes pour entrer d autres photos ETAPE 5 Appuyer sur Download pour s assurer que toutes les photos seront enregistr es dans l unit ETAPE 6 Quitter l application logicielle et double cliquer sur l ic...

Page 7: ...ajo MENU MEN Permite encender y apagar el marco o presentar el men RESET RESTABLECER Permite restablecer el valor por defecto de la unidad en caso de presentarse un error de programa Accesorios Cable...

Page 8: ...er la imagen hacia la columna a la derecha Repita los mismos pasos para introducir m s fotograf as PASO 5 Pulse Download descargar para asegurar que las im genes se guarden en la unidad PASO 6 Salga d...

Page 9: ...al menu RESET per ripristinare i valori predefiniti dell unit in caso di errore di programmazione Accessori Cavo USB 1 Manuale dell utente 1 Funzionamento Trasferimento delle foto nella cornice digita...

Page 10: ...le stesse operazioni per trasferire altre foto PASSO 5 Premere Download per garantire il salvataggio delle foto nell unit PASSO 6 Uscire dall applicazione e fare doppio clic su Safely Remove Hardware...

Page 11: ...U MEN BE KI kapcsol shoz vagy a men be t rt n bel p shez RESET VISSZA LL T S A k sz l k alap rt k nek vissza ll t s hoz programhiba eset n Kieg sz t k USB k bel 1 db Haszn lati utas t s 1 db M velet K...

Page 12: ...thelyezze a k pet a jobb oldali oszlopba Ism telje meg ugyanezeket a l p seket t bb f nyk p bevitel hez 5 L P S Nyomja le a Download let lt s gombot hogy biztosan elmentse a k peket a k sz l kbe 6 L P...

Reviews: